Table of Contents
Advertisement
Quick Links
Official Support: kt.support@apemans.com
APEMAN C370 Detailed User Guide
1. How to Install the Dash Cam C370 ............................................... - 0 -
2. Prepare a Compatible Memory Card ............................................. - 1 -
A. Get a Right SD Card ..................................................................... - 1 -
B. How to Format a New SD Card Using Your PC .................. - 2 -
C. How to format the SD card on the Dash Cam ................... - 4 -
3. Getting to Know the Camera Body ................................................ - 5 -
A. Interfaces ......................................................................................... - 5 -
B. Indicator Lights & Buttons ......................................................... - 6 -
C. Icons on the Screen ..................................................................... - 7 -
4. Getting to Know the Operations ..................................................... - 8 -
B. How to Start Recording ............................................................ - 12 -
C. How to Stop Recording ............................................................. - 13 -
D. How to Switch to Photo Mode ................................................ - 13 -
E. How to Check and Reply Videos on Dash Cam ............... - 15 -
Clarification: This document is a detailed operating instruction,
which is different from the physical user manual in the box.
Contents
- 0 -
Advertisement
Table of Contents

Related Manuals for Apeman C370


Summary of Contents for Apeman C370
-
Page 1: Table Of Contents
Official Support: kt.support@apemans.com APEMAN C370 Detailed User Guide Contents 1. How to Install the Dash Cam C370 ..........- 0 - 2. Prepare a Compatible Memory Card ..........- 1 - A. Get a Right SD Card ..............- 1 - B. -
Page 2: How To Install The Dash Cam C370
Official Support: kt.support@apemans.com 1. How to Install the Dash Cam C370 Please visit the APEMAN Official YouTube Channel and watch this video on how to install the Dash Cam. It will get you through setting up the C370 and will cover the basics. -
Page 3: How To Format A New Sd Card Using Your Pc
Official Support: kt.support@apemans.com the market and each manufacturer uses slightly different file settings and systems that varies between batches. As such the performance of memory cards from non-known manufacturers cannot be guaranteed and recommended by us. Requirements for card specifications: ... - Page 4 Official Support: kt.support@apemans.com Windows: 1. Insert the SD card into your computer. You may need a card reader for this. 2. Open File Explorer and locate the drive letter for your SD card. Right-click the drive and select Format. 3. Set the File System to FAT32. Select Start to begin. 4.
-
Page 5: How To Format The Sd Card On The Dash Cam
Official Support: kt.support@apemans.com MAC: 1. Insert the SD card into your computer. You may need a card reader for this. 2. Open Disk Utility. To do this, click on the magnifying glass in the top-right corner of your computer screen. Type “disk utility” in the search box that opens, then click on the “Disk Utility”... -
Page 6: Getting To Know The Camera Body
Official Support: kt.support@apemans.com "Format" option. 5. Press the POWER/OK button, and press DOWN button and the POWER/OK button again to select Confirm. 2. Getting to Know the Camera Body A. Interfaces There are 4 interfaces: Hard Reset Hole: If your camera doesn't turn on while charging, you can insert the pin provided into the pinhole for about three seconds. -
Page 7: Indicator Lights & Buttons
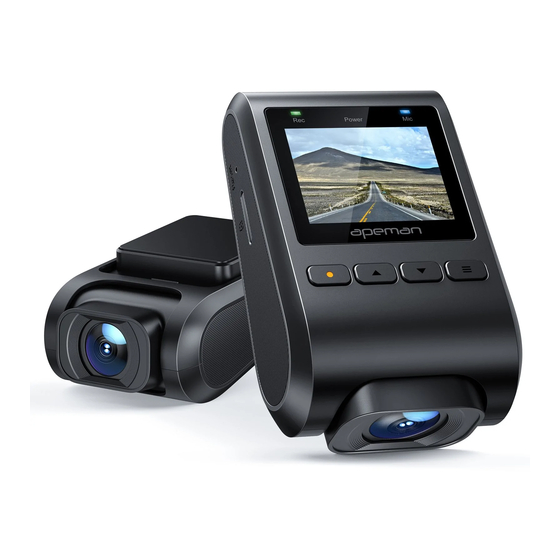
Official Support: kt.support@apemans.com B. Indicator Lights & Buttons There are 3 indicator lights, from left to right: REC: The Rec light (orange light) flashes when the camera is recording. - 6 -... -
Page 8: Icons On The Screen
Official Support: kt.support@apemans.com POWER: The Power light (red light) is on when the camera is connected to a power source. MIC: The Mic light (blue light) is on when the Audio is turned on. There are 4 buttons, from left to right: ... -
Page 9: Getting To Know The Operations
Official Support: kt.support@apemans.com In a counterclockwise direction, these icons are: Recording Mode (in contrast to Photo Mode) Loop Recording (the blue figure is 3 means the recording time period is 3 minutes) Exposure Motion Detection (this is shown when the function is turned Audio (red slash means the audio is turned off) Date &... - Page 10 Official Support: kt.support@apemans.com The menu of this product consists of two menus: Camera Settings (a.k.a. Function Settings) System Settings 1. About Camera Settings Turn on the Dash Cam, press the MENU Button ONCE to enter the Camera Settings. Below is how the Camera Settings Menu looks like.
- Page 11 Official Support: kt.support@apemans.com Resolution: 1080P / 720P / VGA Loop Recording: OFF / 1 Minute / 3 Minutes / 5 Minutes WDR: OFF / ON Exposure: 0 / +1 / +2 / +3 Motion Detection: OFF / ON ...
- Page 12 Official Support: kt.support@apemans.com Headlight Warning: OFF / ON 2. About System Settings The System Settings is the menu to the right of the Camera Settings. As shown below. Date/Time: (Press OK/POWER Button to save changes) Auto Power Off: OFF / 1 Minute / 3 Minutes ...
-
Page 13: How To Start Recording
Official Support: kt.support@apemans.com Screensaver: OFF / 1 Minute / 3 Minutes Note: If the Screensaver is set to 1 or 3 Minutes, the screen will go black if there is no manual operation for 1 or 3 minutes. As long as the REC Light is flashing, the camera is still recording. -
Page 14: How To Stop Recording
Official Support: kt.support@apemans.com please press the POWER/OK button to turn on the camera manually. Then press this button again to start recording. When the Dash Cam is recording, REC Light in the upper left corner of the camera flashes, and a flashing Red Dot appears in the upper left corner of the screen. - Page 15 Official Support: kt.support@apemans.com Under the Photo mode, short press the MENU button to enter its Camera Settings and System Settings (which are different from the mentioned Camera Settings and System Settings under the Video Mode). The two settings menus are shown below. - 14 -...
-
Page 16: How To Check And Reply Videos On Dash Cam
The operations of Delete or Manually Lock videos are the sames as the Photo Mode. If you would like to delete a locked video, you must unlock it manually from there first. Further questions are very welcome Any advice would be appreciated APEMAN official email: kt.support@apemans.com - 15 -...
Need help?
Do you have a question about the C370 and is the answer not in the manual?
Questions and answers