
Summary of Contents for Toshiba RWF-W1669BF(W)
- Page 1 Bottom Loading RWF-W1669BF(W) RWF-W1669BF(K) Please read the manual carefully before operating the water dispenser. Retain it for future reference.
- Page 2 A. SPECIFICATIONS Rated Voltage AC 220-240V Refrigerant R134a/32g Rated Frequency Climate class 50/60Hz ≤0.004MPa Rated Power Applicable water pressure 650W Heating Power Applicable environment 10-43℃ humidity ≤90% 550W puri ed water of 5 gallons Refrigerating Power Applicable water 100W Hot water capacity 4L/h(≥85°C) Product size 310x360x1040mm...
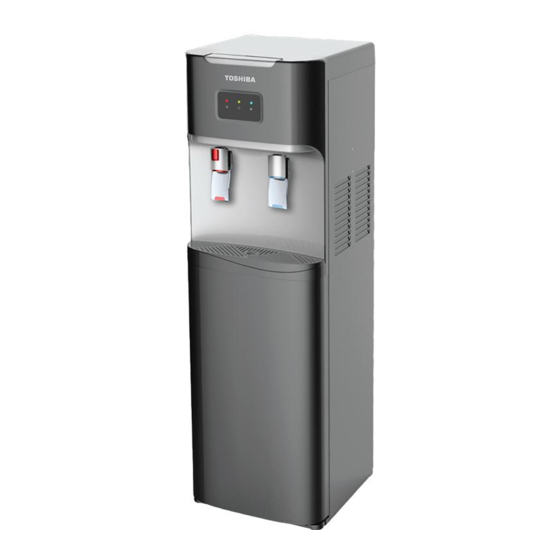
- Page 7 PART NAME FRONT REAR PART NAME PART NAME heating pilot lamp lower door cooling pilot lamp heating switch cooling switch low/empty water pilot lamp power supply cord tap of cold water tap of hot water drain outlet condenser water collector assembly...
- Page 8 E. OPERATION PANEL grounded wall outlet,; 1.Plug the power supply cord into a properly the 3 pilot lamps will light up then go off, one at time ,form left to right. heating pilot lamp cooling pilot lamp 4.The low/empty water pilot lamp will ash when the water level in the bottle is low or when the bottle is empty.
- Page 9 Installing a Water Bottle 1. Open the lower door. 2. Hang the probe assembly on probe hanger. 3. Place a fresh bottle outside the cabinet. 4. Clean the outside of new bottle with a cloth. Probe assembly probe 5. Insert the probe into the bottle. hanger ward 6.
- Page 10 Changing Bottles The low/empty water pilot lamp will ash to alert you when the water level in the bottle is low or when the bottle is empty. Replace the bottle with a lled-one, as soon as possible. Caution: Do not dispense hot or cold water when the low/empty water pilot lamp is ashing, as this could empty the tanks and cause the dispenser to overheat.
- Page 11 rear rear...
- Page 12 1-2. Loosen and remove one of the two screws at the rear-left corner of the unit (when you are facing the rear of the unit). 3. Use the same screw that you removed, to x the bracket to the rear-left corner of the unit. 4.