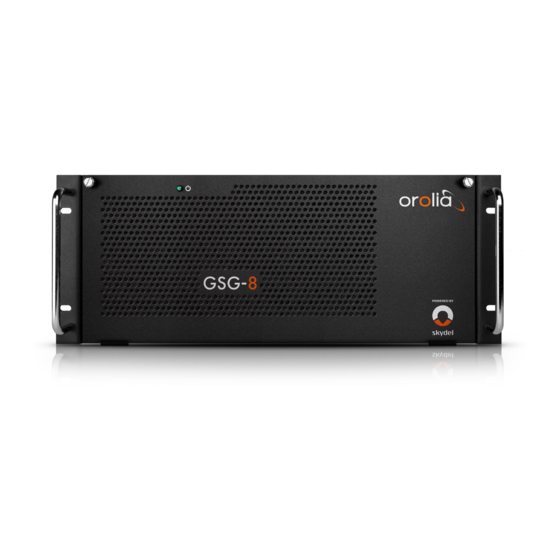
Summary of Contents for Orolia GSG-8 Series
- Page 1 GSG-8 Series Advanced GNSS Simulator Getting Started Guide Document Part No: 1242-5000-0051 Revision: 6 Date: 23-October-2020...
-
Page 2: About This Guide
© 2020 by Orolia Canada Inc. WeWork c/o Orolia 1275 Avenue des Canadiens-de-Montréal Montréal, QC H3B 0G4, Canada About this Guide The GSG-8 Getting Started Guide is designed to describe the hardware features, physical connections, and initial simulations of the GSG-8. For full explanations of the features found within the SKYDEL software, you should refer to the SKYDEL manual, found within the application, by navigating to the Help Menu and selecting Help Contents. -
Page 3: Included Parts List
Computer system: Intel XEON W-2135, 32GB RAM DDR4, 1TB S01016 SSD NVMe, Nvidia Quadro RTX 5000 DTA-2115B Dektec DTA-2115B PCIe Software-Defined Radio 1 to 4 Orolia CDM-5 10MHz Reference Clock and PPS distribution Module T20-001-00 Cross RF 50 Ohm SMA Terminator 0* to 2 222154... -
Page 4: Safety Information
4 rack screws (not provided) to secure the unit, using 2 screws per side. Ventilation Requirements: Ensure that the equipment has a minimum of 4 in or 100 mm clearance at the front and the rear to allow proper air ventilation. 4 | GSG-8 Getting Started Guide orolia.com... -
Page 5: General Specifications
General Specifications Intended Use: Orolia GSG-8 Advanced GNSS Simulators are used to test GNSS receivers and GNSS systems by generating GNSS signals, as they are transmitted by GNSS satellites. An RF output generates one of the following: upper band GNSS signals, lower band GNSS signals, interference signals (including jamming or spoofing), or additional antennas or vehicles (with SKYMUTI). - Page 6 NVMe PCIe 1TB 1 or 2 PNY Nvidia Quatro RTX 5000 10 MHz Reference Clock Orolia CDM-5 with on-board OCXO. Accuracy < 100 ppb Orolia CDM-5 Information: The GSG-8 contains an Orolia CDM-5 to distribute a 10 MHz reference clock and 1PPS signals throughout the integrated SDRs.
-
Page 7: Inputs And Outputs
(5) 10 MHz clock Output DTA-2115B Card: 50 ohm SMA RF Output 75 ohm BNC RF Output 10 MHz clock Input Input Front Panel Connectors Found inside the front panel cover. (2) USB 2.0 port Input/Output orolia.com GSG-8 Getting Started Guide | 7... - Page 8 Connection Guide, Single SDR Setup (model GSG-811) 8 | GSG-8 Getting Started Guide orolia.com...
- Page 9 Connection Guide, 2,3 or 4 SDR Setup (for models GSG-821, GSG-831, and GSG-842) orolia.com GSG-8 Getting Started Guide | 9...
- Page 10 Insert the mains plug into a socket outlet provided with protective earth grounding. 2. Connect the Orolia SKYDEL license dongle into a USB port. (There are 6 functional USB ports on the rear panel near the center of the unit. These can be used interchangeably).
- Page 11 Next, open the front panel by unscrewing and pulling the two access screws near the top, and turn on the power switch on the internal front panel. Internal Front Panel Power Switch Front Panel Access Screws Close the front panel when finished. orolia.com GSG-8 Getting Started Guide | 11...
- Page 12 Choose the Power Off button in the popup window. • 2. Turn off the power supply switch on the rear of the GSG-8 unit. GSG-8 rear panel 3. Disconnect (unplug) the power supply cable on the rear of the unit. 12 | GSG-8 Getting Started Guide orolia.com...
- Page 13 This section assumes you have a single radio setup using the Dektec DTA-2115B PCIe SDR. Apply a License File Your GSG-8 includes a “floating” license to Orolia’s SKYDEL software. This license is contained on a USB dongle (included with your shipment). If the dongle is connected to your GSG-8, the license file will be available.
- Page 14 Multiple setup options are possible; refer to the main SKYDEL manual for more information. To add a radio, navigate to Settings - Output. Select the DTA-2115B in the dropdown list and click the Add button. 14 | GSG-8 Getting Started Guide orolia.com...
- Page 15 Click the Edit button for the RF A output of Radio 1. Select GPS L1 C/A and click Ok. For more information about signal selection, refer to the output section in the full SKYDEL user manual. orolia.com GSG-8 Getting Started Guide | 15...
- Page 16 To navigate back to the Settings, click the back arrow in the Settings Menu. Start the Simulation To start the simulation, click the Start button. This action is only available when the status is Ready. 16 | GSG-8 Getting Started Guide orolia.com...
-
Page 17: Additional Configuration
Additional information on the settings available in SKYDEL can be found in the full SKYDEL User Manual. While a SKYDEL instance is running, navigate to the HELP menu and select HELP CONTENTS to view the full product manual. orolia.com GSG-8 Getting Started Guide | 17... -
Page 18: Maintenance
Help menu under About Skydel. See the next section for contact information. Support and Updates If you encounter a problem with the setup of your GSG-8, do not hesitate to contact Orolia Canada support: skydel-support@orolia.com. End of document 18 | GSG-8 Getting Started Guide orolia.com...

Need help?
Do you have a question about the GSG-8 Series and is the answer not in the manual?
Questions and answers