Table of Contents
Advertisement
Quick Links
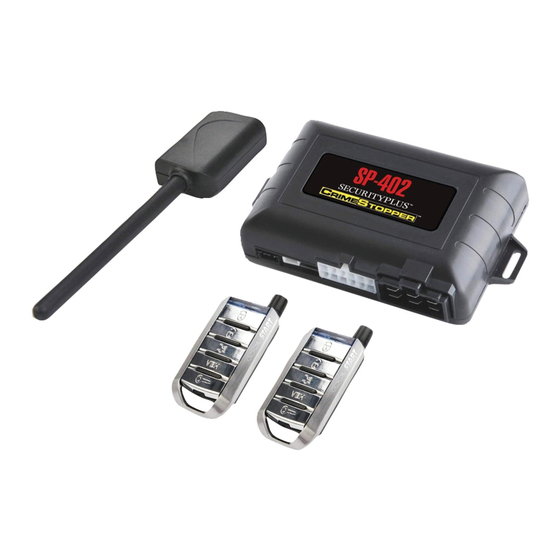
Installation Tips for your SP-502/SP-402 + KEY-OVERRIDE-ALL (4) + SPDT
(for Toyota/Lexus Vehicles)
Thank you for purchasing your remote start from MyPushcart.com - an industry leader in providing remote starts to do-
it-yourself installers since 1999. We've put this tip sheet together to help you with your installation. The purpose of
this sheet is to help you organize your installation - not to replace your installation manual. You will still need to refer to
that.
If you provided us with your vehicle model/year at the time of purchase, you will have a wiring chart for your particular
vehicle. We're going to refer to that a lot. If you do not have the wiring chart, email us at
we can send you a copy. Be sure to include the model/year of your vehicle, your name and your sales order number.
Two very important things before you get started:
Read the entire installation manual. There are several safety tips in there that you need to know before you
start
Avoid using a test light to probe wires. Test lights can set off air bags if you probe the wrong wire. Your
vehicle wiring chart will identify the correct wires that you'll be tapping on to in your car. If you must probe,
use a digital multi-meter. They're inexpensive and won't set off air bags.
Overview
There are 4 basic steps to this remote start installation. We're going to address each of these:
2. programming
3. Test
4. Button it up!
When you open up your remote start, you're going to see a whole bunch of wires. You're not going to use all of them.
The remote starts are designed with wiring options for a variety of cars and no car is going to use all of them. We're
going to break the wiring down into only the needed wires you need from the remote starter. Here's where the vehicle
wiring chart comes into play. The wiring chart will help you locate the wires that you're going to need in your car.
Don't be intimidated by all the different wires listed on the chart – you're only going to be using a few of them.
Reading your wiring chart
Each line of the wiring chart contains 3 pieces of information that you will need:
The "Circuit" or "Wire/Function"
The color of the wire in the car
The location of the wire in the car
See Installer's Tip # 2 for tips on how to make your wiring connections
Step 1 - Making your remote start wiring connections:
The following table shows you where to connect the wires from your remote start into the car. Any wires on your
remote start that are NOT listed in the table are NOT USED. In most cases, the wires on the remote start are way longer
than needed. Trim off excess wire when you make your connections, but leave some slack - this will allow you a little
flexibility when it comes time to stow the remote start module after the installation is completed.
TIP SHEET
1 |
P a g e
T1649 v1.3 3/5/14
sales@mypushcart.com
so
Advertisement
Table of Contents

Related Manuals for MPC SP-502

Summary of Contents for MPC SP-502
- Page 1 TIP SHEET Installation Tips for your SP-502/SP-402 + KEY-OVERRIDE-ALL (4) + SPDT T1649 v1.3 3/5/14 (for Toyota/Lexus Vehicles) Thank you for purchasing your remote start from MyPushcart.com - an industry leader in providing remote starts to do- it-yourself installers since 1999. We’ve put this tip sheet together to help you with your installation. The purpose of this sheet is to help you organize your installation - not to replace your installation manual.
- Page 2 Step 1 – Wiring The following table shows you the necessary wires to connect from the SP-402/502, and what they connect to. This chart only lays out what is needed for basic remote start operation and keyless entry. Any wires on your remote start that are NOT listed in the table are NOT required.
- Page 3 Starter NOTE: The relay in your kit is only used when you have a Second Starter wire. If you see a 2 starter wire on your vehicle wiring chart, you will need the relay which will energize the 2 starter with the required positive signal for your car to successfully remote start.
- Page 4 Step 3 - Program the Bypass: Step 4 - Test the system and close it up! Once all your connections are made, you should test the system before putting everything back together. 1. Press the ‘lock’ and ‘unlock’ buttons on your remote and confirm that the door locks are operating properly. 2.
- Page 5 Installer’s Tips: Tip #1 – Where Everything Goes Remote start module – the wiring for the module is done under the dash on the driver’s side, so you’ll want to install the module in that general area. Before you start wiring, look for a location where there’s some open space that will fit the module.
Need help?
Do you have a question about the SP-502 and is the answer not in the manual?
Questions and answers