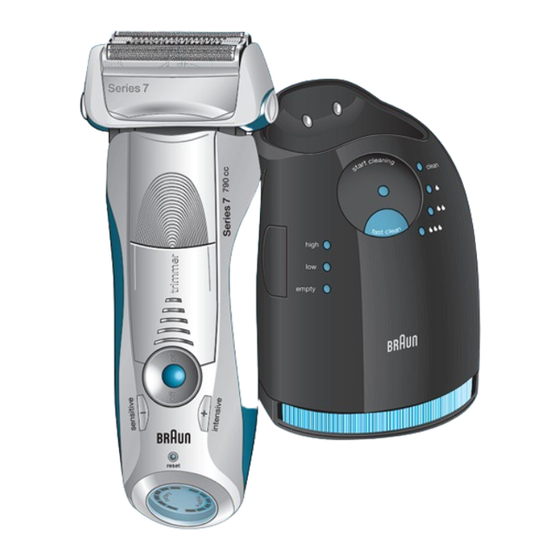
Summary of Contents for Braun 7
- Page 1 Series7 Series 7 Series 7 Series 7 reset www.braun.co.jp high empty...
- Page 7 Series 7 Series 7 Series 7 reset...
- Page 11 reset high empty...
- Page 13 high emp ty high high empty empty high high high empty empty empty...
- Page 14 high empty clean high...
- Page 15 clean high empty...
- Page 16 Series Seri es r e l e as e Series 7 r e l e as e click! Series 7 r e l e as e...
- Page 17 Series 7 r e l e as e Series 7 r e l e as e r e l e as e...
- Page 18 Series 7 r e l e as e...
- Page 22 STOP Our products are designed to meet the highest standards of quality, functionality and design. We hope you enjoy your new Braun Shaver. Warning Your shaving system is provided with a special cord set, which has an integrated Safety Extra Low Voltage power supply.
- Page 23 fl uid is in the cartridge: «high» up to 30 cleaning cycles available «low» up to 7 cleaning cycles remaining «empty» new cartridge required Charging and cleaning the shaver Insert the shaver head down into the cleaning station. (The contacts shaver will align with the contacts cleaning station).
- Page 24 clean clean high high clean clean high high empty empty «clean» shaver is clean « » short economical cleaning required « » normal level of cleaning required « » high intensive cleaning required If the station selects one of the required cleaning programs, it will not start unless you press the «start cleaning»...
- Page 25 Battery segments: During charging or when using the shaver, the respective battery segments will blink. When fully charged all 6 segments are shown. With decreasing charge the segments gradually disappear. Low charge indicator: The «low» charge indicator provided with a red frame blinks to indicate that the charge has dropped below 20%.
- Page 26 • To trim sideburns, moustache or beard, slide the pop-out long hair trimmer Tips for the perfect shave For best shaving results, Braun recommends you follow 3 simple steps: 1. Always shave before washing your face. 2. At all times, hold the shaver at right angles (90°) to your skin.
- Page 27 This may result in the battery running out faster than normal. Even if this happens – indicated by low charge indicator lighting up earlier, your Braun shaver will run for at least 5 more minutes enabling you to complete your current shave.
-
Page 28: Environmental Notice
(after about 18 months) or when cassette is worn. The replacement symbol will remind you during the next 7 shaves to replace the foil and cutter cassette. Then the shaver will automatically reset the display. After you have replaced the foil and cutter cassette, use a ball-pen to push the reset button for at least 3 seconds to reset the counter. - Page 31 98831573/XI-08...


Need help?
Do you have a question about the 7 and is the answer not in the manual?
Questions and answers