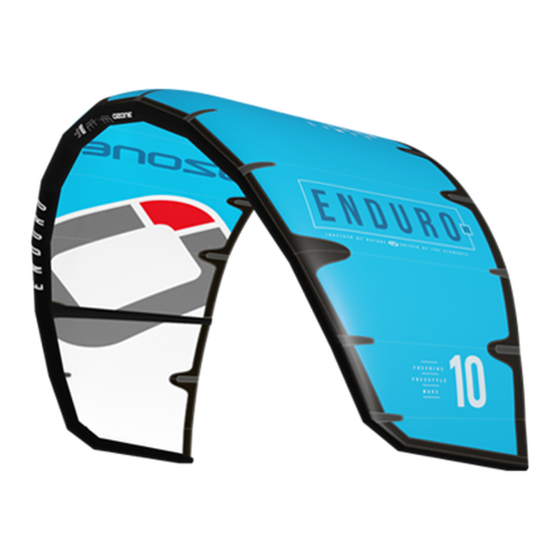
Summary of Contents for Ozone ENDURO V3
- Page 2 At Ozone we are passionate about kiting, and it is this passion that drives our design team to perfect and develop kites that we love to ride with. We are proud of the quality of our products, and are constantly searching for the best components and materials to use in our designs.
-
Page 3: Warranty Claims
TO RELEASE Ozone Kitesurf LTD and all related parties from any and all liability for any loss, damage, injury or expense that you or any users of your Ozone product may suffer, or that your next of kin may suffer, as a result... - Page 4 warnings read the folloWing Points before asseMbling your kite: • Never use this the kite with another control system or safety leash. Only use the handles or bar that is Warning: supplied with this kite as other brands bars are not compatible with this design, therefore the Release •...
- Page 5 choose a safe location: use caution With flying lines: • Always observe local rules and regulations when using this product. • Never touch the flying lines when the kite is in use. Flying lines are extremely dangerous while under • Never use this product near power lines, telephone poles, trees, bushes, roads, automobiles or airports. tension and can cause serious injury or death.
-
Page 6: Wind Window
winD DESCRIPTION FORCE KNOTS MPH METRES SEC <1 <1 <0-0.2 <1 Calm: Smoke rises vertically. Go Paragliding! 0.3-1.5 Light air: Smoke drift shows wind direction. It’s coming - get large size kites ready. 1.6-3.3 6-11 Light breeze: Wind felt on face, leaves rustle. Kite: cruising with buggy/mountain board/ski/snowboard. Experts hydro foiling. Gentle wind: Leaves in motion, light flags extended. - Page 7 WinD set-UP attach the lines to the kite as shoWn in these diagraMs Pump leash leading edge back lines trailing edge front lines clamcleat trimmer flag out line de-Power line back lines front lines quick release handle quick release loop kite When flying flag-out loop finger...
- Page 8 set-UP • Attach the pump leash to the looped line in the center of the leading edge tube. • Make sure all the clips are open before you start pumping. • Inflate using the IN valve. We recommend inflating to 7 PSI. Do not over inflate above 8 PSI. •...
- Page 9 all line to kite connections are made using a “larks head” knot. beloW the bar release (recoMMended Mode) All riders should attach their Kite Leash to the Flag Out System. This is the small eyelet on the Stainless Steel Swivel Ring. When the release is activated, the kite will flag out and fall to the water/ground.
- Page 10 secUrity stage of release activate the quick release as shown in the pictures. Providing your leash is attached to the flag out system the kite will 100% depower. final stage of release (in an extreMe eMergency) In the case of an extreme emergency where you need to completely release from the kite, use the quick release on the kite leash.
- Page 11 secUrity reloading the leash Warning: never launch a kite directly doWnWind of you in the PoWer zone! launching and landing Instruct your partner on how to handle the kite and Wind agree on a sign together for the release and landing. They should hold the kite in the center of the leading edge at the edge of the window and double check that all lines are clear.
- Page 12 Water relaunching self rescue once the kite is face down with the leading edge touching the water: If you get in trouble out in the water, there is a simple way to self rescue yourself. 1: Pull the bar in towards you to increase back line tension. Firstly kill the kite’s power with the flag out system by releasing the chicken loop.
- Page 13 triMMing for line stretch All lines should be maintained as close to equal length as possible. Flying lines can stretch over time, generally the front lines stretch more as these take the majority of the load. To check your lines, unwind the lines from the bar and have a partner hold the lines even at the bar end.
- Page 14 care & rePairs maintenance We supply a repair kit with the following contents: 1. A4 pieces of sail cloth 2. A4 piece of Dacron 3. 1 x length of 50mm wide sticky black repair tape 4. 6” x 3” Tear-Aid bladder repair patch Kites are very technical products and are used in the harsh marine environment.


Need help?
Do you have a question about the ENDURO V3 and is the answer not in the manual?
Questions and answers