Advertisement
Table of Contents
Connecting Cable
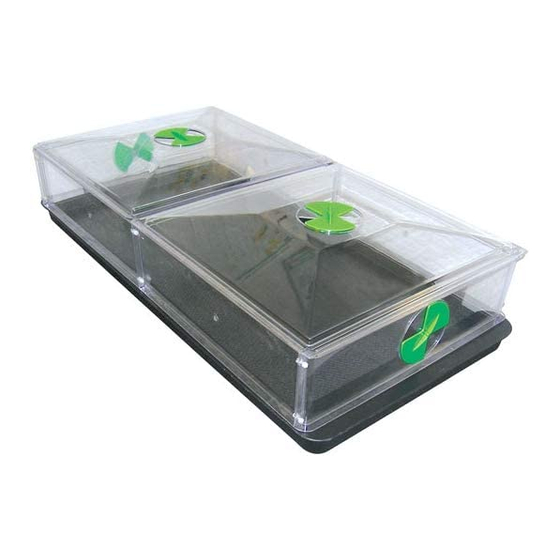
Contents
Plastic Brackets
Light Grips
Lights
Connecting
Cable
Vitopod Lighting Kit
Instructions
Light Brackets
Contents
Light kit for
50W Vitopod
2
4
2 x 60cm Lights
1
Light Grips
Light kit for
100W Vitopod
2
4
2 x 90cm Lights
1
Propagation
Lights
Bracket kit only
(Existing lights owned)
2
4
–
–
Advertisement
Table of Contents

Related Manuals for greenhouse sensation Vitopod


Summary of Contents for greenhouse sensation Vitopod
- Page 1 Vitopod Lighting Kit Instructions Propagation Lights Connecting Cable Light Brackets Light Grips Contents Light kit for Light kit for Bracket kit only Contents 50W Vitopod 100W Vitopod (Existing lights owned) Plastic Brackets Light Grips – Lights 2 x 60cm Lights...
- Page 2 Welcome to Greenhouse Sensation and thank you for ordering your Vitopod lighting kit! Assembly:- 1) Peel back the protective film from both sides of each bracket as shown. 2) Remove the nuts from the grips. 3) Fit the two grips into the slots in the brackets as shown.
- Page 3 12 ) Input facing you and the other light has the Output facing you. Centre the lights over the Vitopod. 12) Plug the power cord with on/off switch into the input end of one of the lights. Do not plug into a power 13 ) socket at this time.
- Page 4 Your thermostat will ensure the temperature in your Vitopod does not drop below the set temperature. If the temperature in your Vitopod is getting hotter than 32°C then switch the propagation lights off for longer periods. Consider ventilation and shading.
Need help?
Do you have a question about the Vitopod and is the answer not in the manual?
Questions and answers