Advertisement
Quick Links
W I N S TO N - S A L E M , N C 2 7 1 0 1
8 6 6 - 4 2 9 - 7 5 6 6
W W W . P R I M O W A T E R . C O M
1
Place the dispenser on the
floor in the desired location
in your home. If the surface is
uneven, rotate the back feet
to level out the dispenser.
2
Slide drip tray into place.
3
Clean probe with a damp
cloth and dish soap. (Visit
www.primowater.com for
detailed cleaning instructions.)
Place probe assembly on hanger
inside door to keep it clean.
Inside of door
© 2016 Primo Water Corporation
QUICK START GUIDE
4
Grab a bottle of Primo
®
water and fully remove the cap.
Insert probe assembly into
bottle. Press firmly to secure
assembly over bottle opening.
For 3 and 4-gallon bottles,
squeeze the tabs on the top of
the probe assembly to separate
the probe cap from the collar and
press the collar securely over the
bottle opening.
®
®
5
3
Gallon
Gallon
5
Slide bottle inside the
cabinet and close cabinet door.
®
6
Plug dispenser into
a ground fault circuit
interrupting (GFCI) outlet.
You will hear the dispenser
begin to pump water to
fill the internal hot and
cold tanks.
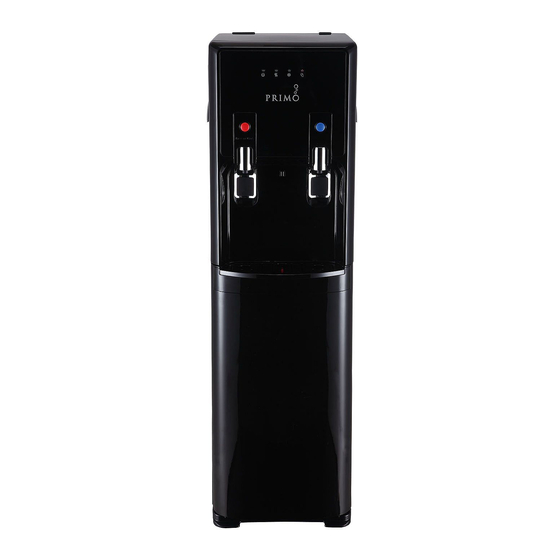
7
Turn on desired functions
by flipping the switches on the
back of the dispenser to the
ON position.
Blue – nightlight
Green – chills water
Red – heats water
ON
ON
ON
OFF
OFF
OFF
8
8
Once the dispenser has
stopped filling the internal
stopped filling the internal
tanks, dispense and dispose at
tanks, dispense and dispose at
least
least 1 quart (approximately
2 pint glasses) of water.
2 pint glasses) of water.
1
QT
9
Your water will be ready
to dispense fully chilled in
approximately 1 hour or
piping hot in approximately
12 minutes.
1
HR
12
MIN
10
Register your dispenser
www.primowater.com
at
to
activate your warranty.
Advertisement

Related Manuals for Primo Water Professional 601213


Summary of Contents for Primo Water Professional 601213
- Page 1 Register your dispenser begin to pump water to www.primowater.com fill the internal hot and cold tanks. activate your warranty. W W W . P R I M O W A T E R . C O M © 2016 Primo Water Corporation...
- Page 2 1. Water will take approximately 12 minutes after initial heating. Light turns off when water is fully heated. Primo Water Corporation, (“Vendor”) warrants to the original purchaser set up to reach its hottest temperature. Heating light will of this dispenser, and to no other person, that if this dispenser is...
Need help?
Do you have a question about the Professional 601213 and is the answer not in the manual?
Questions and answers