Advertisement
Quick Links
Thank you for purchasing a Sealey Product. Manufactured to a high standard this product will, if used according to these instructions
and properly maintained, give you years of trouble free performance.
IMPORTANT: pLEASE READ THESE INSTRUCTIONS CAREFULLY. NOTE THE SAFE OpERATIONAL REQUIREMENTS, WARNINGS AND CAUTIONS.
USE THIS pRODUCT CORRECTLY AND WITH CARE FOR THE pURpOSE FOR WHICH IT IS INTENDED. FAILURE TO DO SO MAY CAUSE
DAMAGE AND/OR pERSONAL INJURY AND WILL INVALIDATE THE WARRANTY. pLEASE KEEp INSTRUCTIONS SAFE FOR FUTURE USE.
1.
SAFETY INSTRUCTIONS
WARNING!: DO NOT use the wrench if damaged. Maintain the wrench in good condition and replace any
damaged or worn parts. Use genuine parts only. Unauthorised parts may be dangerous and will
invalidate the warranty.
Ensure all workshop safety rules, regulations and conditions are complied with when using the wrench.
Maintain correct balance and footing. Ensure the floor is not slippery and wear non-slip shoes.
the work area should be clean, well lit and free from unnecessary clutter.
Keep children and unauthorised persons away from the working area.
Ensure that the vehicle on which you are working on is properly supported on axle stands or a hoist.
2.
INTRODUCTION
●
Made from high quality chrome Vanadium steel for added strength and durabilty.
●
universal fitting, suitable for removing wheel bearing lock nuts found on commercial vehicles.
●
for use with hexagonal and octagonal lock nuts and those with and without locating pins.
●
use with 3/4" or 1/2" breaker bar.
●
Pin ø: 6, 8 and 10mm.
●
supplied in storage case.
3.
SpECIFICATION
Max torque . . . . . . . . . . . . . . . . . 500ft.lb
Pin Ø: . . . . . . . . . . . . 6mm, 8mm, 10mm
capacity (oct) . . 49-143mm across flats
capacity (Hex) . 49-135mm across flats
4.
OpERATION
4.1
Before first use lubricate all threads.
4.2
turn the thread engagement screw (X-see fig.2) anticlockwise to disengage the upper thread.
4.3
open or close the jaws by turning knurled adjusting knob (6) until they are approximately the
correct distance apart. Place jaws over the lock nut and close them down onto it.
4.4
Engage the upper thread by turning the thread engagement screw clockwise until you feel it
make contact with the thread. Do not screw it down hard as this will lock the upper
thread movement.
4.5
turn the upper thread driver (4) clockwise to lock the jaws. this movement takes the play out
of the assembly and angles the jaws slightly inwards.
4.6
to loosen the lock nut use a 1/2" or 3/4" breaker bar. to tighten the locknut use a torque wrench
to tighten to the manufacturer's stated specification. Do not use with an impact wrench.
4.7
Where needed, the wrench can be used with the appropriate size pins screwed into the jaws for
those lock nuts with suitable location holes.
© Jack sealey Ltd
WARNING! DO
Original Language Version
I n s t r u c t I o n s f o r :
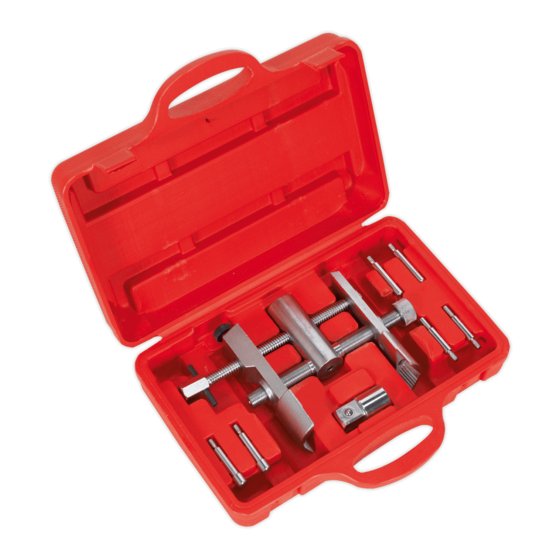
LOCK NUT WRENCH
MoDEL no:
Fig.1
VS954
Vs954 Issue: 1 - 25/10/12
Advertisement

Related Manuals for Sealey Auto Service VS954


Summary of Contents for Sealey Auto Service VS954
- Page 1 VS954 MoDEL no: Thank you for purchasing a Sealey Product. Manufactured to a high standard this product will, if used according to these instructions and properly maintained, give you years of trouble free performance. IMPORTANT: pLEASE READ THESE INSTRUCTIONS CAREFULLY. NOTE THE SAFE OpERATIONAL REQUIREMENTS, WARNINGS AND CAUTIONS.
- Page 2 WARRANTY: Guarantee is 12 months from purchase date, proof of which will be required for any claim. INFORMATION: for a copy of our latest catalogue and promotions call us on 01284 757525 and leave your full name and address, including postcode. Sole UK Distributor, Sealey Group, 01284 757500 www.sealey.co.uk...