Advertisement
Quick Links
Advertisement

Related Manuals for Apertura DT Series


Summary of Contents for Apertura DT Series
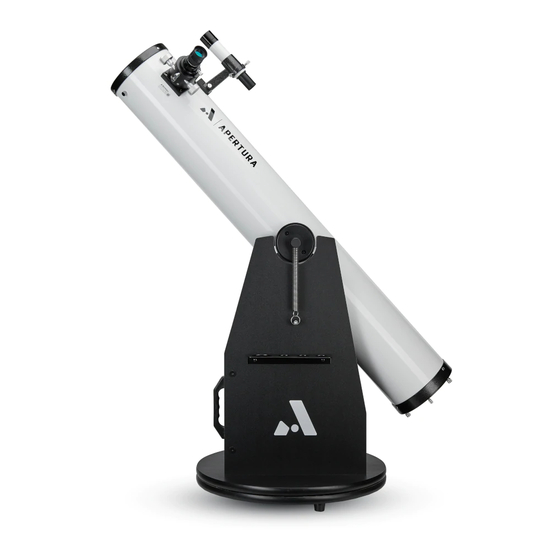
- Page 1 DT Series Dobsonian Telescope Assembly Instructions and User’s Guide...
- Page 2 APERTURE SOLAR FILTER INSTALLED YOU RISK SEVERE EYE DAMAGE AND PERMANENT BLINDNESS Please take a few minutes to read over the assembly instructions to familiarize yourself with the individual parts and procedures before attempting to assemble your Apertura™ DT Series Dobsonian Telescope.
- Page 3 Unpacking your Apertura™ DT Dobsonian Telescope Parts List Optical Tube Box (package 1 of 2) • Telescope optical tube with 2" focuser 8x50 finder scope & bracket • Two tension adjustment springs • Two black altitude knobs with hardware • 25 mm Plossl Eyepiece - 1.25"...
- Page 4 Base Mount Box (package 2 of 2) Wood Components Adjustment Knob Assembly 1 small panel – front 1 bolt with knob head 1 large panel – right 1 large washer 1 large panel – left 1 small bearing washer 6"-10" DT - 2 large round base plates 1 small washer 12"...
- Page 5 Assembling the DOBSONIAN BASE HOUSING Attach handle to the BASE FRONT with two medium silver Allen screws. The curved edge of the board is the top of this part when vertical. ! IMPORTANT ! Make sure the flat BACK face of the embedded T-nuts are on the BACK side of the board (opposite the handle).
- Page 6 Locate the BOTTOM BASE PLATE. The BOTTOM BASE PLATE for the 6" - 10" DT is round as shown and has 3 holes around its edge and a brass fitting in the center hole. The BOTTOM BASE PLATE for the 12" DT is shaped like a triangle.
- Page 7 Screw long black Allen screws through the BOTTOM BASE into the BASE HOUSING making sure the side with the recessed holes is facing away from the BASE HOUSING. Place BOTTOM BASE PLATE with feet facing down. Insert AXLE SLEEVE into the Center hole and place Teflon pads on plate as shown in next photo.
- Page 8 Tighten the knob until it feels firm but not too tight. TIP: Tightening or loosening this knob is how you will adjust the amount of effort it takes to rotate your Apertura™ Dobsonian telescope on its base.
- Page 9 Attach the 4-HOLE EYEPIECE TRAY to the BASE RIGHT panel of the BASE HOUSING ASSEMBLY using the two pre- drilled holes and two small black Phillips screws. Assembling the OPTICAL TUBE Attach SPRING SPACERS to each of the BASE SIDE BOARDS. Attach ALTITUDE KNOB, SPACER and SPRING to each SIDE BEARING, as shown.
- Page 10 Next, place the TELESCOPE TUBE into the BASE, with the large SIDE BEARINGS seated into the corresponding semi-circular cut outs in the side boards. Then attach a SPRING to each of the SPRING SPACERS that you installed on the side boards of your Dobsonian telescope's base.
- Page 11 Continue Assembling the OPTICAL TUBE Locate the 8x50 FINDERSCOPE and attach it to the dovetailed FINDERSCOPE BRACKET BASE on the side of the OPTICAL TUBE, located near the FOCUSER. Use the thumbscrew to tighten the FINDERSCOPE into place.
- Page 12 Aligning Your Finderscope When first attached, the finderscope will not be perfectly aligned with the telescope’s optics. Once the finderscope is properly aligned with the main telescope’s view, the finderscope’s extra-wide field of view will help you easily center the main telescope on objects you wish to view.
- Page 13 The Apertura focuser will accept 2“ and 1.25” eyepieces (with included adapter) and other common hardware. The amount of focusing required for each eyepiece will vary, therefore retract or extend the drawtube to bring the image into best focus. For lower power, wide field- of-view (FOV) eyepieces, it may be necessary to increase the focal length by fitting the 35mm Extension Tube (sold separately) into the focuser as an adapter to achieve focus.
- Page 14 Eyepiece Selection Your Apertura™ DT Dobsonian Telescope comes one eyepiece: a 1.25” diameter medium-power eyepiece with a 25mm focal length. Over time you will want to collect three or four extra eyepieces to achieve a variety of magnifications. To get the best...
- Page 15 Since the Earth is always rotating, astronomical objects will appear to move across the night sky. When using your Apertura™ Dobsonian Telescope for a little while, you need to manually track the observed objects by carefully moving the scope’s tube to keep the object relatively centered in the eyepiece.
- Page 16 This telescope comes collimated from the factory and is ready to use. Should you need to re-collimate in the future, we have included a basic collimation procedure for a standard laser collimator (sold separately). CAUTION: If you use a laser collimator, Do NOT allow the laser to shine in your eyes (either directly or indirectly off the telescope’s mirrors) as it may very well damage your eye sight permanently.
- Page 17 If it is absolutely necessary, use only an optical lens brush and lens bulb puffer to remove dust from your mirrors. The outside of your Apertura™ DT Dobsonian Telescope is easily cleaned with a dust cloth or sponge for fingerprints, dust, etc.
Need help?
Do you have a question about the DT Series and is the answer not in the manual?
Questions and answers