Advertisement
Instruction Manual
BEFORE STARTING ANY
INSTALLATION WORK,
PLEASE READ CAREFULLY
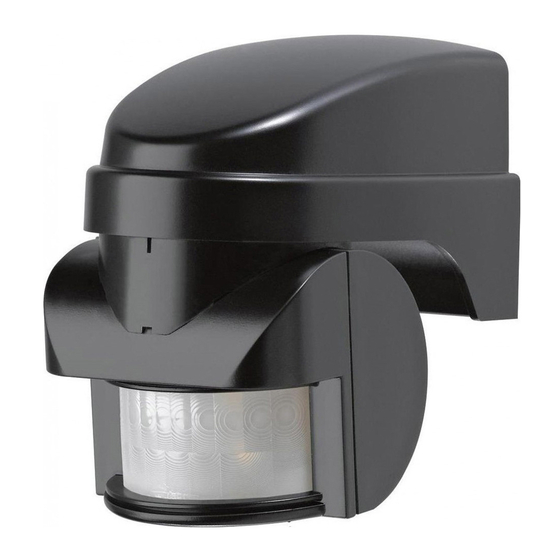
List Numbers L210S BLK / L210S WHI
TOOLS NEEDED
Drill and 6mm Masonry Drill Bit
Wire cutters and Wire Strippers
No.2 Philips Screwdriver
Terminal or Electricians Screwdriver
Large Bladed Screwdriver
SAFETY
Always follow the manufacturers advice when using
power tools, steps, ladders etc. and wear suitable
protective equipment (e.g. safety goggles when
drilling holes). Before drilling holes in walls, check for
hidden electricity cables and water pipes, the use of a
cable/pipe locater maybe advisable if in doubt.
The mains supply to this product should be installed
by a competent person (e.g. a qualified electrician)
in accordance with these instructions and in
accordance with the appropriate clauses of the current
edition of the IEE wiring regulations (BS7671).
DANGER - 240 VOLTS. To prevent the risk of
electrocution, always turn off the mains electricity
supply before commencing any work on the installation
or opening the detector.
It is essential that all connections are made as
instructed, that cables are not stressed and that
terminals are fully tightened.
1
ENG
Advertisement
Table of Contents

Related Manuals for FRIEDLAND SPECTRA 140


Summary of Contents for FRIEDLAND SPECTRA 140
- Page 1 Instruction Manual TOOLS NEEDED Drill and 6mm Masonry Drill Bit BEFORE STARTING ANY Wire cutters and Wire Strippers INSTALLATION WORK, No.2 Philips Screwdriver PLEASE READ CAREFULLY Terminal or Electricians Screwdriver Large Bladed Screwdriver SAFETY Always follow the manufacturers advice when using power tools, steps, ladders etc.
-
Page 2: Selecting A Location
SELECTING A LOCATION Your PIR Detector has a number of detection zones at various horizontal and vertical angles, as shown. A moving human body crossing or entering one of the zones activates the Detector. Mount the Detector at a height of 2.5m for the best Fig. - Page 3 Place the back plate of the unit in the desired position and mark the locations of the mounting holes [Fig. 6]. Next drill the holes to the required depth and insert the wall plugs. Cabling can either be from directly behind the unit through the wall, or along the surface from below - via the gaps provided in the housing [Fig.
-
Page 4: Wiring & Connection
Auto / Off Wiring in this manner WIRING & provides the following lighting options: CONNECTION Automatic operation (Switch closed) Permanently Off (Switch open) The unit requires connection to a 240Vac 50Hz mains electricity supply. This is best INDOOR SWITCH achieved by connecting the unit to the FOR PERMANENT OFF OVERRIDE domestic lighting circuit. -
Page 5: Operation & Testing
Auto / Manual On and Off Provides OPERATION & the following lighting options: TESTING Automatic operation (S1 closed, S2 open) Manual operation - with S1 Walk Testing open, the lamp is manually controlled by the use of S2. When the installation procedure is complete, the unit is ready for testing. - Page 6 Step 2 Step 5 Apply the power by switching on the circuit Repeat Steps 3 & 4, walking at various breaker/internal wall switch. The lamp will distances and angles to the unit (see immediately illuminate as the system Fig.14). This will help you to establish goes through its ‘warm-up’...
- Page 7 Setting up for automatic - When the ambient light level reaches the operation level of darkness at which you wish the lamp to become operative (i.e. at dusk), When Walk Tests are complete, the unit can slowly rotate the control in a clockwise be set for automatic operation as follows: direction until a point is reached where the Step 1...
-
Page 8: Troubleshooting Guide
TROUBLESHOOTING GUIDE REMEMBER Always ensure the mains supply to the unit is isolated before removing covers which allow access to live parts. PROBLEM SOLUTION Light stays ON all the Cover the Detector lens completely with thick cloth or a piece of cardboard to time at night, or PIR prevent it ‘seeing’. -
Page 9: Technical Specifications
TECHNICAL SPECIFICATIONS Detection Range Up to 15 metres Angle of Detection 140° Power supply 230Vac ~ 50Hz Maximum Switchable Load 1200W Tungsten filament 1200W Tungsten halogen Time On Adjustment 5 seconds - 15 minutes Lux Level Adjustment Day & night or night only operation Environmental Protection IP44. - Page 10 1) Proof of purchase. 2) A full description of the fault. Friedland is a trademark of Novar ED&S. HELPLINE If you have any problems with this product, please call the Helpline on 01268 563066 (Lines open 9.00am to 5.00pm, Monday to Friday) Friedland, Novar Electrical Devices and Systems The Arnold Centre, Paycocke Road, Basildon, Essex.
Need help?
Do you have a question about the SPECTRA 140 and is the answer not in the manual?
Questions and answers