Advertisement
Quick Links
Advertisement

Related Manuals for Flitework Midi EDGE 540


Summary of Contents for Flitework Midi EDGE 540
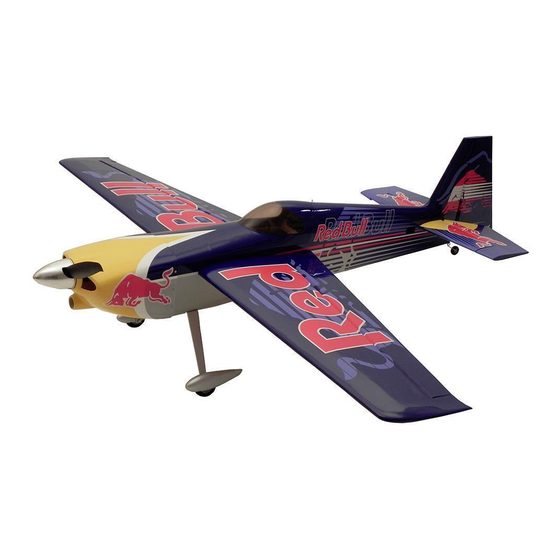
- Page 1 EDGE 540 Midi fly! ...live www.flitework.at - 1 -...
- Page 2 · Wing span 1030 mm · Length 990 mm · Take off weight 750 g with 3s 1300 and Flitework motor set - 2 -...
-
Page 3: Dear Customer
Dear Customer! Congratulations for purchasing the Flitework Midi Edge 540. We say thanks for your trust and we wish you a lot of happy flights with your new Midi Edge 540. ATTENTION PLEASE! Remote controlled model planes are not a toy! For assembling, flying and servicing such models, you need a high grade of technical comprehension and liability. - Page 4 Lets begin... Glue the hinges into the slots in wing and aileron, using CA Mount the aileron servo as shown in the picture with 2 screws. Search the center position with servo tester or RC or PVA glue. The glue should be very liquid for better and attach the servo lever parallel to the aileron.
- Page 5 For testing all matchings put all elevator parts into the Take care for a symmetric position of the elevator and Glue the hinges into the slots in wing and aileron, using CA section of the fuselage. mark along the fuselage, using a fine and non permanent or PVA glue.
- Page 6 Glue the hinges with CA- or PVA glue into the rudder and Feel out the frame for rudder servo and open the frame, rudder flaps. using a sharp hobby knife. Fix the servo like shown in the Look for easy movement!! picture with servo lever pointing down.
- Page 7 Remove the covering film along the mark. Then glue the The tail plane is ready now. lever to the elevator flap, using epoxy glue. If glue is dry, finish the linkage and lock the screws with blue locking agent. Look for all parts which belong to the landing gear! Assemble the landing gear as shown in the picture.
- Page 8 Put epoxy glue to the motor dome and hook it into the Remove the two wood tongues from the motor dome, using a sharp knife. firewall rib. Additional put the two small triangular balsa wood rails to the right and left side of the motor dome. Countersink the four 3 mm holes with a 5 mm drill Screw the motor to the motor dome, using M3x8 counter- sunk screws.
- Page 9 The propeller, not included in the kit should be balanced Mount the propeller unit to the motor shaft with the 2 M3 as good as possible. setscrews. Lock with blue locking agent. Assemble prop and spinner. The best result for balancing You can make a little flat spot onto the motor shaft at the you can get, if you have the possibility to balance the position of one setscrew.
- Page 10 20° 30° flight 40° 45° 50° flight Spare parts of Midi EDGE 540 Order #: 004-011 pair of wings, including wing tube Order #: 004-021 Fuselage with elevator, rudder, motor dome, accessory parts Order #: 004-031 landing gear complete Order #: 004-041...
- Page 11 Place for personal notes - 11 -...
- Page 12 Flitework GmbH Tel: +43 720 5154 01 Fax.:+43 720 5154 09 Geymannstraße 27 4713 Gallspach Mail.: office@flitework.at Austria / Europe www.flitework.at - 12 -...
Need help?
Do you have a question about the Midi EDGE 540 and is the answer not in the manual?
Questions and answers