Caroma G Series Installation And Maintenance Instructions Manual
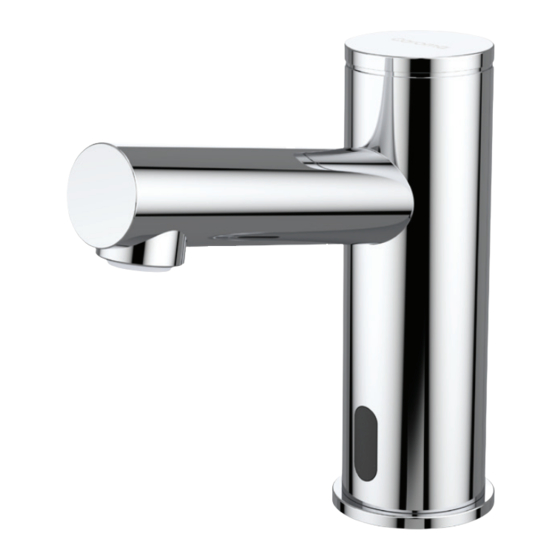
E hands free basin mixer/tap
Hide thumbs
Also See for G Series:
- Installation and maintenance instructions manual (16 pages) ,
- Installation and maintenance manual (16 pages) ,
- Installation and maintenance manual (17 pages)

Related Manuals for Caroma G Series


Summary of Contents for Caroma G Series
- Page 1 PLUMBERS InStaLLatIon and MaIntEnancE InStRUctIonS G Series E Hands Free Basin Tap G Series E Hands Free Basin Mixer g SERIES E H A N D S F R E E B A S I N M I X E R / T A P...
- Page 2 I N DEX tEcHnIcaL data PacK contEntS PRE-InStaLLatIon InFo MIXER oR taP InStaLLatIon SEttInGS adJUStMEnt 9-12 BattERY REPLacEMEnt (BattERY ModELS onLY) MaIntEnancE Filter washers cleaning instructions care and cleaning of chrome and special finishes SPaRE PaRtS LISt tRoUBLE SHootInG...
-
Page 3: Power Requirements
I M PO R T ANT PrESSurE & TEMPEraTurE rEquirEMEnTS Hot and cold water inlet pressures should be equal. Static inlet pressure range 150-800 kPa - new Regulation 500 kPa maximum static pressure at any outlet within a building (Ref. aS/nZS 3500.1-2003, clause 3.3.4) Maximum hot water temperature: 70°c DEck rEquirEMEnTS... -
Page 4: Technical Data
TE c h N I cA l DA T A 1 1 0 1 1 0 8 0 - 2 2 0 8 0 - 2 2 0 ADJUSTABLE ACTIVATION RANGE ADJUSTABLE ACTIVATION RANGE G-Series E Hands Free tap G16006E6a G-Series E Hands Free Mixer G16004E6a IP67 dual Power Input Box Kit SP63013... - Page 5 P A ck c ON T ENT s Familiarise yourself with the part names and confirm that the parts are included. O n e i n l e t 1x tap and attachments 1x Filter washer t W O i n l e t S 1x Mixer and attachments D u a l P o w E r M a i n S...
-
Page 6: Pre-Installation Info
PRE-INsTAllATION INfO check contents Separate all parts from the packaging and check each part with the “Pack contents” section. Pay attention to the different models variations. Make sure all parts are accounted for before discarding any packaging material. If any parts are missing, do not attempt to install your electronic mixer or tap until you obtain the missing parts. - Page 7 M I X E R O R TAP IN sT A l l A T ION Step 1 – Preparation for mounting the mixer or tap Shut off water supply and remove the hexagonal nut, the disc and Ø34mm min the gasket.
- Page 8 M I XE R OR TAP IN s T Al l A T IO N Step 3 – Connecting the water supply 1. a. Flush lines, fit filter washer and connect the flexible tail to the water supply and Flex tails tighten to compress the sealing washer to Flex tail...
-
Page 9: Settings Adjustment
sETTINGs ADjusTMENT Delay ouT Time DeTecTion range Delay in Time Temporary off funcTion securiTy Time r e s e T lock ouT Time 24 hour hygiene flush adjusting the settings with the remote control If necessary, the sensor settings can be adjusted as following: Shut off the water supply. - Page 10 sETTINGs ADjusTMENT DETEcTion ranGE: the sensor range is the greatest distance that an object can be away from the sensor to activate the mixer or tap. the sensor is factory preset. to adjust the sensor range press + to increase detection range and –...
- Page 11 ADjusTMENT lock ouT TiME: It is possible to program a lock out time in caroma products upon request. this lock out time allows a user to activate the mixer or tap, only after a specific amount of time has passed.
- Page 12 sETTINGs ADjusTMENT adjusting the sensor range without a remote control: 1. disconnect the power supply, battery or transformer, from the sensor. 2. activate the sensor three or four times. 3. Reconnect the power supply to the sensor. 4. to enter into the adjusting mode, put your hand in front of the sensor at a distance of 2”(5cm) to 4”(10cm) within 5 seconds after the reconnection of the power supply.
-
Page 13: Battery Replacement
BATTERy REPlAcEMENT Battery option only When the battery weakens, the red indicator light will blink at a constant rate when the user’s hands are within the sensor range. the battery must be replaced within two weeks. To replace the battery on battery option: 1. - Page 14 SParE ParTS liST Remote control code. SP16012 IP67 dual Power Input Box code. SP63027 Solenoid code: SP63019 G Series Hands Free Power Supply 9V code: SP63026...
-
Page 15: Troubleshooting
T RO u B lE s hO O T IN G ProBlEM inDicaTor cauSE SoluTion no water 1.Sensor flashes Low battery. Replace battery. coming out continuously when of the mixer user’s hands are within or tap: the sensor’s range. 2. Red light in the sensor Increase the range.
Need help?
Do you have a question about the G Series and is the answer not in the manual?
Questions and answers