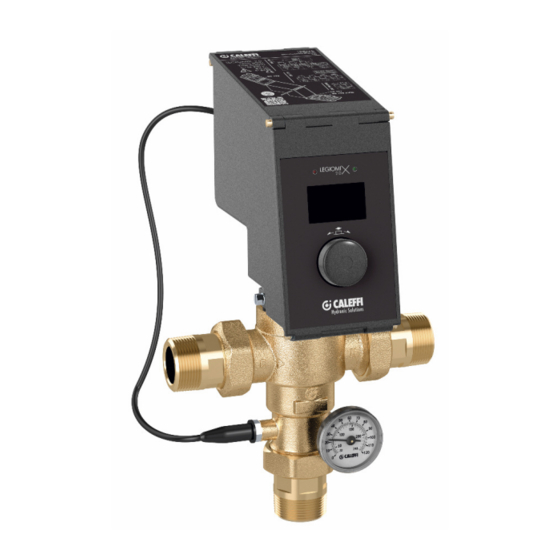
CALEFFI LEGIOMIX 2.0 Software Instruction Manual
Hide thumbs
Also See for LEGIOMIX 2.0:
- Installation and commissioning manual (12 pages) ,
- Operating steps - installation manual (20 pages)
Advertisement
Quick Links
Software di gestione per miscelatore LEGIOMIX 2.0
Management software for LEGIOMIX 2.0 mixer
Steuersoftware für Mischer LEGIOMIX 2.0
Logiciel de gestion pour mitigeur LEGIOMIX 2.0
Software voor beheer van het LEGIOMIX 2.0 -mengventiel
©
opyright 2018
alef fi
GEBRUIKERSH NDLEIDING V N DE SOFTW RE
MANUALE DI ISTRUZIONE SOFTWARE
SOFTW RE INSTRUCTION M NU L
SOFTW RE-BEDIENUNGS NLEITUNG
M NUEL D'UTILIS TION DU LOGICIEL
www.c leffi.com
INDICE/CONTENTS/
INH LTSVERZEICHNIS/
SOMM IRE/ INHOUD
Installazione cavo USB - RS-485
Installation of USB - RS-485 cable
Installation mit USB - RS-485-Kabel
Installation du câble USB - RS-485
Installatie USB - RS-485-kabel
Avvertenze
Warnings
Hinweise
vertissements
Waarschuwingen
Installazione software Caleffi
Installation of Caleffi software
Installation der Caleffi-Software
Installation du logiciel Caleffi
Installatie software van Caleffi
H0003548
I
EN
DE
FR
NL
Code 600002
2
4
5
Advertisement

Summary of Contents for CALEFFI LEGIOMIX 2.0
- Page 1 Software di gestione per miscelatore LEGIOMIX 2.0 Management software for LEGIOMIX 2.0 mixer Steuersoftware für Mischer LEGIOMIX 2.0 Logiciel de gestion pour mitigeur LEGIOMIX 2.0 Software voor beheer van het LEGIOMIX 2.0 -mengventiel Code 600002 © opyright 2018 alef fi...
- Page 2 Installazione cavo USB RS-485 In confezione è presente il cavo convertitore USB - RS-485, il quale dovrà essere collegato alla scheda CS179 (attraverso l’utilizzo dei passacavi o pressacavi), dopo aver rimosso l'alimentazione del dispositivo e in conformità alle normative vigenti, come indicato nelle seguenti figure: Installation of USB - RS-485 cable The pack contains the USB - RS-485 converter cable, which must be connected to the CS179 board (using cable glands or cable clamps), after having disconnected the device from the electric supply and in compliance with current regulations,...
- Page 3 Una rete di comunicazione RS-485 dovrebbe essere realizzata in conformità alle prescrizioni di standard EIA RS-485 (qualsiasi altra configurazione è a discrezione dell’operatore che la realizza). È importante l’utilizzo di un cavo a due fili intrecciato, inoltre per garantire una qualità di trasmissione ottimale: - Utilizzare un cavo BUS con impedenza di circa 120 Ohm.
- Page 4 Cut off the electric supply before carrying out any technical operations. Hinweise N.B. : Die Installation des Mischers LEGIOMIX 2.0 hat nach den geltenden Vorschriften durch einen Fachbetrieb zu erfolgen. Falls die Installation, Inbetriebnahme und Wartung des Gerätes nicht strikt nach den Anweisungen der vorliegenden Anleitung erfolgen, können Funktionsstörungen auftreten, die eine Gefahr für den Benutzer darstellen.
- Page 5 - Aprire la cartella LEGIOMIX 2.0 e cliccare sull’icona LEGIOMIX2.EXE per avviare il programma. Software installation Connect the USB - RS-485 converter cable to the LEGIOMIX 2.0 device and to the USB port of your PC. Power on the device. The software is supplied on a USB FLASH PEN (in the pack).
- Page 6 Dopo aver completato l'inserimento dei dati di anagrafica dell'impianto, premere il pulsante Select per accedere alla seconda schermata. After having completed the input of plant identification data, press the Select button to go to the second screen. Nach der vollständigen Eingabe der Anlagendaten Schaltfläche Select betätigen, um zum zweiten Bildschirm zu gelangen.
- Page 7 Menù STATO IMPIANTO / PLANT STATUS menu / Menü ANLAGENSTATUS / Menu ÉTAT INSTALLATION / Menu STATUS INSTALLATIE 1) Fasce orarie ricircolo 4) Ingressi e uscite 7) Impostazione tipologia disinfezione 1) Recirculation time bands 4) Inlets and outlets 7) Disinfection type set-up 1) Zeitschaltung Zirkulation 4) Ein- und Ausgänge 7) Einstellung Desinfektionstyp...
- Page 8 Menù PARAMETRI DISINFEZIONE / DISINFECTION PARAMETERS menu / Menü DESINFEKTIONSPARAMETER / Menu PARAMÈTRES DÉSINFECTION / Menu DESINFECTIEPARAMETERS Menù COMANDI / CONTROLS menu / Menü BEFEHLE / Menu COMMANDES / Menu BEDIENINGEN...
- Page 9 10) Parametri disinfezione 13) Attivazione/disattivazione disinfezione 16) Attivazione/disattivazione fondo scala 10) Disinfection parameters 13) Disinfection enable/disable 16) Full scale enable/disable 10) Desinfektionsparameter 13) Aktivierung/Deaktivierung Desinfektion 16) Aktivierung/Deaktivierung Max-Stellung 10) Paramètres désinfection 13) Activation/désactivation désinfection 16) Activation/désactivation étalonnage 10) Desinfectieparameters 13) Inschakeling/uitschakeling desinfectie 16) Inschakeling/uitschakeling schaalbereik 11) Parametri shock termico 14) Attivazione/disattivazione shock termico...
- Page 10 In entrambe le ricerche, selezionando la data si accede al report, come nella seguente schermata. In both searches, selecting the data provides access to the report, as shown in the following screen. In beiden Suchvorgängen führt die Auswahl des Datums zum Zugriff auf den Bericht, wie im nachstehenden Bildschirm gezeigt.
- Page 11 18) Ricerca giornaliera di disinfezione (Il 19) Ricerca giornaliera di temperatura e 21) Eventi registrati 21) Recorded events giorno colorato di verde ne indicherà eventi 21) Aufgezeichnete Ereignisse un esito positivo di disinfezione) 19) Daily search for temperature and 18) Daily disinfection search (The day events 21) Évènements enregistrés 21) Geregistreerde gebeurtenissen...


Need help?
Do you have a question about the LEGIOMIX 2.0 and is the answer not in the manual?
Questions and answers