Advertisement
Quick Links
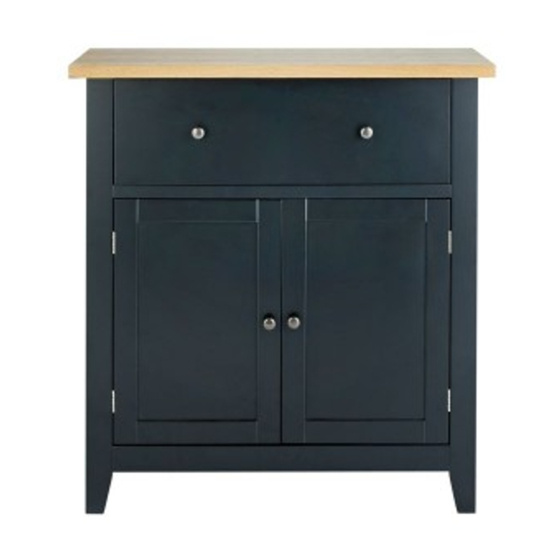
Luna 2 Door 1 Drawer Sideboard
Assembly lnstructions - Please keep for future reference
448/8439
hygena
Dimensions
Width -80cm
Depth - 40cm
Height -85.5cm
Important - Please read these instructions fully before starting assembly
Customer Helpline: 0345 6400 800
If you need help or have damaged or missing parts, call the
Issue 1-23-10-15
Advertisement

Related Manuals for hygena Luna 448/8439


Summary of Contents for hygena Luna 448/8439
- Page 1 Luna 2 Door 1 Drawer Sideboard Assembly lnstructions - Please keep for future reference 448/8439 hygena Dimensions Width -80cm Depth - 40cm Height -85.5cm Important - Please read these instructions fully before starting assembly Customer Helpline: 0345 6400 800 If you need help or have damaged or missing parts, call the...
- Page 2 Safety and Care Advice Check you have all the Assemble the item as close We do not recommend the components and tools listed on to its nal position (in the same pages 2 and 3. use of power room) as possible. Remove all ttings from the drill/drivers for Assemble on a soft level...
-
Page 3: Components - Parts
Components - Parts lf you have damaged or missing components. call the Customer Helpline: 0345 6400 800 underside inside Side frame (left) (83x37x5cm) (80x40x2.5cm) underside inside Base panel Side frame (right) (64x35x1.5cm) (83x37x5cm) Front stretcher (64x5x2.5cm) Drawer front (63.6x18x1.5cm) Apron (Top) (64x5x2.5cm) Drawer back (61.3x1.5x1.2cm) - Page 4 Components - Parts lf you have damaged or missing components. call the Customer Helpline: 0345 6400 800 10 Shelf Back panel x2 (63.7x34.4x1.2cm) (66.5x34.8x0.3cm) 12 Drawer base panel (61.4x29.4x0.3cm) Door x2 (31.5x45.5x1.5cm) 14 Sealing strip Drawer support (66.3x1.1cm) (28.8x4x1.2cm) 16 Drawer side (left) 15 Drawer side (right) (30x1.5x1.2cm) (30x1.5x1.2cm)
-
Page 5: Tools Required
Components - Fittings 0345 6400 800 Wooden dowel x 14 (6X30mm) Large locking nut x 9 Metal dowel x 18 Small locking nut x 9 Screw x 20 (2.5x10mm) Magnetic catch x2 Door catch plate x 4 Screw x 28 (3x12mm) Screw x 5 (4x30mm) Screw x4 (4x18mm) Door hinge x 4... - Page 6 Assembly Instructions Preparing panels Place panels at on the oor with the xing holes facing up. Screw metal dowels into all panels as shown. Preparing side panels Place left and right side frames at on the oor with the xing holes facing up. Screw metal dowels into the side frames as shown.
- Page 7 Assembly Instructions Preparing doors and stretcher Place two doors stretcher at on the oor as shown. a: Fit hinges to doors using screws Fit two door catch plates to each door using screws Fit knob to each door using screws b: Fit magnetic catch to front stretcher...
- Page 8 Assembly Instructions Assembling side frame Locate left side frame into position . Insert large locking nuts as shown. Turn locking nuts clockwise to secure. Assembling top With help , stand the unit upright. Insert wood dowels into the top of side frames Locate top into position.
- Page 9 Assembly Instructions Assembling back panels a : Carefully lay the unit face down onto the oor . Locate back panels into position . Fit sealing striping between the back panels as shown. b: Secure back panels using screws...
- Page 10 Assembly Instructions Fitting doors With help ,stand the unit upright. Warning : The unit is heavy , lift with care . Assemble doors using screws...
- Page 11 Assembly Instructions Assembling drawer a: Locate drawer side panels and support onto drawer front Insert small locking nuts into the drawer side panels and support as shown . Align grooves Turn locking nuts clockwise to secure. b: Slide drawer base panel into the grooves.
- Page 12 Assembly Instructions Locating drawer and shelf Insert shelf support pins the desired height. Carefully locate shelf onto the support pins . Extend the drawer runners fully out. Locate the drawer onto runners and secure using screws as shown. Fixing to the wall It is recommended that the wall to ensure stability.
- Page 13 Assembly Instructions If you need help or have damaged or missing parts, call the Customer Helpline: 0345 6400 800 Home Retail Group. 489-499 Avebury Boulevard. Saxon Gate West. Central Milton Keynes. MK9 2NW...
Need help?
Do you have a question about the Luna 448/8439 and is the answer not in the manual?
Questions and answers