Advertisement
Table of Contents
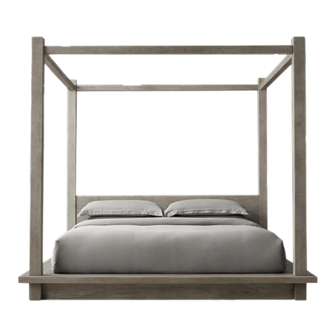
R E C L A I M E D
PARTS INCLUDED
A [1] FRONT FRAME
B [1] BACK FRAME
C [1] RIGHT SIDE FRAME
D [1] LEFT SIDE FRAME
E [1] BACK HEADBOARD
F [2] FRONT POSTER
G [2] BACK POSTER
H [4] TOP ELEMENTS for POSTERS
I [1] MIDDLE LEG SUPPORT for MATTRESS
J [1] WOOD MATTRESS SUPPORT
ASSEMBLY INSTRUCTIONS
1.
Carefully unpack the contents of the carton.
2
Assemble Right Side Frame [C] with one of the Front Poster [F] and one of
the Back Poster [G] using the screws and washers as shown in ( Fig. 1 )
3
Please repeat step 2 for the Left Side Frame using screws and washers as shown in ( Fig. 2 )
4
Assemble the base of the bed connecting assembly right and left with the Front Frame [A] and Back Frame [B] with screws and
washers. Please use the Dog Bone connector to assemble the base of the bed, assembled right side frame , and left side frame ( Fig. 3 )
5
Place headboard [E] between back posters [G] and connect them with Allen Screws and washer ( Fig. 4 )
6
Place the Top Elements [H] in place one by one, and connect with the screws and washers ( Fig. 5)
7
Install Middle leg support for mattress [ I ] ( Fig. 6)
8
Put in place the wood mattress support [ J ] ( Fig. 6)
R U S S I A N
O A K
C A N O P Y
B E D
NO.
ITEM
DESCRIPTION
1
Screws M.8x0.98 inch
2
Screws M.6x0.77 inch
3
Allen Screws
Screws M.8x2.76 inch
4
Washer
5
Washer
6
Dog Bone
connector
7
Allen Wrench
8
Wrench
9
QTY.
8 pcs.
12 pcs.
4 pcs.
8 pcs.
20 pcs.
12 pcs.
6 pcs.
1 pcs.
not
included
Fig. 1
Advertisement
Table of Contents

Related Manuals for RH RECLAIMED RUSSIAN OAK CANOPY BED


Summary of Contents for RH RECLAIMED RUSSIAN OAK CANOPY BED
- Page 1 R E C L A I M E D R U S S I A N O A K C A N O P Y B E D PARTS INCLUDED ITEM DESCRIPTION QTY. A [1] FRONT FRAME 8 pcs. Screws M.8x0.98 inch B [1] BACK FRAME C [1] RIGHT SIDE FRAME 12 pcs.
- Page 2 Fig. 2 Fig. 3 Fig. 4...
- Page 3 Fig. 5 Fig. 6 CARE INSTRUCTIONS 1. Clean periodically by wiping the frame with a soft clean cloth slightly moistened with water. 2. Do not use abrasive cleaners, chemical cleaners, or metal polishes.
Need help?
Do you have a question about the RECLAIMED RUSSIAN OAK CANOPY BED and is the answer not in the manual?
Questions and answers