Table of Contents
Advertisement
Quick Links
Advertisement
Table of Contents

Related Manuals for Advancing Alternatives Aegis Tec

Summary of Contents for Advancing Alternatives Aegis Tec
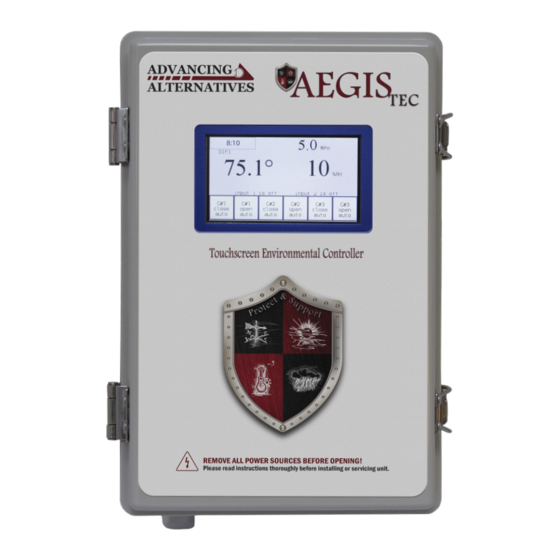
- Page 1 Aegis Tec Environmental Controller User Manual...
- Page 2 Designed for a single zone or freestanding greenhouse, the Aegis Tec can coordinate a variety of growing techniques and system overrides. This manual’s purpose is to assist you in utilizing the controller to its fullest potential, for your specific application.
- Page 3 WARNING...
-
Page 4: Table Of Contents
CONTENTS Installation Locating the Controller ....................5 Locating & Connecting the Temperature sensor ............5 Connecting the Ventilation Motors ................6 Connecting the Humidity Sensor ................. 7 Connecting the Fans ...................... 8 Connecting the Heaters ....................9 Connecting the Anemometer ..................10 Connecting the Rain Sensor .................. -
Page 5: Installation
INSTALLATION Locating the Aegis Tec Consider the following before installing the Aegis: • Protect the enclosure from moisture—mount it in a secure and dry place. • Important: Only drill holes in the bottom of the enclosures. • Drilling holes into the top or sides of the enclosure voids the warranty. -
Page 6: Connecting The Ventilation Motors
INSTALLATION Connecting the Low Voltage Ventilation Motors The Aegis Tec includes a 10 amp, 24 motor supply. It is prewired to run multiple DC ventilation motors. Each motor is protected by a 5 amp circuit breaker. Replacing the 5 amp circuit breakers with those of a larger amp rating will void the motor warranty. -
Page 7: Connecting The Humidity Sensor
INSTALLATION Connecting the Humidity Sensor Place the humidity sensor in the middle of the structure and at a height that best represents the average temperature at crop level. Keep the sensor wire away from high voltage wire by at least 1 foot. Connections: 1. -
Page 8: Connecting The Fans
INSTALLATION Connecting the Fans Below is an image showing the connection of two fans to the controller. The controller sends an operation signal to the fans. The fans are powered independently of the controller. Do not connect 110VAC to the controller terminals. -
Page 9: Connecting The Heaters
INSTALLATION Connecting the Heaters Below is an image showing the connection of two heaters to the controller. The controller sends an operation signal to the heaters. The heaters are powered independently of the controller. Do not connect 110VAC to the controller terminals. -
Page 10: Connecting The Anemometer
INSTALLATION Connecting the Anemometer The anemometer is used to close curtains in high wind conditions. Connections: The red wire connects to 24v+ The white wire connects to Input#2 The black wire connects to Negative/0V... -
Page 11: Connecting The Rain Sensor
INSTALLATION Locating the Rain Sensor Keep the sensor wire away from high voltage wire by at least 1 foot. The rain sensor detects water droplets on the lens. Mount the sensor for rain detection relative to the structure for the desired sensitivity. Connecting the Rain Sensor Match the rain sensor wire, by color, to the corresponding terminal. -
Page 12: Main Screen System Status View
MAIN SCREEN System Status View The Main screen shows the status of the controlled zone. You can see the temperature and the status of the relays. Touch the center of the screen to access your settings. Touch the bottom row of buttons for manual overrides. Setting the Clock Touch the middle of the screen to enter the Setup Menu. -
Page 13: Overrides
OVERRIDES General Overrides General override buttons allow you to override any timed settings. Relay Overrides By touching the relay buttons on the main screen you can access individual manual control. Select the relay status you want. In Auto mode, the controller will perform as configured. Selecting Off or Forced allows you to manually override the auto settings. -
Page 14: Dif
OVERRIDES DIF allows you to create alternate temperature setpoints during a 24 hour period. DIF technique typically drops the temperature in the morning hours. A second DIF period can be used to amass solar energy before sunset. The control status is displayed as either Primary, DIF or LiDep. Touch the clock to change the DIF/ LiDep or clock settings. -
Page 15: Configuration
CONFIGURATION Configurations By touching the center of the Main screen you will access the Settings screen. The Configuration menu is where outputs and inputs are entered. What is entered should reflect the specific environmental systems that are to be controlled within the zone. This screen also enables different input sensors and sets how each system reacts to the sensor reading. -
Page 16: Configuration Setup
CONFIGURATION Configuration Setup Description Default Number of vent motor circuits Number of fan circuits Number of heaters Wind average minutes. The response time for wind to average out the gusts Wind wheel calibration 25=MPH 17=KPH Type of 2nd sensor 0 = none, 1 = humidty, 2 = amps, 3 = temperature How many vent motors are in zone2 Max seconds vent motors will close for rain or high wind Is anemometer connected to Input#2... -
Page 17: System Settings
SYSTEM SETTINGS Zone Parameter Setup By touching the center of the Main screen you will access the Settings screen. The Systems Settings menu is where input values are assigned to the environmental systems to be controlled. What is visable in this menu is based on the information entered into the Configuration menu. - Page 18 SYSTEM SETTINGS Curtain Settings Description Default Open temperature for Vent 1 60° 1° 99° Open temperature for Vent 2 60° 1° 99° Open temperature for Vent 3 60° 1° 99° Vent 1‘s DIF1 temperature 61° Vent 2‘s DIF1 temperature 62° Vent 1‘s DIF2 temperature 62°...
- Page 19 SYSTEM SETTINGS Fan Settings The temperature parameters control the starting temperature. The fans are used for cooling. They will turn on above the temperature setpoint. If humidity is connected , fan # 1 can be set to clear out the high humidity. Description Default Start temperature for Fan#1...
- Page 20 SYSTEM SETTINGS Heater Settings The parameters control the starting temperature. The heaters can be controlled by the DIF function. Description Default P161 Heater 1 setpoint° 60° 1° 100° P162 Heater 2 setpoint° 61° 1° 100° P166 Heater 1’s DIF1 setpoint° 60°...
Need help?
Do you have a question about the Aegis Tec and is the answer not in the manual?
Questions and answers