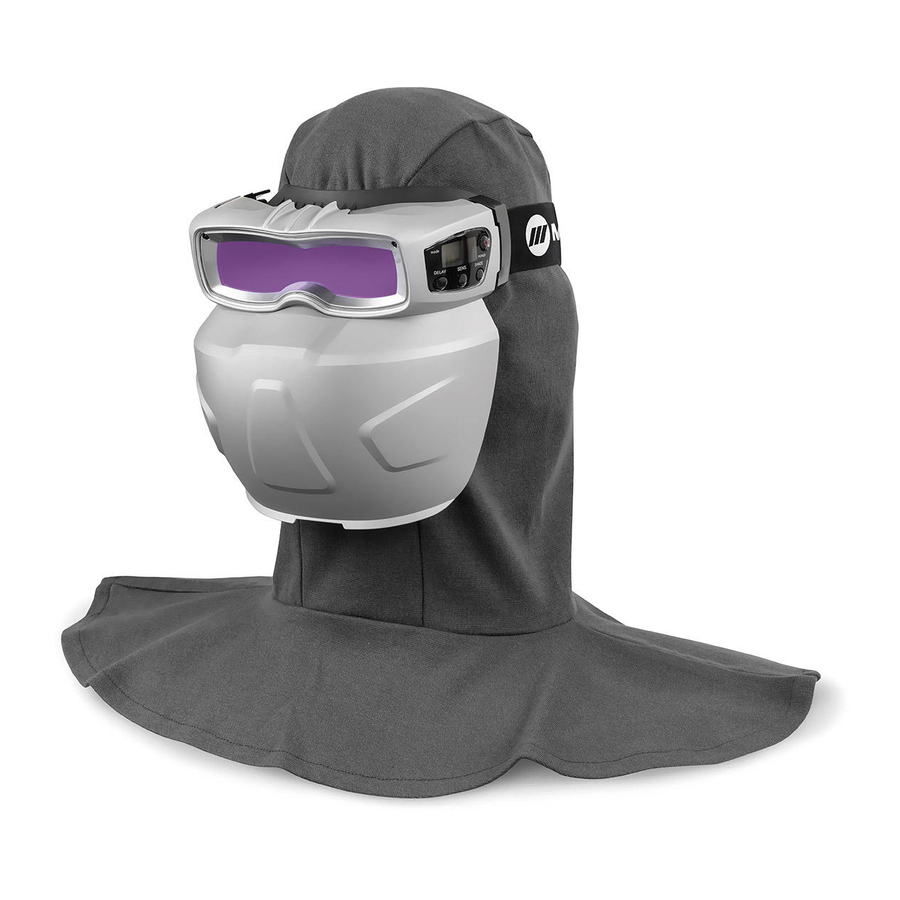
Summary of Contents for Miller Weld-Mask 2
- Page 1 OM-280995C 2017−12 ® Weld-Maskt 2 To help us serve you better, go to www.MillerWelds.Com/Register...
-
Page 2: Table Of Contents
TABLE OF CONTENTS SECTION 1 − WELDING HELMET AND WELDING GOGGLE SAFETY PRECAUTIONS − READ BEFORE USING ............. . 1-1. -
Page 3: Section 1 − Welding Helmet And Welding Goggle Safety Precautions
SECTION 1 − WELDING HELMET AND WELDING GOGGLE SAFETY PRECAUTIONS − READ BEFORE USING Weld Gog. 2016-11 Protect yourself and others from injury — read, follow, and save these important safety precautions and operating instructions. 1-1. Symbol Usage DANGER! − Indicates a hazardous Indicates special instructions. - Page 4 WELDING HELMETS AND WELDING GOGGLES do not provide unlimited eye, ear, and face protection. Arc rays from the welding process produce intense visible and invisible (ultraviolet and infrared) rays that can burn eyes and skin. Sparks fly off from the weld. D Use impact resistant safety spectacles or goggles and ear protection at all times when using the welding helmet.
-
Page 5: Proposition 65 Warnings
1-3. Proposition 65 Warnings Welding or cutting equipment produces fumes or gases which contain chemicals known to the State of California to cause birth defects and, in some cases, cancer. (California Health & Safety Code Section 25249.5 et seq.) This product contains chemicals known to the state of California to cause cancer, birth defects, or other reproductive harm. -
Page 6: Section 2 − Specifications
SECTION 2 − SPECIFICATIONS Applications Arc Welding, Plasma Cutting, Oxy-Fuel Welding And Cutting Viewing Field 124 x 30 mm Operating Modes Three: Weld, Cut, X-Mode Reaction Time 0.00004 sec (1/25,000) Available Shades Cut: 5−8 Weld: 9−13 All Shades Provide Light State: No. 3 (Passive Mode) Continuous UV And IR Protection. -
Page 7: Section 3 − Operating Instructions
SECTION 3 − OPERATING INSTRUCTIONS 3-1. Auto-Darkening Weld-Mask Components The auto-darkening goggles provide eye protection only. Use additional personal pro- tection equipment (arc shield, face shield, balacla- va, hard hat, etc.) to shield exposed skin and protect head. Use auto-darkening goggles only for welding and cutting applications. -
Page 8: Lcd Screen And Controls
3-2. LCD Screen And Controls Power Button Mode Display Delay Button Delay Display Sensitivity Button Sensitivity Display Shade Button Shade Display See Sections 3-3 thru 3-6 for description of controls. WELD 1311 3-3. Power Button And Low Battery Notification Power Button described. -
Page 9: Variable Shade Control
3-4. Variable Shade Control Variable Shade Control Start at the highest setting and Press Shade Control but- Button adjust lighter to suit the ap- ton to select desired plication and your personal shade. Press the Shade Control but- preference. ton to adjust the lens shade in Begin welding or continue Use the Shade Control to tog- the darkened state. -
Page 10: Sensitivity Control
3-6. Sensitivity Control Sensitivity Control Button Use Sensitivity control to make the lens more responsive to different light levels in various welding pro- cesses. Use a mid-range or 30−50% sensitivity setting for most applications. It may be nec- essary to adjust weld-mask sensi- tivity to accommodate different lighting conditions or if lens is flashing on and off. -
Page 11: Section 4 − Replacing Consumable Lenses And Inserting
SECTION 4 − REPLACING CONSUMABLE LENSES AND INSERTING MAGNIFYING LENS FRAME 4-1. Replacing The Lens Cover Never use the auto-darken- ing lens without the lens cover properly installed. Welding spatter will dam- age the auto-darkening lens and void the warranty. Shield Weld-Mask Lens... -
Page 12: Changing Inner Anti-Fog Lens
4-2. Changing Inner Anti-Fog Lens Goggle Inner Anti-Fog Lens Bottom Slots Pull existing lens away from the frame by inserting a screwdriver or other tool into slots (bottom) to release tabs. Remove protective film from both sides of new lens cover and install. Be sure both tabs on anti-fog lens are securely fastened in frame slots. -
Page 13: Section 5 − Replacing The Battery
SECTION 5 − REPLACING THE BATTERY Battery Cover Loosen screws securing battery cover. Remove cover and battery. Tools Needed: Replace with CR2450 lithium battery (1 re- quired) or equivalent (Mill- er Part No. 217043). Be sure Positive (+) side of the batteries phillips faces up. -
Page 14: Section 7 − Replacing The Strap Assembly
SECTION 7 − REPLACING THE STRAP ASSEMBLY Strap Hinge Assembly Separate strap from weld-mask at hinges. Snap new strap into hinges. SECTION 8 − ADDING LIGHT HOLDER ASSEMBLY Light Holder Shield Attach holder from back to front. Detach from front to back. -
Page 15: Section 10 − Troubleshooting
SECTION 10 − TROUBLESHOOTING Trouble Remedy Not switching – auto-lens Stop welding or cutting immediately: Make sure the lens is turned stays light and does not darken when welding or If power is On, check the shade settings. Also review sensitivity cutting. -
Page 16: Section 11 − Parts List
LIMITED WARRANTY – Subject to the terms and conditions below. Miller Electric Mfg. Co., Appleton, Wisconsin, warrants to its original retail pur- chaser that the new Miller equipment sold after the effective date of this limited warranty is free of defects in material and workmanship at the time it is shipped by Miller. - Page 17 Notes OM-280995 Page 15...
- Page 18 Notes OM-280995 Page 16...
- Page 19 Notes OM-280995 Page 17...
- Page 20 Visit our website at www.MillerWelds.com ® Miller Electric Mfg. Co. An Illinois Tool Works Company 1635 West Spencer Street Appleton, WI 54914 USA © ORIGINAL INSTRUCTIONS 2017 Miller Electric Mfg. Co.

Need help?
Do you have a question about the Weld-Mask 2 and is the answer not in the manual?
Questions and answers