Lifetime 60012 Aassembly Instructions
Storage box
Hide thumbs
Also See for 60012:
- Manual (28 pages) ,
- Assembly instructions manual (28 pages) ,
- Manual (25 pages)
Table of Contents
Advertisement
Quick Links
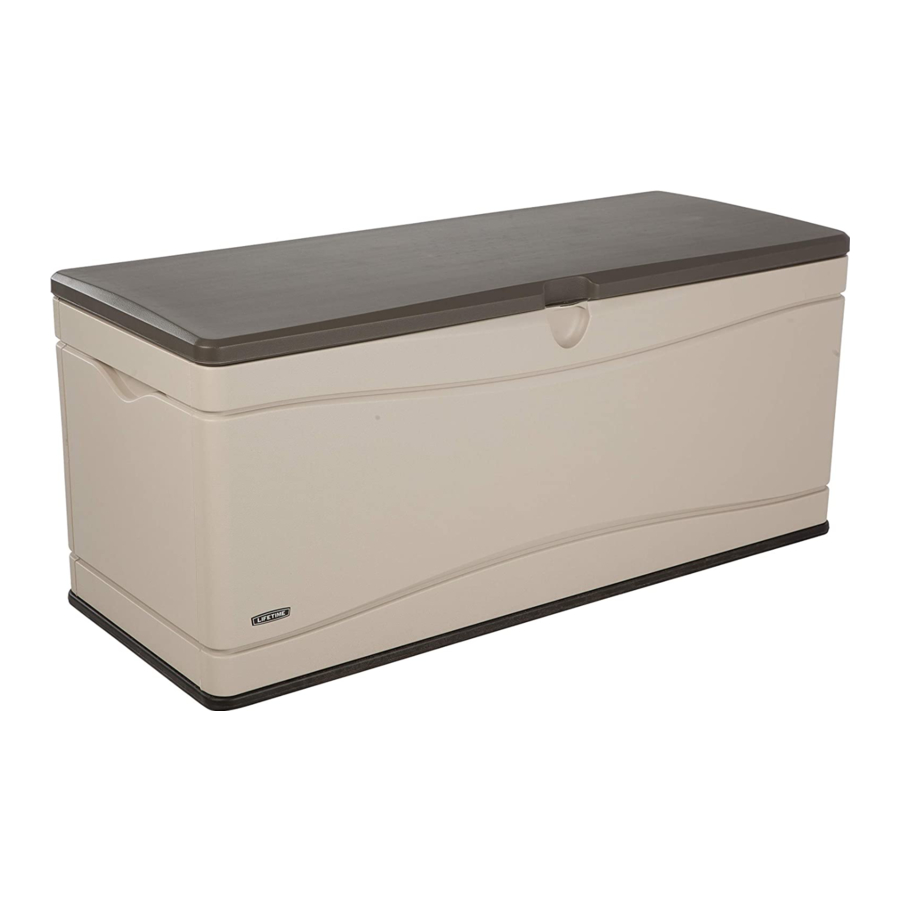
130-GALLON
STORAGE BOX
MODEL #60091
MODEL 60012
BEFORE ASSEMBLY:
• Assemble on a level surface
• At least 2 adults recommended for setup
GET ASSEMBLY HELP
WATCH THE INSTRUCTIONAL VIDEOS ON YOUTUBE.
Scan the code, or search http://go.lifetime.com/60012playlist
For Customer Service in Mainland Europe and the United Kingdom,
E-mail: cs@lifetimeproducts.eu
TOOLS REQUIRED
QUESTIONS?
CONTACT LIFETIME CUSTOMER SERVICE:
Call: 1-800-225-3865
7:00 am–5:00 pm (Monday–Friday) MST
and 9:00 am–1:00 pm Saturday MST
Importado por:
LPI de México S. de R. L. de C.V.
Decada # 5005
Parque Industrial Milenium
Apodaca, N.L. México C.P. 66600.
RFC: LME070821UG6
Hecho en EUA
Teléfono 1: +52 (81) 8145 0650
Ninguna garantía ofrecida por el fabricante es válida en México
Live Chat: www.lifetime.com
(click on "Ask An Expert" tab)
Video Instructions:
www.youtube.com/lifetimeproducts
ASSEMBLY INSTRUCTIONS
Pour le français, voir la page 2. Para el español, ver la página 3.
MODEL# AND PRODUCT ID
Model Number: 60012
Product ID:
TABLE OF CONTENTS
Icon Legend...................................................4
Warnings & Notices.......................................5
Parts Identifi er...............................................6
Box Assembly.................................................7
Lid Assembly...............................................12
Additional Warning.....................................22
Cleaning & Care.........................................23
Registration.............................................24
Warranty....................................................25
(you will need both when contacting us)
Advertisement
Table of Contents

Related Manuals for Lifetime 60012


Summary of Contents for Lifetime 60012
- Page 1 Apodaca, N.L. México C.P. 66600. RFC: LME070821UG6 Hecho en EUA Teléfono 1: +52 (81) 8145 0650 Scan the code, or search http://go.lifetime.com/60012playlist Ninguna garantía ofrecida por el fabricante es válida en México For Customer Service in Mainland Europe and the United Kingdom, E-mail: cs@lifetimeproducts.eu...
- Page 2 Nettoyage et entretien........23 Enregistrement.........24 Garantie............26 ® QUESTIONS ? CONTACTER AUX SERVICES À LA CLIENTÈLE LIFETIME Composer le 1-800-225-3865 Live Chat: www.lifetime.com MODEL# AND PRODUCT ID (il faut avoir les deux au moment de nous contacter) (click on “Ask An Expert” tab) Model Number: 60012 Du lundi au vendredi 7:00 hr–17:00 hr (HNR)
-
Page 3: Table Of Contents
Advertencia adicional.........22 Limpieza y cuidado........23 Registro.............24 Garantía............27 ¿PREGUNTAS? ® PONERSE EN CONTACTO CON LOS SERVICIOS DE CLIENTES LIFETIME Live Chat: www.lifetime.com MODEL# AND PRODUCT ID Composer : 1-800-225-3865 (es necesario tener los dos al contactarnos) (click on “Ask An Expert” tab) Model Number: 60012 7:00 am–5:00 pm (lundi–vendredi) MST... -
Page 4: Leyenda De Íconos
ICON LEGEND / LÉGENDE DES ICÔNES / LEYENDA DE ÍCONOS • Indicates special heed should be taken when reading. • Indique qu’une attention spéciale doit être portée à la lecture. • Indica que uno debe prestar atención al leer. • Indicates the parts to be used for a section. •... -
Page 5: Advertencias Y Avisos
• Les boîtes de stockage Lifetime ® sont fabriquées pour protéger les biens que vous tenez le plus. Cela inclue une resistance aux projections d’eau, et qui permet à protéger vos biens de la pluie, de la neige, et des éléments. Il convient de noter que les boîtes de stockage Lifetime ® ne sont pas imperméables. La conception de la boîte n’est pas destinée pour les usages autres que le stockage extérieur. -
Page 6: Identifi Cador De Piezas
PARTS IDENTIFIER / IDENFICATEUR DE PIÈCES / IDENTIFICADOR DE PIEZAS HARDWARE REQUIRED / QUINCAILLERIE REQUISE / HERRAJE REQUERIDO Hardware Bag / Sac de quincaillerie Bolsa de herraje PARTS REQUIRED / PIÈCES REQUISES / PIEZAS REQUERIDAS Metal Parts / Pièces en métal Piezas de metal BKV (x1) Plastic Parts /... -
Page 7: Ensamble De La Caja
BOX ASSEMBLY / ASSEMBLAGE DE LA BOÎTE / ENSAMBLE DE LA CAJA HARDWARE REQUIRED / QUINCAILLERIE REQUISE / HERRAJE REQUERIDO Hardware Bag / Sac de quincaillerie Bolsa de herraje ADW (x4) PARTS REQUIRED / PIÈCES REQUISES / PIEZAS REQUERIDAS Plastic Parts / Pièces en plastique Piezas de plástico AMZ (x1) - Page 8 • En caso de problemas con el ensamble en esta sección, seguir el código debajo para ver un video sobre el ensamble en esta sección. http://go.lifetime.com/largebox • Slide the Panel to the right until it stops. • Insert the tabs at the bottom of the Rear Panel •...
- Page 9 u SECTION 1 (CONTINUED) / SECTION 1 (SUITE) SECCIÓN 1 (CONTINUACIÓN) TOOLS AND HARDWARE REQUIRED / OUTILS ET QUINCAILLERIE REQUIS INSTRUMENTAL Y HERRAJE REQUERIDOS • Insert the tabs at the bottom of the Front Panel (AMZ) into the slots in the Floor Panel. •...
- Page 10 u SECTION 1 (CONTINUED) / SECTION 1 (SUITE) SECCIÓN 1 (CONTINUACIÓN) TOOLS AND HARDWARE REQUIRED / OUTILS ET QUINCAILLERIE REQUIS INSTRUMENTAL Y HERRAJE REQUERIDOS • Insert the tabs along the side edges of a Side Panel (ANB) into the slots in the Front and Rear Panels. •...
- Page 11 u SECTION 1 (CONTINUED) / SECTION 1 (SUITE) SECCIÓN 1 (CONTINUACIÓN) TOOLS AND HARDWARE REQUIRED / OUTILS ET QUINCAILLERIE REQUIS INSTRUMENTAL Y HERRAJE REQUERIDOS ADW (x4) • Secure the Panels together with a Screw (ADW) at the location shown. • Fixer les panneaux les uns les autres à l’aide des vis (ADW) aux endroits indiqués. •...
-
Page 12: Ensamble De La Tapa
LID ASSEMBLY / ASSEMBLAGE DU COUVERCLE / ENSAMBLE DE LA TAPA HARDWARE REQUIRED / QUINCAILLERIE REQUISE / HERRAJE REQUERIDO Hardware Bag / Sac de quincaillerie Bolsa de herraje BEV (x4) BET (x4) BES (x4) BKW (x4) AAO (x4) AAB (x4) BEP (x2) AKF (x2) PARTS REQUIRED / PIÈCES REQUISES / PIEZAS REQUERIDAS... - Page 13 • En caso de problemas con el ensamble en esta sección, seguir el código debajo para ver un video sobre el ensamble en esta sección. http://go.lifetime.com/largelid • Insert an end of the Lid Support (BKV) into the slot in the front corner of the Lid (AND).
- Page 14 u SECTION 2 (CONTINUED) / SECTION 2 (SUITE) SECCIÓN 2 (CONTINUACIÓN) TOOLS AND HARDWARE REQUIRED / OUTILS ET QUINCAILLERIE REQUIS INSTRUMENTAL Y HERRAJE REQUERIDOS 3/8" (10 mm) BKW (x4) • Rotate the Lid Support downward, and insert the opposite end into the slot in the front, right corner of the Lid. •...
- Page 15 u SECTION 2 (CONTINUED) / SECTION 2 (SUITE) SECCIÓN 2 (CONTINUACIÓN) TOOLS AND HARDWARE REQUIRED / OUTILS ET QUINCAILLERIE REQUIS INSTRUMENTAL Y HERRAJE REQUERIDOS 1/2" (13 mm) 1/2" BEP (x1) BET (x2) (13 mm) AAO (x2) • The Hinge (BEP) goes together this way for the left side of the Lid.
- Page 16 u SECTION 2 (CONTINUED) / SECTION 2 (SUITE) SECCIÓN 2 (CONTINUACIÓN) TOOLS AND HARDWARE REQUIRED / OUTILS ET QUINCAILLERIE REQUIS INSTRUMENTAL Y HERRAJE REQUERIDOS 3/8" (10 mm) BEV (x2) • The Screws (BEV) are slightly larger than the holes by design; therefore, it is easier to perform this step using a socket wrench.
- Page 17 u SECTION 2 (CONTINUED) / SECTION 2 (SUITE) SECCIÓN 2 (CONTINUACIÓN) TOOLS AND HARDWARE REQUIRED / OUTILS ET QUINCAILLERIE REQUIS INSTRUMENTAL Y HERRAJE REQUERIDOS 1/2" (13 mm) 1/2" BET (x2) BEP (x1) (13 mm) AAO (x2) • The Hinge (BEP) goes together this way for the right side of the Lid. •...
- Page 18 u SECTION 2 (CONTINUED) / SECTION 2 (SUITE) SECCIÓN 2 (CONTINUACIÓN) TOOLS AND HARDWARE REQUIRED / OUTILS ET QUINCAILLERIE REQUIS INSTRUMENTAL Y HERRAJE REQUERIDOS 3/8” (10 mm) BEV (x2) • The Screws (BEV) are slightly larger than the holes by design; therefore, it is easier to perform this step using a socket wrench.
- Page 19 u SECTION 2 (CONTINUED) / SECTION 2 (SUITE) SECCIÓN 2 (CONTINUACIÓN) TOOLS AND HARDWARE REQUIRED / OUTILS ET QUINCAILLERIE REQUIS INSTRUMENTAL Y HERRAJE REQUERIDOS 2.10 • Set the Hinges down onto the Rear Panel as shown. • Mettre les charnières sur le panneau arrière comme illustré. •...
- Page 20 u SECTION 2 (CONTINUED) / SECTION 2 (SUITE) SECCIÓN 2 (CONTINUACIÓN) TOOLS AND HARDWARE REQUIRED / OUTILS ET QUINCAILLERIE REQUIS INSTRUMENTAL Y HERRAJE REQUERIDOS 7/16" (11 mm) 7/16" BES (x4) AAB (x4) (11 mm) 2.11 • Secure the Left Hinge to the Side Panel using the hardware provided. •...
- Page 21 u SECTION 2 (CONTINUED) / SECTION 2 (SUITE) SECCIÓN 2 (CONTINUACIÓN) TOOLS AND HARDWARE REQUIRED / OUTILS ET QUINCAILLERIE REQUIS INSTRUMENTAL Y HERRAJE REQUERIDOS AKF (x2) 2.13 • Orient the Gas Spring (AKF) as shown, and press until the Ball Studs snap into place in the ends of the Spring. •...
-
Page 22: Advertencia Adicional
ADDITIONAL WARNINGS / AVERTISSEMENTS SUPPLÉMENTAIRES / ADVERTENCIAS ADICIONALES • The Gas Spring helps prevent the automatic closing of the Lid. Do not open the Lid more than 90°. • El piston aide à empêcher le fermeture automatique du couvercle. N’ouvrez le couvercle que 90°. •... -
Page 23: Limpieza Y Cuidado
CLEANING & CARE Congratulations on your Lifetime product purchase. By following the instructions below, your new Lifetime product should provide you with years ® of service and enjoyment. The polyethylene panels are stain and solvent resistant. Most stains can be removed using a mild soap and a soft-bristled brush. -
Page 24: Registro
REGISTER today! ENREGISTRER CE PRODUIT EN LIGNE À WWW.LIFETIME.COM Chez Lifetime®, nous nous engageons à fournir des produits innovateurs de qualité. Lors de votre inscription, vous aurez l’occasion de nous faire parvenir vos commentaires. Votre opinion est importante pour nous. - Page 25 THE MANUFACTURER RESERVES THE RIGHT TO MAKE SUBSTITUTIONS TO WARRANTY CLAIMS IF PARTS ARE UNAVAILABLE OR OBSOLETE. 1. Lifetime storage boxes are warranted to the original purchaser to be free from defects in material or workmanship for a period of ten years from the date of original retail purchase. The word “defects” is defi ned as imperfections that impair the use of the product.
- Page 26 DISPONIBLES OR SONT OBSOLÈTES 1. Les coffres de rengement Lifetime sont garantis à l’acheteur d’origine contre tous défauts de matériau ou de fabrication pendant une période de dix ans à partir de la date du premier achat. Le mot “défauts” signifi e des imperfections qui empêchent l’utilisation du produit.
-
Page 27: Garantía
PIEZAS NO ESTÁN DISPONIBLES O SON OBSOLETAS. 1. El comprador original recibe la garantía de que los baules de terraza Lifetime estarán libres de defectos de material o de mano de obra por un período de 10 años a contar desde la fecha de la compra original. La palabra “defectos” se defi ne como imperfecciones que perjudican el uso del producto. - Page 28 Or call: 1-800-424-3865 7:00 am–5:00 pm (M–F) MST and 9:00 am–1:00 pm Saturday MST ® AMÉLIORER L’ACHAT LIFETIME EN AJOUTANT DES ACCESSOIRES OU D’AUTRES PRODUITS Pour acheter des accessoires ou des autres produits Lifetime , visiter le : ® www.lifetime.com (Anglais seulement) Ou composer le 1-800-424-3865 Du lundi au vendredi de 7 h à...
Need help?
Do you have a question about the 60012 and is the answer not in the manual?
Questions and answers
I put the bottom of the box together and found the right arm connecting screws are not flush and it just swings back and forth with no tension at all!! Box is 60012 We purchased from Home Depot on Deb 4, 2025. **** Gallon Deck Box
To fix the loose right arm connecting screws on the Lifetime 60012 Gallon Deck Box:
1. Ensure you are using a #2 Phillips screwdriver or a drill with a low torque setting.
2. Check if the screws are properly aligned with the pre-drilled holes.
3. Tighten the screws securely, but do not overtighten to avoid damaging the material.
4. If the screws remain loose, consider using slightly larger screws or adding thread-locking adhesive for a firmer hold.
5. Verify that all components are properly assembled according to the manual to prevent misalignment.
Ensure safety by wearing protective glasses during adjustments.
This answer is automatically generated