Advertisement
Quick Links
Advertisement

Related Manuals for Minka Group MinkaAire Dyno-XL


Summary of Contents for Minka Group MinkaAire Dyno-XL
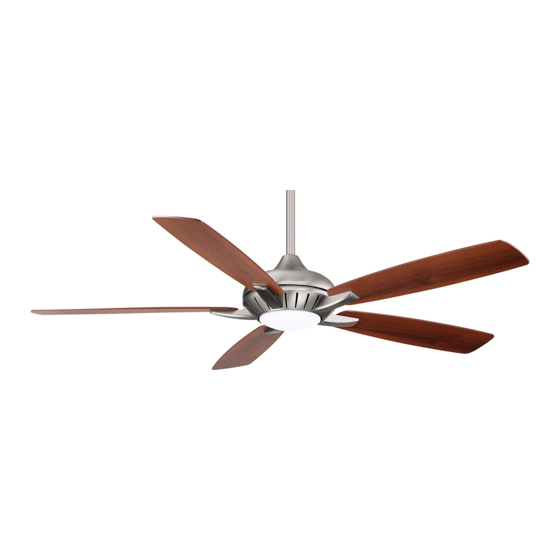
- Page 1 Dyno-XL...
- Page 4 F1001...
-
Page 5: Troubleshooting Specifications
ELECTRICAL CONNECTIONS FINISHING THE INSTALLATION INSTALLING THE 24W LED ASSEMBLY INSTALLING THE UP HOUSING OPERATING THE REMOTE CONTROL/WALL CONTROL BLADE INSTALLATION ENJOY YOUR SMART CEILING FAN INSTALLING THE FLYWHEEL CARE OF YOUR FAN TROUBLESHOOTING HANGING THE FAN SPECIFICATIONS... - Page 7 DL-1170FCS-13-WIFI DL-4510...
- Page 8 8. Top housing 9. Fan motor assembly...
- Page 10 Screw Step 1. Remove one of the screws from the fan motor mounting plate , but do not remove, the other two screws. (Fig.5) Step 2. Place the key holes from top housing over the two screws previously Top housing loosened from the fan motor mounting plate.
- Page 12 Step 1. Align the five holes in the flywheel and the fan motor assembly. Secure them with the five screws provided.. Ensure all the screws are tightened. (Fig.8) Fan motor assembly Top housing...
- Page 22 Note: Before moving on to learning about your new smart ceiling fan, please be sure to test all your fans functionalities using your remote control first. To enjoy all the potential of your new ceiling fan. You’ll need to download the BOND HOME app.
- Page 26 SYMPTOM 5.Once the receiver has detected the set frequency, the down light of Frequency Interference your fan will blink twice and the fan will begin to rotate for a short period and then shut off. SOLUTION 1.Turn the power off to your ceiling fan. 6.The receiver has now learn the frequency which has been selected on the 2.Please use a small size tool to change the frequency transmitter.
- Page 28 0.07 3.16 7.35 1.872' 0.54 34.12...
- Page 29 4,028 1807 3.16 5987 34.12...
Need help?
Do you have a question about the MinkaAire Dyno-XL and is the answer not in the manual?
Questions and answers