Advertisement
STEP 1: PREPARING YOUR FILTRATION
1. Ensure that pump is switched off. 3. Empty the pump leaf bask
2. Empty the weir leaf basket
STEP 2: IDENTIFY AND REPLACE WEIR REGULATOR
Off
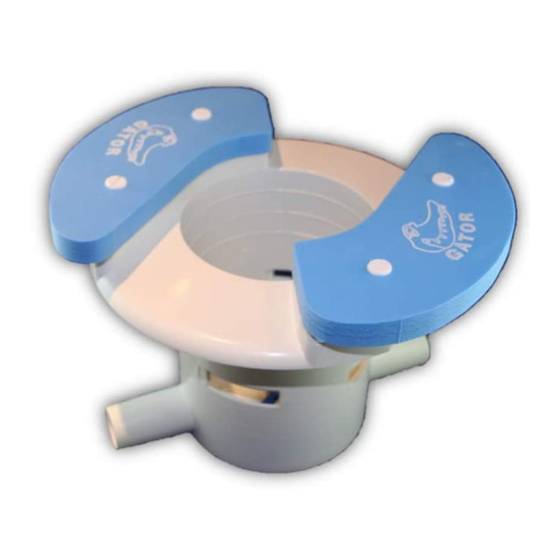
Your weir regulator valve will look similar to:
2. Empty the weir leaf basket
Replace your weir regulator valve with the
CONNECTOR (part GA13):
STEP 3: CHECK PUMP EFFICIENCY
Attach one section of hose to the CONNECTOR, and insert the
GATORGUAGE, (part no.GA14) into the other end of the hose. Ensure that
GATORGUAGE is below water surface. Switch pump on and observe the
reading after about 30 seconds.
4. Carry out backwash procedure
SYSTEM
Advertisement
Table of Contents

Related Manuals for Gator Auto Skim


Summary of Contents for Gator Auto Skim
- Page 1 SYSTEM STEP 1: PREPARING YOUR FILTRATION 1. Ensure that pump is switched off. 3. Empty the pump leaf bask 2. Empty the weir leaf basket 4. Carry out backwash procedure STEP 2: IDENTIFY AND REPLACE WEIR REGULATOR Your weir regulator valve will look similar to: 2.
-
Page 2: Step 5: Installation
GATOR. A Low setting will have the opposite effect. STEP 5: INSTALLATION Parts Identification Separate your hose 2 sections from your automatic pool cleaner (3 for deep pools). Take your GATOR and insert the end with the FLOW direction arrow facing toward the weir. -
Page 3: Parts Identification
VERY damage to your pump. Allow the GATOR to fill with water by turning on its side, then allow it to float level. Your GATOR is now fully installed! Switch the pool pump on. The GATOR should start operating normally, and will begin floating randomly over the water surface, removing surface debris as it moves along. - Page 4 INPUT connector of the Gator. Arrow indicates this part. STEP 2: Connect one or two sections of hose to the other side of the gator. Return to pool and install as per normal Gator installation www.gatorsa.co.za South Africa email: info@gatorsa.co.za United States: gatorAutoskim@OnlyAboutInnovation.com...
- Page 5 Note for American customers: Some of the hoses sold in the United States are smaller than the standard i.e. 1¼ inches. The Female-to-Female (Universal) adapter is supplied to secure the connection in this instance. Arrow indicates this part. STEP 2: STEP 1: Connect the Male end of the Connect the FEMALE end of the...
-
Page 6: General Maintenance
4. Consult your automatic pool cleaner instruction manual. WARRANTY: The GATOR Autoskim is warranted to be free of defects in materials and workmanship for a period of one year from date of purchase. The warranty expressly excludes any failure due to improper installation, abuse or lack of reasonable maintenance.
Need help?
Do you have a question about the Auto Skim and is the answer not in the manual?
Questions and answers