
Related Manuals for Xantrex PROWATT SW SW 1000


Summary of Contents for Xantrex PROWATT SW SW 1000
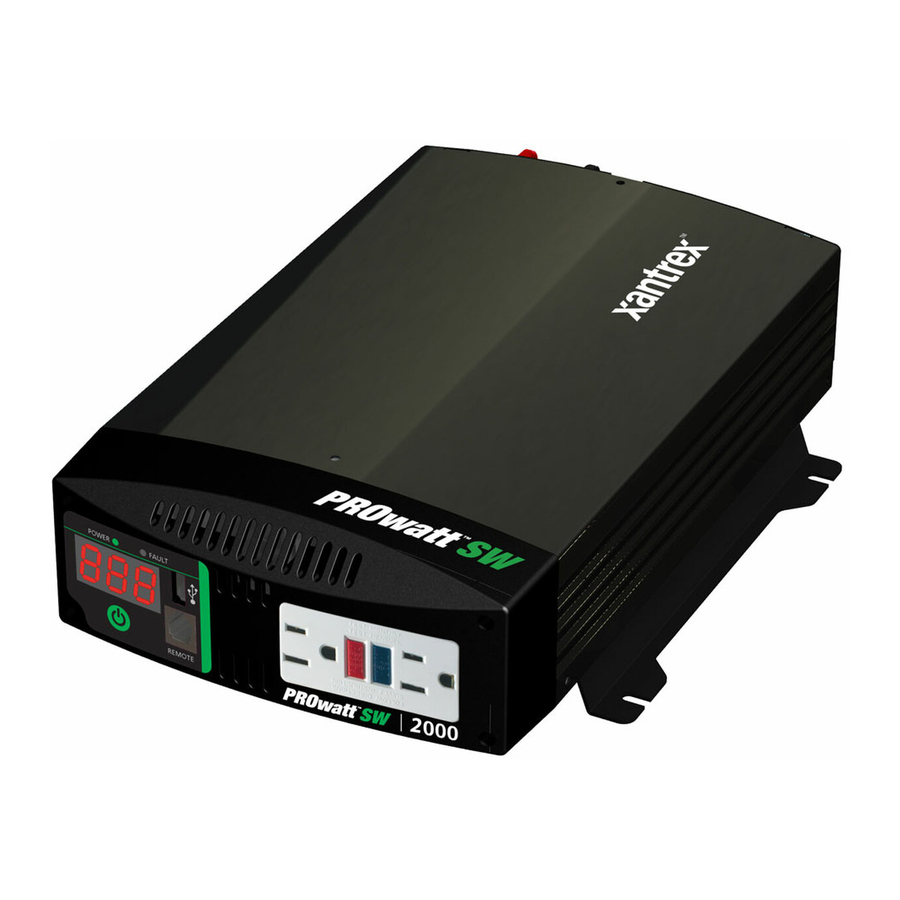
- Page 1 U LT W ER O TE R EM PROwatt SW 600 shown. Owner’s Guide PROwatt SW 600 Sine Wave Inverter PROwatt SW 1000 PROwatt SW 2000...
- Page 3 Xantrex Technology Inc., 161-G South Vasco Road, Livermore, California, USA 94551. Xantrex Technology Inc. reserves the right to revise this document and to periodically make changes to the content hereof without obligation or organization of such revisions or changes unless required to do so by prior arrangement.
- Page 4 Related Information You can find more information about Xantrex Technology Inc. as well as its products and services at www.xantrex.com. The product marking on the left (yellow background, black...
-
Page 5: Important Safety Instructions
Important Safety Instructions IMPORTANT: R EAD AND SAVE THIS WNER REFERENCE This chapter contains important safety instructions for the PROwatt™ SW Sine Wave Inverter. Before using the PROwatt™ SW Sine Wave Inverter, READ ALL instructions and cautionary markings on or provided with the PROwatt™ SW Sine Wave Inverter, the batteries, and all appropriate sections of this guide. - Page 6 Working in the vicinity of lead-acid batteries is dangerous. Batteries generate explosive gases during normal operation. Therefore, you must read this guide and follow the instructions exactly before installing or using your PROwatt™ SW Sine Wave Inverter. This equipment contains components which tend to produce arcs or sparks.
- Page 7 FCC Statement WARNING This device complies with Part 15 of the FCC rules. Operation is subject to the following two conditions: (1) This device may not cause harmful interference and (2) this device must accept any interference received, including interference that might cause undesired operation. NOTE: This equipment has been tested and found to comply with the limits for a Class A digital device, pursuant to part 15 of the FCC Rules.
-
Page 9: Table Of Contents
Contents Important Safety Instructions ................iii Introduction . -
Page 11: Introduction
Introduction Thank you for purchasing the PROwatt™ SW Sine Wave Inverter. The PROwatt SW Inverter is a high quality, true sine wave output inverter. It is designed to operate AC loads as if these loads were operating from grid/utility supplied power in household AC outlets. To get the most out of your PROwatt™... - Page 12 Introduction Ease of Use Superior features and rugged durability have been combined with ease of use: • The unit is compact, light weight, and easy to install. • You can power loads directly from the dual GFCI-protected AC receptacles on the front panel. •...
-
Page 13: Features
Features The following information describes the main features of the PROwatt SW Inverter. We recommend that you familiarize yourself with these features before installing and operating the unit. Materials List Your PROwatt SW Inverter package includes these items: • PROwatt SW Inverter unit, •... - Page 14 Features Front Panel Details POWER FAULT REMOTE Figure 2 PROwatt SW Inverter Front Panel Feature Description Indicator LEDs Green LED indicates that the unit is on and receiving power. When a shutdown occurs due to an error condition the Green LED remains on. Red LED indicates an error or alarm condition.
- Page 15 Back Panel Details Figure 3 PROwatt SW Inverter Back Panel Feature Description Positive (+) DC Terminal Accepts lug or ring connectors appropriate to the cable size being used. See Table 1 : Voltage Drop Per Foot of DC Cable on page 10 for recommendations.
-
Page 16: Installation
Installation Guidelines Follow all instructions from this guide and instructions including safety guidelines from the battery manufacturer. Installing battery cables require some electrical knowledge and local electrical codes. WARNING If you do not have some electrical knowledge and knowledge of local electrical codes or are not comfortable installing cables yourself, use a qualified installer including a licensed technician and electrician. - Page 17 Determine Battery Capacity Battery type and battery size strongly affect the performance of the PROwatt SW Inverter. Therefore, you need to identify the type of loads your inverter will be powering and how much you will be using them between charges. Once you know how much power you will be using, you can determine how much battery capacity you need.
- Page 18 Installation Do not allow water or other liquids to drop or splash on the inverter. Cool Ambient air temperature should be between 32 ºF and 104 º F (0 ºC and 40 º C)—the cooler the better within this range. Ventilated Allow at least 2 inches (5 cm) of clearance around the inverter for air flow.
- Page 19 Connect the Chassis Ground WARNING: Risk of electrical shock. Never operate the PROwatt SW Inverter without connecting it to the ground. Electrical shock hazard could result. The PROwatt SW Inverter has a screw terminal labeled CHASSIS GND on the outside of the rear panel as shown in Figure 3, “PROwatt SW Inverter Back Panel (PROwatt SW 600 shown)”...
- Page 20 Installation Cabling Guidelines Follow these guidelines and refer to Table 1 : Voltage Drop Per Foot of DC Cable on page 10 to determine battery cable lengths. • Use 4 AWG copper (90 ºC insulation rating) as the smallest battery cable size. This will minimize the voltage drop between the battery and the inverter.
- Page 21 Fuse/Circuit Breaker Sizing Guidelines Because batteries can produce thousands of amps, you are required to install DC-rated fuses (or circuit breakers) that can safely withstand the short-circuit current batteries can produce. To select the correct fuse type and size: Determine the total cold cranking amp rating for your battery(s).
- Page 22 Installation Cabling Procedure Consult the following configurations and determine a match specific to your installation and follow the installation procedure “To connect the battery cables:” that comes next. ISOLATOR GROUND TO VEHICLE CHASSIS FUSE OR TO OTHER CIRCUIT DC LOADS BREAKER DEEP-CYCLE AUXILIARY...
- Page 23 WARNING: Risk of electrical shock or fire. The PROwatt SW Inverter does not come with a DC-rated fuse (or circuit breaker) to safely withstand the short- circuit current batteries can produce. To avoid the risk of electrical shock or fire, install a DC-rated fuse (and fuse holder) on the positive battery terminal.
- Page 24 Installation Attach the connector on the negative cable to the negative battery terminal. Note: This is the last cable connection. You may observe a spark when making this last connection. Note: Make a secure connection. Loose connectors cause excessive voltage drop and may cause overheated wires and melted insulation.
-
Page 25: Operation
Operation Turning the Inverter On and Off The power switch on the inverter’s front panel turns the control circuit in the PROwatt SW Inverter on and off. To toggle the inverter on and off from its front panel: Press the inverter’s power switch button (for half a second) to turn On the inverter (from Off). - Page 26 Operation To test (or reset) the GFCI protection: Press the unit’s power switch to turn the inverter On. Plug a test lamp into the AC outlet. Push the TEST button. Note: The RESET button should pop out and the power should turn Off (the lamp should go out).
-
Page 27: Operating Limits
Operating Limits Power Output The PROwatt SW Inverter will deliver the following power continuously, depending on input voltage and ambient temperature. The inverter will deliver more than 10% of its continuous power rating for approximately five minutes. The inverter must cool down for 15 minutes before it can resume operation above its continuous power rating. -
Page 28: Inverter Loads
Operation Inverter Loads The PROwatt SW Inverter will operate many AC loads within its power rating. However, some appliances and equipment may be difficult to operate. Please see “Exceptional Loads” below carefully. USB Loads A lot of USB-powered devices such as portable music (MP3) players, mobile phones, and video game players can be charged and powered safely via the standard USB port. -
Page 29: Troubleshooting
Troubleshooting WARNING: Electrical shock and burn hazard. Do not dismantle the PROwatt SW Inverter. It does not contain any user-serviceable parts. Attempting to service the unit yourself could result in an electrical shock or burn. Troubleshooting Reference Condition Possible Cause E.0.1. - Page 30 Troubleshooting Condition Possible Cause E.1.0. Short circuit No output voltage. Very heavy load Output circuit overheat Solution Condition Check the AC No output voltage; wiring for a short no voltage circuit. indication. Remove the load. Turn the unit off. Let the unit cool down, check the fan for any obstructions and clear it, or...
-
Page 31: Specifications
Specifications Note: Specifications are subject to change without prior notice. Physical and Environmental Specifications Length × Width × Height • PROwatt SW 600 12.2×8.7×3.5 inch. (31×22×8.9 cm) • PROwatt SW 1000 14×9×3.5 inch. (35×22×8.5 cm) • PROwatt SW 2000 13.8×11.8×3.9 inch. (35×30×10 cm) Weight •... -
Page 32: Warranty And Return Information
Warranty and Return Information Warranty What does this warranty cover and how long does it last? This Limited Warranty is provided by Xantrex Technology Inc. ("Xantrex") and covers defects in workmanship and materials in your PROwatt™ SW Sine Wave Inverter. This warranty period... - Page 33 What proof of purchase is required? In any warranty claim, dated proof of purchase must accompany the product and the product must not have been disassembled or modified without prior written authorization by Xantrex. Proof of purchase may be in any one of the following forms: •...
- Page 34 Warranty and Return Information Disclaimer Product THIS LIMITED WARRANTY IS THE SOLE AND EXCLUSIVE WARRANTY PROVIDED BY XANTREX IN CONNECTION WITH YOUR XANTREX PRODUCT AND IS, WHERE PERMITTED BY LAW, IN LIEU OF ALL OTHER WARRANTIES, CONDITIONS, GUARANTEES, REPRESENTATIONS, OBLIGATIONS AND LIABILITIES, EXPRESS OR IMPLIED, STATUTORY OR OTHERWISE IN CONNECTION WITH THE PRODUCT, HOWEVER ARISING (WHETHER BY CONTRACT, TORT, NEGLIGENCE, PRINCIPLES OF MANUFACTURER'S LIABILITY, OPERATION OF LAW, CONDUCT,...
- Page 35 Include the following: • The RMA number supplied by Xantrex Technology Inc. clearly marked on the outside of the box. • A return address where the unit can be shipped. Post office boxes are not acceptable.
- Page 36 Warranty and Return Information Information About Your System As soon as you open your PROwatt™ SW Sine Wave Inverter package, record the following information and be sure to keep your proof of purchase. ❐ ______________________ Serial Number ❐ 806-1206 Product Number/s 806-1210 806-1220 ❐...
- Page 38 Xantrex Technology Inc. 1 800 670 0707 Tel toll free NA 1 408 987 6030 Tel direct 1 800 994 7828 Fax toll free NA customerservice@xantrex.com www.xantrex.com 975-0529-01-01 Printed in China...
Need help?
Do you have a question about the PROWATT SW SW 1000 and is the answer not in the manual?
Questions and answers