SMART Board 600 Series Basic Functionality
Hide thumbs
Also See for Board 600 Series:
- Installation and user manual (70 pages) ,
- Quick manual (2 pages) ,
- Troubleshooting manual (15 pages)
Advertisement
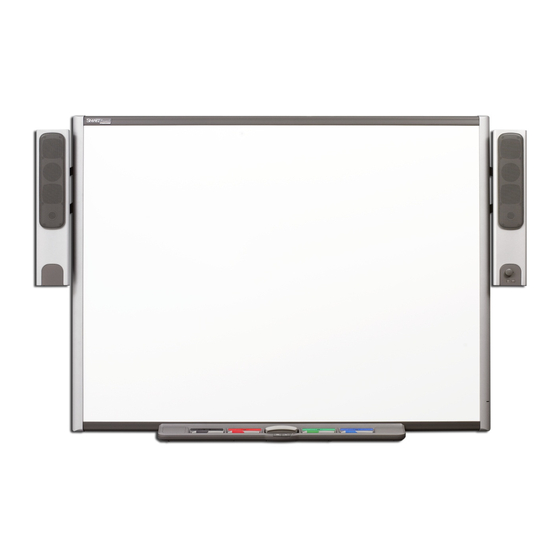
SMART Board
Basic Functionality
Whenever a piece of technology gets moved, it's a good idea to test it before use. It's important to test your computer,
interactive whiteboard and projector to ensure they're working properly when you turn everything on.
If your cursor appears a few inches away from your touch, orient the interactive whiteboard.
Orienting the SMART Board interactive whiteboard
Orientation tells the computer where the image of the desktop is being displayed on the surface of the interactive whiteboard.
It's important to orient your interactive whiteboard after it's been moved.
To orient a SMART Board 600 series interactive whiteboard
1. Press and hold the On-Screen Keyboard button and the Right-Click button simultaneously until the Orientation screen
appears
2. Begin at the upper-left corner of the Orientation screen. Press your finger or pen tool firmly on the center of each cross in
the order indicated by the white, diamond-shaped graphic.
NOTE: The point is registered when you remove your finger, not when you first touch the Orientation screen.
SMART Technologies
Interactive Whiteboard
®
May 2012
Advertisement
Table of Contents

Related Manuals for SMART Board 600 Series


Summary of Contents for SMART Board 600 Series
- Page 1 Orientation tells the computer where the image of the desktop is being displayed on the surface of the interactive whiteboard. It’s important to orient your interactive whiteboard after it’s been moved. To orient a SMART Board 600 series interactive whiteboard 1. Press and hold the On-Screen Keyboard button and the Right-Click button simultaneously until the Orientation screen appears 2.
- Page 2 1. Press the SMART Board icon in the Windows notification area, and then press SMART Settings in the menu ® 2. In the Control Panel window, press the SMART Hardware Settings button. The SMART Hardware Settings window opens. 3. Select Orientation/Alignment Settings from the drop-down menu 4.
- Page 3 You have completed the SMART Board Interactive Whiteboard Basic Functionality Hands-on Practice. © 2012 SMART Technologies. All rights reserved. SMART Board, SMART Notebook, smarttech and the SMART logo are trademarks or registered trademarks of SMART Technologies in the U.S. and/or other countries. All third-party product and company names may be trademarks of their respective owners.
Need help?
Do you have a question about the Board 600 Series and is the answer not in the manual?
Questions and answers