Advertisement
Quick Links
04-10135-00
Installation Guidelines
The following scenarios show detailed installation guidelines when
installing the TotalSlide® Pro system components. In general, please
keep in mind the following when installing TotalSlide Pro:
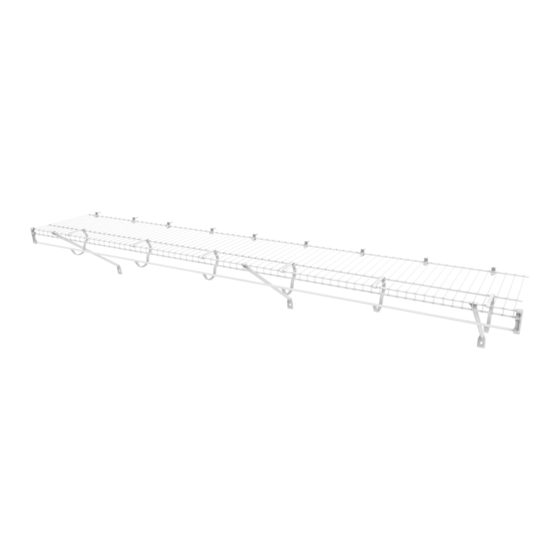
TotalSlide Pro components are compatible with all TotalSlide Hardware
The TotalSlide Pro Hang Rod Assembly is specifically designed to install
on ClosetMaid 12 in. and 16 in. All-Purpose (SuperSlide/Linen) Shelving
as well as Heavy Duty Shelving
We suggest you install the Hang Rod Assembly on the shelf at the
warehouse prior to transporting for installation (per instruction in
TotalSlide Pro Installation Video)
Please follow TotalSlide Pro Hang Rod Assembly handling instructions
(located after the installation guidelines) when moving or transporting
sections of the assembly
© 2019 ClosetMaid LLC | Ocala, FL 34471 | 1-800-874-0008 | ClosetMaidPro.com
Hardware
09/19
Advertisement

Related Manuals for ClosetMaid TOTALSLIDE PRO


Summary of Contents for ClosetMaid TOTALSLIDE PRO
- Page 1 TotalSlide Pro: TotalSlide Pro components are compatible with all TotalSlide Hardware The TotalSlide Pro Hang Rod Assembly is specifically designed to install on ClosetMaid 12 in. and 16 in. All-Purpose (SuperSlide/Linen) Shelving as well as Heavy Duty Shelving...
- Page 2 When Shelf Stops end a Hang Rod section at the ends of Installation example - All-Purpose (Linen/SuperSlide) shelving: Use Shelf Stops to end a hanging section of Hang Rod Assembly on a shelf at the ends. © 2019 ClosetMaid LLC | Ocala, FL 34471 | 1-800-874-0008 | ClosetMaidPro.com...
- Page 3 When shelf continues through center stack but hang rod ends at support post, use hang stop to end hang rod at 1 in. on the outside of support post 1 in. © 2019 ClosetMaid LLC | Ocala, FL 34471 | 1-800-874-0008 | ClosetMaidPro.com...
-
Page 4: Installations
The Rod Joiner should be positioned so that both ends of the tube rest against the side of each hook (as shown). Trimming of a Hang Rod section may need to occur if there is any overlap. 1 in. 1 in. © 2019 ClosetMaid LLC | Ocala, FL 34471 | 1-800-874-0008 | ClosetMaidPro.com... - Page 5 Install Hang Rod Assembly section on to shelf prior to shelf installation. Snap TS Pro Hang Rod Assembly into desired location onto the shelf. The hang rod should be even with end of shelf. Rotate shelf and Hang Rod into bracket until secure fit. © 2019 ClosetMaid LLC | Ocala, FL 34471 | 1-800-874-0008 | ClosetMaidPro.com...
- Page 6 IMPORTANT The TotalSlide Pro Hang Rod Assembly was designed to be packed and unpacked in a sequential manner that allows them to nest and save space. It is important that you follow proper handling instructions. Make sure to stock, transport, and handle the sections in a nested manner that keeps the hooks tangle free.
- Page 7 Unfold the side caps to make room to slide the Hang Rod Assembly sections out of the carton. © 2019 ClosetMaid LLC | Ocala, FL 34471 | 1-800-874-0008 | ClosetMaidPro.com...
- Page 8 Once the back of the hooks have cleared the other Hang Rod Assembly’s, lift it straight up and carry to the desired location Repeat the same procedure until the carton is empty © 2019 ClosetMaid LLC | Ocala, FL 34471 | 1-800-874-0008 | ClosetMaidPro.com...
- Page 9 Assembly sections in alignment when moving, transporting, and installing. It is suggested to install the Hang Rod Assembly on the shelf at the warehouse prior to transporting for installation. (See the TotalSlide Pro Installation Video) © 2019 ClosetMaid LLC | Ocala, FL 34471 | 1-800-874-0008 | ClosetMaidPro.com...
- Page 10 Position the Hang Rod Assembly so that the edge of the assembly rod aligns with the edge of the shelf (as shown) © 2019 ClosetMaid LLC | Ocala, FL 34471 | 1-800-874-0008 | ClosetMaidPro.com...
- Page 11 Hang Rod Assembly should be attached and resting on the flat surface (as shown) Snap each hook into place by lifting the hook over the back cross rod © 2019 ClosetMaid LLC | Ocala, FL 34471 | 1-800-874-0008 | ClosetMaidPro.com...
- Page 12 TotalSlide measuring practices Cut shelf and Hang Rod Assembly at desired locations Install shelf end caps where needed and prepare for transport to the site © 2019 ClosetMaid LLC | Ocala, FL 34471 | 1-800-874-0008 | ClosetMaidPro.com...
- Page 13 Keeping the Hang Rod Assembly section and shelf separate, begin to measure the section (if necessary) Measure the Hang Rod Assembly section and mark at proper dimension(s) © 2019 ClosetMaid LLC | Ocala, FL 34471 | 1-800-874-0008 | ClosetMaidPro.com...
- Page 14 Rotate the Hang Rod Assembly so that the front of the hook captures the top rod of the front lip © 2019 ClosetMaid LLC | Ocala, FL 34471 | 1-800-874-0008 | ClosetMaidPro.com...
- Page 15 Rotate the back end of the Hang Rod Assembly and place on flat surface Snap each hook into place by lifting the hook over the back cross rod and prepare to install © 2019 ClosetMaid LLC | Ocala, FL 34471 | 1-800-874-0008 | ClosetMaidPro.com...
- Page 16 Snap the top of the Hang Stop into onto the top of the front lip of the shelf. Hang Stop should look as pictured when installed. © 2019 ClosetMaid LLC | Ocala, FL 34471 | 1-800-874-0008 | ClosetMaidPro.com...
Need help?
Do you have a question about the TOTALSLIDE PRO and is the answer not in the manual?
Questions and answers