Table of Contents
Advertisement
Quick Links
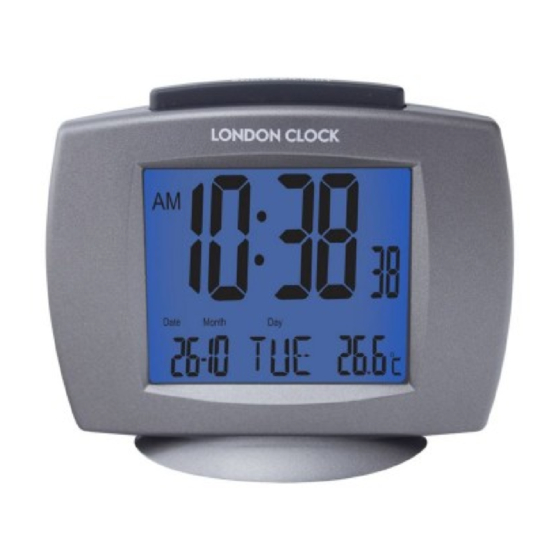
Thank you for your purchase of this radio controlled alarm clock. Please note that this clock may take up to 24
hours to receive a signal. Please read these instructions carefully and keep the manual for future reference.
INSTALLATION
1. Place your clock face down on a flat and soft surface.
2. Remove the battery cover at the back of the clock.
3. Insert 2 x new AAA batteries into the battery compartment by observing the correct "+" and "-" polarity.
4. Replace the battery cover.
FUNCTIONS
RADIO CONTROL FUNCTION
Your new clock is designed to set the time automatically in the United Kingdom only, via a transmitted radio
signal.
As with all wireless devices, the ability to receive the signal may be affected by, but not limited to, the following
circumstances:
Long transmitting distance
Nearby mountains and valleys
Among tall buildings
Advertisement
Table of Contents

Related Manuals for Argos London Clock 239/7106

Summary of Contents for Argos London Clock 239/7106
- Page 1 Thank you for your purchase of this radio controlled alarm clock. Please note that this clock may take up to 24 hours to receive a signal. Please read these instructions carefully and keep the manual for future reference. INSTALLATION 1. Place your clock face down on a flat and soft surface. 2.
- Page 2 Near railways, high voltage cables etc Near motorways, airports etc Near construction site Inside concrete buildings Near electrical appliances Near computers and TVs Inside moving vehicles Near metallic structures Place your clock at a location with optimal signal, ie close to a window and away from metal surfaces or electrical appliances.
- Page 3 6. The month digit will now flash. Use the buttons on the back of the clock to select the C/F/ correct month. (Press and hold the buttons to accelerate setting). Press the “SET” button C/F/ on the back of the clock to confirm. 7.
- Page 4 TO USE THE BACKLIGHT At normal time display, press the “SNOOZE/LIGHT” button on the top of the clock. The backlight will activate and will last for around 5 seconds and then go off. TO STOP AND RESET THE ALARM TO COME ON THE NEXT DAY When alarm 1 or 2 is sounding, the related alarm icon will flash.
- Page 5 Never try to dismantle batteries. Never short circuit batteries. Exhausted batteries must be removed from the clock promptly. Remove batteries from the product before extended storage. This symbol indicates that this product, and any batteries, should not be disposed of in normal household waste but taken to appropriate local recycling centres, where available.
Need help?
Do you have a question about the London Clock 239/7106 and is the answer not in the manual?
Questions and answers