Advertisement
Quick Installation Guide
300Mbps Wireless N VoIP
VDSL/ADSL Modem Router
Connect the Hardware
Configure the Modem Router
Enjoy the Internet
Phone Cable
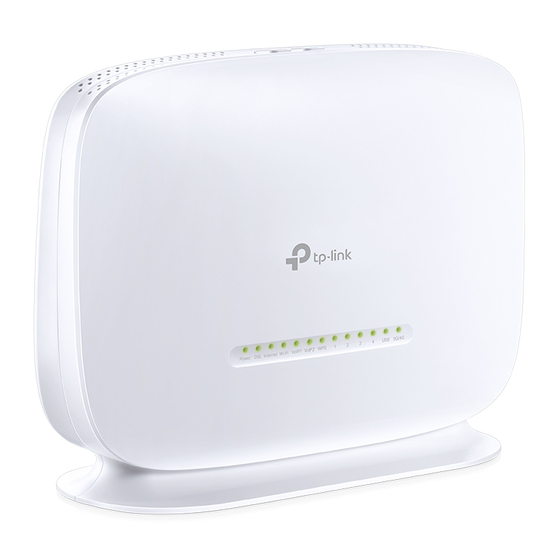
VN020-F2v
DSL Splitter
If you don't need a phone service, directly connect the modem router to the phone jack
with the provided phone cable, then follow steps 3 and 4 to complete the hardware
connection.
1. Connect your computer to the router via a wired or wireless
connection.
Wired Connection
Wireless Connection
Connect wirelessly by using the SSID (network name) and Wireless
Password printed on the product label at the bottom of the router.
Now you can enjoy your internet.
Phone Jack
1
2
PHONE MODEM
VoIP Service
Phone Cable
Phone (Optional)
Phone
Ethernet cable
Power Adapter
3
Push in to turn on
the modem router.
4
Verify that the Power and DSL
LEDs turn stable before
continuing with the configuration.
Note: The DSL LED takes 1 to 2 minutes to stabilize.
using a web browser
2. Connect your router to the internet
A
Enter http://tplinkmodem.net or 192.168.1.1 in the address bar
of a web browser. Use admin for both username and password,
and then click Login.
Note: If the login page does not appear, please refer to FAQ->Q1.
http://tplinkmodem.net
admin
admin
Login
B
Choose Quick Setup in the main menu, and then click Next to start the
configuration. Follow the step-by-step instructions to set up an internet
connection.
.
Advertisement
Table of Contents

Summary of Contents for TP-Link VN020-F2v
- Page 1 Power Adapter Phone Jack Quick Installation Guide 300Mbps Wireless N VoIP VDSL/ADSL Modem Router Phone Cable VN020-F2v Push in to turn on the modem router. DSL Splitter PHONE MODEM VoIP Service Connect the Hardware Phone Cable Verify that the Power and DSL LEDs turn stable before continuing with the configuration.
- Page 2 To learn more about the USB features, please visit The corresponding LAN Port is connected. LAN (1-4) http://tp-link.com/app/usb, or simply scan the QR code. The corresponding LAN Port is not connected. The inserted USB device is identified and ready to use.


Need help?
Do you have a question about the VN020-F2v and is the answer not in the manual?
Questions and answers