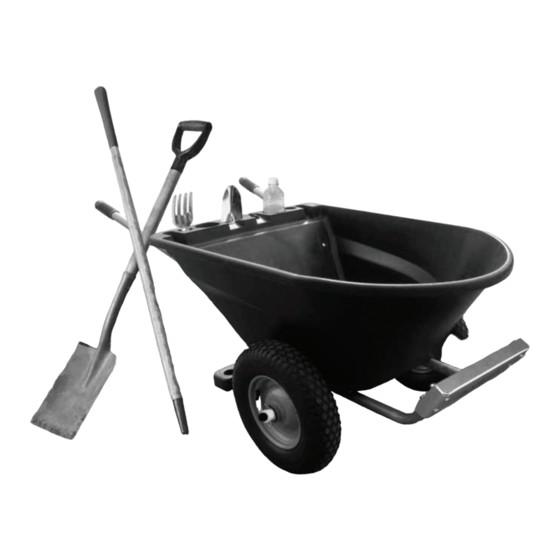
Summary of Contents for Mitre 10 Number 8 EZY BARROW
- Page 1 UMBER Good to Go. EZY BARROW Assembly Instructions & Parts Identi er Manufactured for Mitre 10 (New Zealand) Limited 46 View Road, Glen eld, North Shore, Aucland 0745 Made in China www.mitre10.co.nz...
-
Page 2: Parts Identifier
PARTS IDENTIFIER Tool Holder End Support Bar - B End Support Bar - A Rear Bumper # 52410-02QT N # 52410-03QT N # 52410-04QT N # 52410-01QT For use in step 8 For use in step 11 For use in step 11 For use in step 8 Handle Bar - A Handle Bar - B... - Page 3 ASSEMBLY INSTRUCTIONS STEP 1 BEFORE BUILDING - Please inspect and layout all your PARTS Please review All parts are listed in the Parts the Parts Identi er and Identi er and Hardware. make sure that you have all parts before beginning assembly.
- Page 4 NOTE: Push down Molded Lock Washers Tight to the Bottom STEP 4 COMPONENTS QTY. NOTE: For easier 11 Molded Tub assembly tip Molded 21 Medium Carriage Bolt Tub on its side. 22 Medium Washer Molded Lock Washer STEP 5 COMPONENTS QTY.
- Page 5 STEP 7 COMPONENTS QTY. NOTE: Lower Handle Small Washer - 8mm Bars down as shown. 16 Lock Nut Then add Washers and Lock Nuts STEP 8 COMPONENTS QTY. NOTE: Guide Support 2 End Support Bar - B NOTE: Bars into 3 - A place as dimples on...
- Page 6 STEP 10 COMPONENTS QTY. NOTE: Attach Linkage 12 Linkage Tube Tube as shown. 15 Small Washer - 8mm 16 Lock Nut STEP 11 COMPONENTS QTY. NOTE: Tool Holder 4 Rear Bumper 13 Round Head Bolt STEP 12 COMPONENTS QTY. NOTE: Wheel Insert Cotter Pins.
-
Page 7: Storage Position
STEP 13 COMPONENTS QTY. NOTE: NOTE: Cotter Pin Insert Washers. Axle Washer Lock on Wheels with Cotter Pin. IMPORTANT: Now go back and securely TIGHTEN tighten ALL bolts. ALL SCREWS STORAGE POSITION STEP 14 NOTE: This wheelbarrow stands in the upright position for space saving storage.

Need help?
Do you have a question about the Number 8 EZY BARROW and is the answer not in the manual?
Questions and answers