Table of Contents
Advertisement
Quick Links
Advertisement
Table of Contents

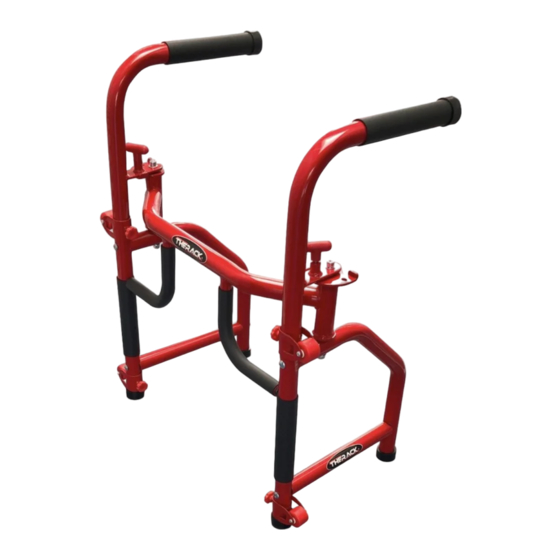
Summary of Contents for PowerPortLA THERACK All In One Gym
- Page 2 TABLE OF CONTENTS Important Safety Information Parts List Assembling THERACK 5–7 ® How To Unfold THERACK ® How To Fold THERACK ® THERACK Levels ® Warranty...
-
Page 3: Important Safety Information
IMPORTANT SAFETY INFORMATION IMPORTANT: Please read and follow all instructions thoroughly before using THERACK ® • Maximum user weight is 250 lbs. • ALWAYS USE CAUTION WHEN GETTING ON AND OFF THERACK ® • KEEP THERACK OUT OF THE REACH OF CHILDREN. THERACK is not a toy and is ®... -
Page 4: Parts List
PARTS LIST Part No. Part Name Quantity Part No. Part Name Quantity Down Frames End Caps Up Frames Inside Caps Cross Brace Round-Head Allen Bolts Pull Pins Bushings Long Bolts Wheels Washers Knobs Lock Nuts Tool A - allen wrench - S8 Foam Grips Tool B - S17, S19 Foam Grips (Curl) -
Page 5: Assembling Therack
ASSEMBLING TheRack ® All the necessary hardware has been placed in their correct location for ease of assembly. You will need to remove many of the bolts and re-insert them during the assembly of this item. STEP 1 Loosen the Round-Head Allen Bolt (PART# 12), Do not secure at this time. - Page 6 STEP 3 Place a Washer (PART #6)on the Long Bolt (PART #5) and then insert the bolt down through the hole next to the Pull Pin (PART #4).Continue to insert the bolt through the cylinder (of the Center Brace) and the Down Frame (PART #1) so that the end of the bolt becomes exposed.
-
Page 7: Adjusting The Wheels
STEP 7 Insert and tighten the Knobs (PART #15). Adjusting the Wheels STEP 1 Turn the Wheel lock counter-clockwise to loosen the Wheel. STEP 2 Rotate the Wheel to the desired position. STEP 3 Turn the Wheel lock STEP 8 clockwise to lock the Wheel in place. - Page 8 HOW TO UNFOLD TheRack ® 1 - Pull up on the Pull Pin on right side of THERACK ® 2 - Rotate the right side of the Up Frame outward until the Pull Pin locates the locking hole. 1 - Pull up on the Pull Pin on left side of THERACK ®...
- Page 9 HOW TO FOLD TheRack ® 1 - Pull up on the Pull Pin on left side of THERACK ® 2 - Rotate the left side of the Up Frame inward until the Pull Pin locates the locking hole. 1 - Pull up on the Pull Pin on right side of THERACK ®...
- Page 10 TheRack LEVELS ® You can perform exercises in three different machine configurations. Each targets the muscles differently by changing hand and body positions to build core strength, muscle balance, power and endurance. Level 1 Level 2 Level 3...
-
Page 11: Manufacturer's Limited Warranty
Manufacturer’s Limited Warranty The manufacturer warrants that THERACK is free of defects in materials and workmanship ® and will, at its option, repair or replace any defective THERACK that is returned to it. All parts ® and components of THERACK are warranted for 60 days from the original date of purchase. - Page 12 Fairfield, NJ 07004 U.S. Patent Nos 5,961,430, 6,248,048, & 6,692,417 are owned by PowerPortLA, LLC and used under license. THERACK word and design marks are federally registered trademarks owned by PowerPortLA, LLC and under license. All rights reserved. ® TR_RTLMAN_TP_ENG_V1_110117...
Need help?
Do you have a question about the THERACK All In One Gym and is the answer not in the manual?
Questions and answers