Advertisement
Quick Links
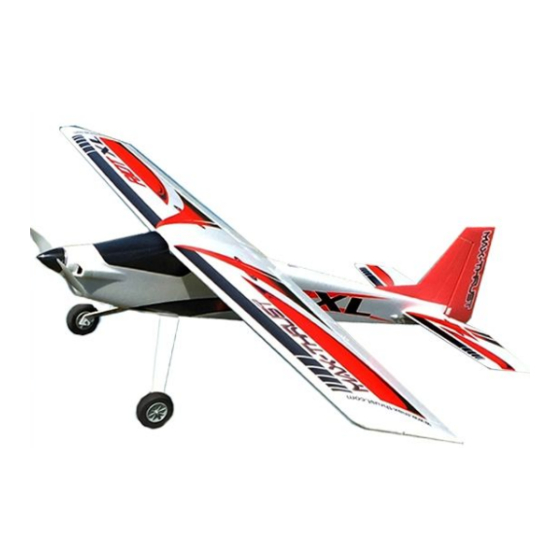
www.max-thrust.com
Specification
63 in (1600 mm)
Important
50.7 in (1287 mm)
This aircraft is not a toy and is only suitable for, or under the guidance of an
5.24 lb-5.39 lb(2380g-2450g)
experienced pilot.
Not recommended for anyone under 14 years old unless supervised.
SF1470 prop
Please read this manual carefully and follow the instructions fully before you use
Max-Thrust products are distributed by:
this aircraft.
Century UK LTD, 7 Anchor Business Park, Castle Road, Sittingbourne,
KENT. ME10 3AE
Advertisement

Summary of Contents for MAX-TRUST RIOT XL
- Page 1 www.max-thrust.com Specification 63 in (1600 mm) Important 50.7 in (1287 mm) This aircraft is not a toy and is only suitable for, or under the guidance of an 5.24 lb-5.39 lb(2380g-2450g) experienced pilot. Not recommended for anyone under 14 years old unless supervised. SF1470 prop Please read this manual carefully and follow the instructions fully before you use Max-Thrust products are distributed by:...
- Page 2 This aircraft is a sophisticated hobby product and is NOT a toy. It must always be operated with caution and common sense and some basic mechanical ability. This manual provides instructions as to the assembly and maintenance of the Riot XL, if you are unsure of any stage please seek out experienced advice, contact your place of purchase or ourselves.
-
Page 3: Flight Trimming
Flying faster or slower: When your aircraft is stable in the air, push the throttle stick up to make the aircraft go faster, and pull the throttle stick back to slow down. The aircraft will climb when the throttle is increased. Elevator up and down: Push the elevator stick forward to make the aircraft go down and pull the elevator stick back to go up. - Page 4 4.Insert the cable from aileron servo and flap servo into the corresponding slot of left wing, and put the servo on the slot. 2.Insert elevator and rudder on the corresponding slot of fuselage,meanwhile ensure to insert the tail wheel steel wire to the corresponding slot of rudder, and fix with two pcs screw.
- Page 5 6.Attach Push rod 1 to the servo arm. 8.Connect the aileron servo lead and flap servo lead (male plug ) to corresponding female plug. 7.Fix the pushrod 1 servo arm on the servo, put one head plastic clip of pushrod 1 and fix on servo with screw.
- Page 6 11. Insert the main spar and the locating rod in to one half of the wing and then slide the other side on being careful to make sure everything is aligned and no cables are snagged. 14. Fi x the servo arm with pushrod 2 on servo with screw. 12.Install elevator servo and rudder servo in the correspoding slot of fuselage with screw.
- Page 7 16.Installed one clip head of pushrod2 on rudder servo arm, fix on rudder with 18.Install the front nose cowling and fix with 2 screws through the air inlets screw. 19.Put the ESC on the battery renforcement plate,fix with velcro strap. 17.Fix the motor on the motor mount with screw.
- Page 8 21.Insert all servo wires and esc signal lines to correspoding channel of radio in turn. 24.Insert the connected plug on the right and left wing to socket on PCB of fuselage. 22.Insert the reciever into the fuselage and fix securely. 25.Fix the wing on fuselage with screws.
- Page 9 2.Connect th flight battery to the aircraft 2.Immobile for 5 seconds. Series of tones. CAUTION: Always keep hands away from the propeller. When armed, the motor will 26.Put the battery on battery plate and fix with velcro strap. turn the propeller in response to any throttle movement. CAUTION: Always disconnect the Li-P flight battery from the aircraft receiver when no flying to avoid over discharging the battery.
-
Page 10: Centre Of Gravity
MODE 2 Test your rudder control by moving your rudder stick left and right. Make sure Test your Elevator control by moving your elevator stick down and up. Make that the rudder responds according to the illustrations. sure that the elevator responds according to the illustrations. Test the flap Test the Aileron Make sure that the rudder responds according to the illustrations. - Page 11 The centre of gravity (CG) should be at a position of 85mm-95mm away from Fuselage Stabilizer rudder leading edge,Please refer to above picture. Safety Safety is the First Commandment when flying any model aircraft. Third party insurance should be considered a basic essential. If you join a model club suitable cover will usually be available through the organisation.
Need help?
Do you have a question about the RIOT XL and is the answer not in the manual?
Questions and answers