Advertisement
Quick Links
Advertisement

Related Manuals for Deagostini Robi


Summary of Contents for Deagostini Robi
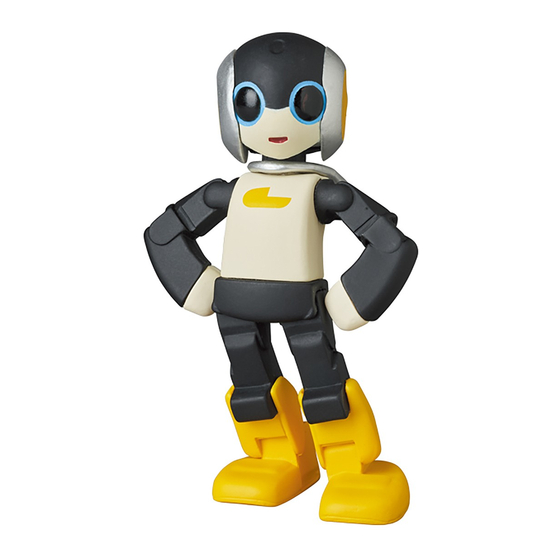
- Page 1 Build your own Pack ™...
- Page 2 Packaged by Continuo Creative, 39-41 North Road, London N7 9DP Printed in EU CONTENTS The names and likenesses of all Robi characters, artwork and distinctive lettering are protected under the copyright and trademark laws of the United States and all foreign countries.
- Page 3 PARTS TO BE ASSEMBLED ROBI’S EYES The first thing you will do is to start putting together Robi’s eyes. This simply involves wrapping the black centres with reflective tape, and then fitting the translucent white borders. Robi expresses his different states of before fitting the borders.
- Page 4 ADDING REFLECTIVE TAPE Peel the protective plastic film off Pull one end of the backing paper off Very carefully, begin to wrap the one of the black eyes. a strip of reflective tape to expose reflective tape around the eye, so about 3cm of the adhesive.
- Page 5 Robi’s mood and the activity he is currently performing: for example, when dancing, his eyes will continuously change colour (as well as flash on and off) to the music. Robi’s mouth is also fitted with an LED that lights up when he is talking,...
- Page 6 The tip is specially designed to fit the small screws that hold Robi together, and the end of the handle has a revolving pad which is designed to help you apply even pressure with your palm. This will keep the screw in place while you turn the handle with your thumb, index and middle fingers.
- Page 7 ASSEMBLING THE FRAMES Short Left head frame Right head frame Long Before you begin, sort out the left and right head frames. Lay both of Take the neck mounting in your right hand and them out on your work surface, facing each other as shown. Compare offer up the left head frame as shown.
- Page 8 ASSEMBLING ROBI’S EYES TIP! If you have difficulty finding the projection indicated in the photo on the left, turn the eye over. You will see that the white border is slightly wider on one side, and narrower on the other.
- Page 9 Your assembly should look like this. Check Repeat Steps 15-18 to attach the left eye. You may find this that the wider part of the whites of Robi’s easier if you turn the head frame assembly upside down as eyes are towards the outside of his head.
- Page 10 Assembled Turn the assembly head frame over and repeat Step 23 on the left of the face. That completes this stage of the assembly, with the features of Robi’s face beginning to take shape. Store it carefully until next time.
- Page 11 Continue building Robi’ s head, and assemble your first servo motor PARTS PROVIDED More parts for Robi’s head and neck stand, plus the first of the servo motors that enable him to move. Stage 5 Complete the neck stand, and fit the servo that will move Robi’...
Need help?
Do you have a question about the Robi and is the answer not in the manual?
Questions and answers