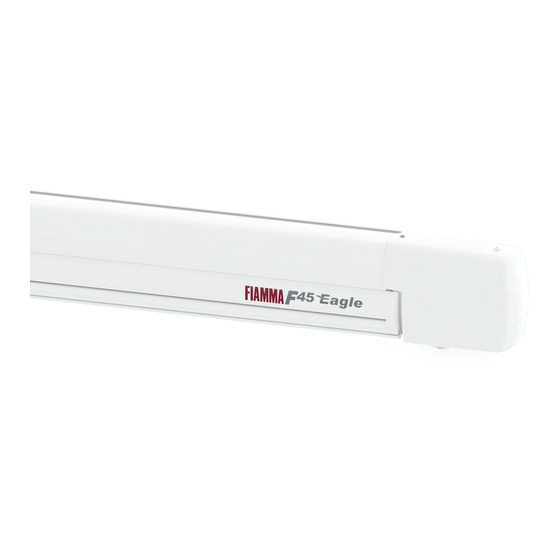
Fiamma F45eagle Repair Instructions
Kit upgrade
Hide thumbs
Also See for F45eagle:
- Installation and usage instructions (60 pages) ,
- Installation and usage instructions (40 pages)
Table of Contents
Advertisement
Quick Links
Advertisement
Table of Contents

Summary of Contents for Fiamma F45eagle
- Page 1 Awnings Repair instructions KIT UPGRADE F45eagle 98655A017...
- Page 2 FIAMMASTORE PACKAGE CONTENTS A. Fuse holder B. Plastic rivet C. Aluminium rivet D. New winch (grey) Package contents / Necessary tools p. 2 Installation instructions p. 4 Safety instructions p. 19 Warranty p. 19...
- Page 3 FIAMMASTORE NECESSARY TOOLS 8 mm ø 3,5 mm Crank Handle Characteristics Power Supply 12 V Absorption 12 A Absorbed power 144 W Protection fuse T 6,3A L 250V VIDEO TUTORIAL hiips://www.fi amma.it/videotutorial/f45...
- Page 4 FIAMMASTORE Check that nothing has been damaged or deformed during shipping. In the event of doubts or questions concerning the installation, use or limitations of the product, contact the dealer. We recommend that the installation is carried out by qualifi ed personnel and in compliance with current local regulations.
- Page 5 FIAMMASTORE Take off the front cover from the Motor Kit removing the plastic rivets (by using a screwdriver). If the aluminium rivet is in place on the cover, remove it using the drill with the tip 3.5 mm. FRONT COVER...
- Page 6 FIAMMASTORE Remove the attaching screws from the rear cover. REAR COVER Take the 8 mm combination wrench and the ratchet wrench with the 8 mm socket and unscrew the fi xing screws securing the engine frame, holding fi rmly with one hand, the part that will be removed.
- Page 7 FIAMMASTORE Take off the winch assembly (winch + fl ange). Pull out the planetary gearbox. Marking the position of the screws with a marker (these marks will be used to mount the new winch on the ring nut). ENGINE GROUP WINCH RING NUT...
- Page 8 FIAMMASTORE Remove the ring nut from the winch (white). RING NUT Replace the new winch (grey) on the ring nut, aligning it using the marks previously made with the marker. NEW WINCH COLOUR: GREY...
- Page 9 FIAMMASTORE Before reassembling the group winch, move the engine group close to the planetary gearbox, to see if there is proper alignment between the gearbox pin and internal compass on the winch. GEARBOX PIN Refi t the whole winch assembly, while holding the gearbox square and taking care to ensure the alignment of the pin with the sleeve of the motor kit group.
- Page 10 FIAMMASTORE Holding the winch assembly with one hand, tighten the fi xing screws securing the motor unit. 8 mm...
- Page 11 FIAMMASTORE INSERTION OF THE SAFETY FUSE Cut the red wire of the motor. CUT THE RED WIRE Cut for about 3-4 mm (1/6 inch) the two ends in rubber of the fuse holder. (The opening of the hole extends and makes the insertion of the cables).
- Page 12 FIAMMASTORE Insert the wires in the fuse holder. Insert the spring.
- Page 13 FIAMMASTORE Stripping the two ends of the wires and connect them with the screw in the dial (A). Insert the fuse - Close the fuse fuse T 6.3A L 250V - (don’t use different fuse) holder.
- Page 14 FIAMMASTORE REPLACEMENT OF THE LEAD BAR CAP Remove the adhesive tape. Open the lead bar with the crank handle and close it to verify the microswitch operation. Next, open the lead bar by 50 cm (20 inches).
- Page 15 FIAMMASTORE Reassemble the covers of the motor kit, installing the new lower screw, the new rivets and the aluminium rivet (if you are unable to put the front cap, open the lead bar by a few centimetres or 3/4 open inch).
- Page 16 FIAMMASTORE Remove all the tools and any material left on the vehicle roof. Restore the 12 Volt power supply. CONTROL AND GENERAL VERIFICATION OF THE FUNCTIONING Open the awning lead bar by one meter (39 inches) (with the opening button). Control System RETRACT...
- Page 17 FIAMMASTORE Interrupt the closing of the lead bar by tapping the microswitch: THE LEAD BAR MUST STOP! PUSH STOP!
- Page 18 FIAMMASTORE In case that the movement doesn’t stop, you could indentify why the Microswitch doesn’t work (because is not connected or defective); in this case the lead bar will fi nish the operation until the closing and it will trigger the protection fuse (that will safeguard the electrical system). While closing of the lead bar automatically, do not insert your hands or objects that can hamper the movement.
- Page 19 S/N : 9000000 CANOPY COLOUR xxxxxx Warranty Fiamma. In case of defects with regards to materials and manufacturing, the customer is entitled to the warranty in accordance with local laws and regulations of the country in which the product was purchased.
- Page 20 All rights reserved. Fiamma S.p.A. reserves the right to modify at any time, without notice, prices, materials, Fiamma S.p.A. - Italy specifi cations and models or to cease Via San Rocco, 56 production of any model. 21010 Cardano al Campo (VA)


Need help?
Do you have a question about the F45eagle and is the answer not in the manual?
Questions and answers