Rockler Dust RIGHT Instructions Manual
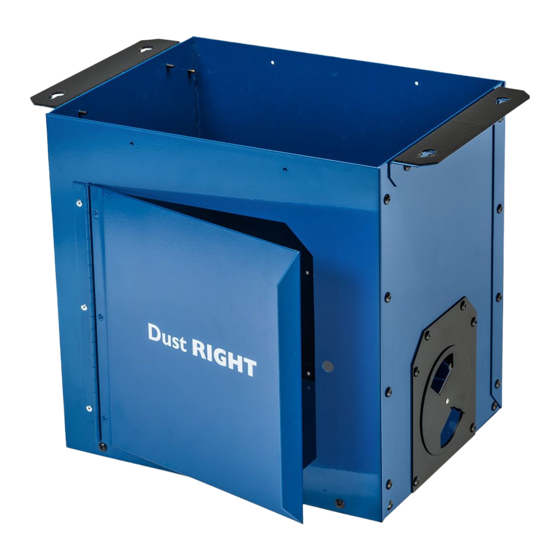
Router table dust bucket
Hide thumbs
Also See for Dust RIGHT:
- Instructions manual (12 pages) ,
- Instructions manual (16 pages) ,
- Instructions manual (8 pages)
Summary of Contents for Rockler Dust RIGHT
- Page 1 Router Table Dust Bucket Instructions Effective August 2019 Review full manual instructions prior to use for important safety information. Always check Rockler.com to confirm that you are using the most recent manual version for your product.
-
Page 2: General Safety Warnings
Instructions and safety warnings for your product (see the • Keep children and bystanders away from the tool Instructions link on the product page at Rockler.com). operating area; • Do NOT use power tools in explosive environments, or in >... - Page 3 PRODUCT SPECIFIC SAFETY WARNINGS > Turn off and unplug your router before installing the Dust Right Dust Bucket on your router table. ® > Handle metal components with care during unpacking > Adjust the vent on the Vent Assembly (6) to regulate the and assembly;...
-
Page 4: Parts List
PARTS LIST Quantity Bottom Side with Opening Side Front Assembly Back Vent Assembly Dual Dust Port Dual Dust Port Gasket Left Mounting Brackets 10 Right Mounting Brackets 11 #8 x 3/8" Screws 12 Cord Retainer Screw 13 Cord Retainer Wingnut 14 Left Bracket Dampener 15 Right Bracket Dampener Fig. - Page 5 Assembly > Handle metal components with care during unpacking and assembly; edges could be sharp. > Do NOT overtighten the self-tapping #8 x 3/8" Screws used to assemble your Dust Bucket, or you risk stripping the threads. 1. Attach the Side with Opening (2) and the Side (3) to the Bottom (1) with #8 x 3/8"...
- Page 6 Fig. 4 4. Attach the Front Assembly (4) to the Bottom (1) with four #8 x 3/8" Screws (11), and then to the Side with Opening (2) and the Side (3) with four #8 x 3/8" Screws (11) through each flange. Fig. 4. 5.
-
Page 7: Installation
Mounting Bracket Assembly Mounting Bracket Assembly Fig. 6 Installation If possible, remove the fence, router and plate from your router table and set the table upside down on a non-marring surface for easier installation of your Dust Bucket. 1. Center the assembled Dust Bucket on the plate opening on the underside of your router table. -
Page 8: Important Reminders
Check Rockler.com for updates. If you have further questions, please port on your router fence to the smaller opening on the Dual contact our Technical Support Department at 1-800-260-9663 Dust Port (7) and a 4" dust hose or the Dust Right 4" Quick ®...


Need help?
Do you have a question about the Dust RIGHT and is the answer not in the manual?
Questions and answers