
Related Manuals for Thermofilm HEATSTRIP Max-DC


Summary of Contents for Thermofilm HEATSTRIP Max-DC
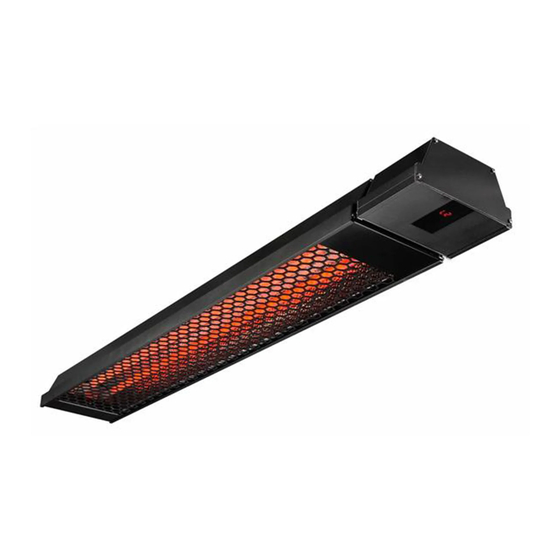
- Page 1 Product Manual ® H E AT S T R I P M a x - D C ( T H X D C ) Ta k e H e a t i n g t o t h e M a x !
-
Page 2: Product Overview
Product Overview Rev A June 20 ® Why choose HEATSTRIP electric radiant heaters for your outdoor or hard-to-heat indoor area? As there is typically constant air movement in an outdoor or open indoor area, many conventional heaters rely on convection heating which works by heating the surrounding air. This can be quite impractical for these areas, as this heated air can easily blow away with natural air movement. - Page 3 Maximum heat performance – multiple applications The high temperature output of the HEATSTRIP Max-DC is perfect for exposed outdoor sites, high ceilings and hard-to- heat indoor and outdoor applications. The dual element design allows for a very compact unit, and maximum efficiency. Outdoor applications include al-fresco and dining/entertainment areas, patios, veranda's and balconies, to name a few.
- Page 4 Specifications - Australia MODEL POWER CURRENT DIMENSIONS WEIGHT LEAD PLUG (WATTS) (AMPS) (mm) (Kg) LENGTH (mm) THX2400DC 2400 854 x 170 x 80 1000 THX3600DC 3600 1054 x 170 x 80 1000 MODEL HEATER TYPE High intensity electric radiant, infra-red overhead heater with dual glass element OUTPUT Refer to model code chart above...
- Page 5 Spot heating principle In most outdoor or difficult-to-heat indoor applications, there are 2 methods when looking at the size and quantity of heaters required. Option 1 is to comfort heat the entire area based on the total dimensions of the space, regardless of whether the entire area is being fully occupied or not.
- Page 6 Radiant footprint ® HEATSTRIP Max-DC electric heaters produce radiant heat, which heats objects rather than the air. Therefore, it is imperative that objects to be heated (ie. people), are within the direct radiant footprint of the heater. ® The diagram below shows the radiant footprint of HEATSTRIP Max-DC, and is an approximate guide based on a fully enclosed, outdoor environment.
-
Page 7: Selection Guide
Selection guide ® General recommendations for HEATSTRIP Max DC: • Ideal mounting height: 2.3m to 2.8m. Maximum is 3.0m Outdoors and 3.5m Indoors • Ideal mounting location: ceiling mounted, directly above area to be heated (Eg. above a table) ® The below table outlines the coverage of each HEATSTRIP Max DC model (in m ), based on 3 different scenarios. - Page 8 Table layout For the majority of outdoor applications, the most effective method is to spot heat a table or similar area. The below diagrams provides an easy selection guide for the approximate model and quantity of heaters required to heat common residential table settings.
-
Page 9: Installation Requirements
Installation Requirements ® The ideal mounting position for the HEATSTRIP Max DC is on the ceiling, directly above the area to be heated. If this is ® not possible, HEATSTRIP Max DC can be mounted on a wall and angled downwards. In this situation, ensure the mounting height is in the range of 2.3m to 2.8m and the table is within 1- 2m of the wall. -
Page 10: Installation Location
Installation location — the below diagrams confirm the minimum recommended clearances. Angled Wall Installation Surface Lights, fans, and sprinklers Below must NOT be below heater Heater Ceiling Installation Surface Lights, fans, and sprinklers Below must NOT be below heater Heater Angled Ceiling Installation... -
Page 11: Mounting Options
Mounting options ® The installation of HEATSTRIP Max DC is simple and easy with the standard mounting brackets supplied. For other more challenging locations there are a range of mounting options available - refer to below diagrams. ® The HEATSTRIP Max DC can be mounted directly to the ceiling, angled downwards on a wall, suspended on chains or poles;... -
Page 12: Standard Mounting Brackets
Standard mounting brackets ® The HEATSTRIP Max DC comes with a pair of standard mounting brackets. These adjustable brackets allow direct ceiling or wall mount, and come with pre-set angle options of parallel, 22.5° and 45°. The flexible standard mounting bracket can be turned 90 degrees to mount onto a beam, it can also be used to suspend with chains. - Page 13 MOUNTING Fix the two mounting brackets to the ceiling or wall in the desired location (refer minimum bracket centre chart). Make sure the method of fixing (bolts or screws) will be more than strong enough to support the weight of the heater, allowing for strong winds and other conditions.
- Page 14 Extension Mount Bracket ® The Extension Mount bracket allows HEATSTRIP Max-DC units to be lowered from high ceilings, using rigid connections. The poles are 25mm x 1mm Alloy tube pole, supplied as a complete kit, pre-cut poles and connections. The standard length options as part of the kit are 300mm, 600mm, 900mm and 1200mm.
-
Page 15: Flush Mount Enclosure
Flush Mount Enclosure ® The Flush Mount Enclosure is an ideal way to neatly install the HEATSTRIP Max-DC into a ceiling. They are available for ® both HEATSTRIP Max –DC models, and are supplied as a one-piece unit for mounting of heaters. Flush mounting can be used with plaster or wood lined ceiling materials. -
Page 16: Maintenance
® HEATSTRIP has undergone extensive testing both in laboratory conditions; in Thermofilm’s manufacturing facility in Melbourne and field trials in Australia and overseas. It has been this testing that gives the purchaser the confidence of a high quality product. -
Page 17: Warranty Terms And Conditions
This warranty excludes damage to the product or components arising from circumstances outside the control of Thermofilm, including, but not limited to, where the product is not used for intended purpose; where the product has been rectified in any way; incorrect installation; incorrect power supply; damaged caused during delivery; misapplication, misuse, abuse, vandalism, lack of maintenance or accident.
Need help?
Do you have a question about the HEATSTRIP Max-DC and is the answer not in the manual?
Questions and answers