Advertisement
Quick Links
Advertisement

Related Manuals for Dunelm Lynton Triple Wardrobe


Summary of Contents for Dunelm Lynton Triple Wardrobe
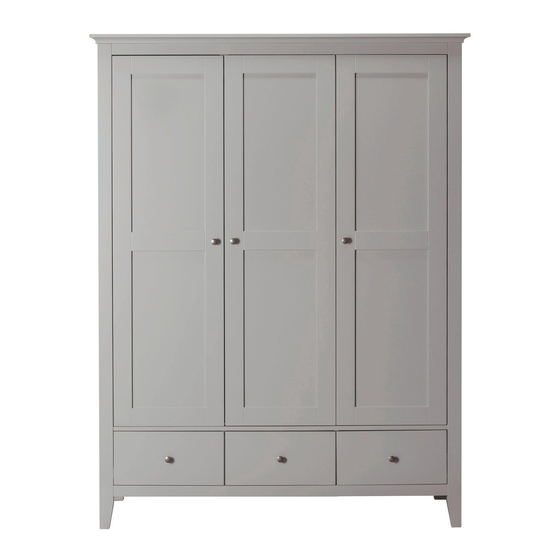
- Page 1 Lynton Triple Wardrobe White H180.5 x W137.6 x D56 cm...
-
Page 2: Dear Customer
DEAR CUSTOMER Thank you for purchasing your new piece of furniture from Dunelm. We put a lot of effort in the design and construction of our products to ensure they set the standard for quality, durability and ease of assembly. - Page 3 Parts & fittings for the Lynton Triple Wardrobe (30605618) Panel - exploded view Panels - plan view Top panel Left side panel...
- Page 4 Parts & fittings for the Lynton Triple Wardrobe (30605618) Panels - plan view Right side panel Back crossing bar Front upper trim Partitional panel Shelf Front bottom trim Bottom front frame Bottom back frame...
- Page 5 Parts & fittings for the Lynton Triple Wardrobe (30605618) Panels - plan view Bottom frame crossing bar Bottom left partitional panel Bottom right partitional panel Door x 3 Drawer left panel x 3 Drawer back panel x 3 Drawer right panel x 3...
- Page 6 Parts & fittings for the Lynton Triple Wardrobe (30605618) Panels - plan view Drawer front panel(Right) Hanging rail Right back panel x 1 Hanging rail Left back panel x 1...
-
Page 7: Tools Required
Parts & fittings for the Lynton Triple Wardrobe (30605618) Fittings Ø3. Metal cam lock x 34 Metal cam pin x 34 Ø 5x14mm Screw 30mm Wooden 5x40mm Screw x 86 x 29 dowel x 39 Anti-topple device Ø 3x12mm Screw... - Page 8 Ready? Follow this step-by-step guide E x 10 G1 x 2 M x 2 Whilst pushing the leaver down, slide the runners in opposite directions to each other to separate. Please do not wipe off the grease as this will help the runners slide back together at the end of assembly.
- Page 9 C x 10 E x 12 G1 x 4...
- Page 10 E x 4 M x 2 C x 7...
- Page 11 D x 2 C x 4 B x 4...
- Page 12 D x 2 A x 4...
- Page 13 A x 2 B x 2 C x 11...
- Page 14 D x 5...
- Page 15 C x 4 B x 16 E x 2 L x1 C x 3...
- Page 16 A x 8 A x 8...
- Page 17 K x 2 E x 2 D x 8...
- Page 18 P x 1 Q x 4 R x 4 F x 30...
- Page 19 E x 2 T x 1 O x 3 E x 18 N x 6...
- Page 20 H x 3 J x 3 E x 18...
- Page 21 D x 12 B x 12...
- Page 22 H x 3 J x 3 A x 12 G2 x 6 E x 18...
- Page 23 Please slide the drawer backwards and forwards until the drawer runner is sliding smooth.
- Page 25 1.Use stickers((S) on all visible holes. S x 16...
- Page 26 • When drilling into the walls, always ensure there are no hidden wires or pipes. • If you are unsure,we recommend you consult a qualified Trades person. dunelm.com...
- Page 27 For use with plaster board tting in this case. For light partitions or hollow loads, a General Purpose Plug wooden doors. can be used. dunelm.com...
-
Page 28: Care And Maintenance
Finally, we hope you enjoy your furniture for many years to come and thanks again for your purchase. dunelm.com...
Need help?
Do you have a question about the Lynton Triple Wardrobe and is the answer not in the manual?
Questions and answers