Advertisement
Advertisement
Table of Contents

Related Manuals for Singer M1000


Summary of Contents for Singer M1000
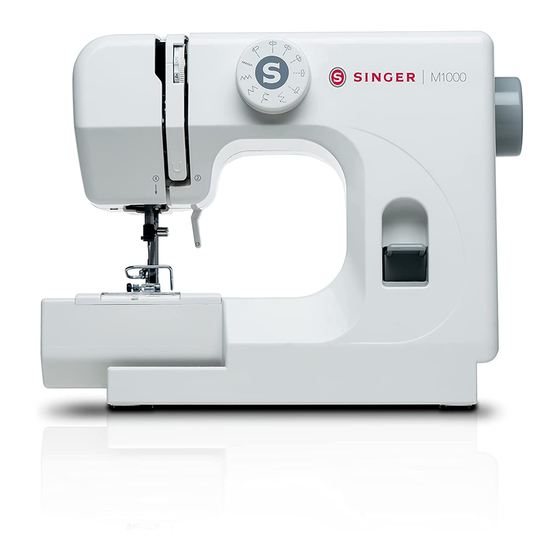
- Page 1 Instruction Book M1000 / M1005...
-
Page 2: Important Safety Instructions
IMPORTANT SAFETY INSTRUCTIONS This sewing machine is not a toy.Do not allow children to play with this machine. The machine is not intended for use by infants or mentally disabled persons without proper supervision. When using an electrical appliance, basic safety precautions should always be followed, including the followings: Read all instructions before using this appliance. - Page 3 Finger Guard ........................ Overcasting with Zigzag Stitch ...................
- Page 4 SECTION 1. NAMES OF PARTS Names of Parts Bobbin winding tension disk Upper thread guide Thread take-up lever Thread tension dial Needle plate Bobbin cover plate Reverse stitch lever Stitch selector Needle clamp screw Needle bar thread guide Needle Presser foot Setscrew Bobbin winder spindle Bobbin winder stopper...
-
Page 5: Standard Accessories
Standard Accessories 1 Bobbins (Class 15 Transparent) 2 Needle 3 Threader 4 AC adapter 5 Foot switch Screwdriver SECTION 2. GETTING READY TO SEW Connecting Machine to Power Supply WARNING: Do not use any AC adapter other than one included in the standard accessory. Before connecting the AC adapter,make sure the voltage and frequency shown on the AC adapter conform to your electrical power. - Page 6 Presser Foot Lifter The presser foot lifter raises and lowers the presser foot. You can raise it higher than the normal up position to more easily place fabric under the foot. Remember to lower the presser foot onto the fabric before starting to sew.
- Page 7 Bobbin Winding The spool pin is located in the back of the sewing machine.Tilt out the spool pin. Place the spool of thread on it. The end of the thread should be coming out from the spool as shown. 1 Spool pin 2 End of the thread 3 Spool of thread Removing the bobbin...
- Page 8 WARNING: The needle and take-up lever move up and down while winding the bobbin. Keep fingers away from all moving parts. Special care is required around the sewing machine needle. To avoid possible injury, do not touch any moving parts. Draw the thread from the spool.
- Page 9 Inserting the bobbin Place the bobbin in the bobbin holder with the thread running off counterclockwise. 1 Thread 2 Bobbin holder Guide the thread into the notch on the front of the bobbin holder. 3 Notch on the front. Draw the thread to the left, sliding it between the tension spring blades 4 Spring blades Continue to draw the thread lightly until the...
-
Page 10: Threading The Machine
Threading the Machine WARNING: Disconnect the AC adapter from the machine before threading. * Place a spool on the spool pin, with thread coming off as shown. * Raise the thread take-up lever to its highest position by turning the handwheel counter- clockwise. -
Page 11: Drawing Up Bobbin Thread
Drawing up Bobbin Thread Raise the presser foot. Lightly pull the needle thread with your left hand as you rotate the handwheel counterclockwise, toward you, for one complete turn. 1 Needle thread Bring the bobbin thread up by pulling the needle thread. -
Page 12: Changing Needle
Changing Needle WARNING: Disconnect the AC adapter from the machine before changing the needle. Raise the needle by turning the handwheel and lower the presser foot. Loosen the needle clamp screw by turning it counterclockwise. Remove the needle from the needle clamp. Insert a new needle into the needle clamp with the flat side to the rear. - Page 13 Adjusting the Needle Thread Tension Balanced tension The ideal straight stitch has threads locked between two layers of fabric, as illustrated. Turn the dial to adjust the tension. 1 To loosen 2 To tighten The tension requires adjustment depending on: - stiffness and thickness of the fabric - number of fabric layers - type of stitch...
- Page 14 Stitch Selector Raise the needle above the fabric. CAUTION: To avoid needle or fabric damage, make sure the needle is up and out of the fabric while selecting a stitch. Turn the dial to select the desired pattern by setting the symbol letter at the setting mark. 1 Symbol letter 2 Setting mark NOTE:...
-
Page 15: Section 3. Basic Sewing
SECTION 3. BASIC SEWING Straight Stitch Stitch selector: A,B~E,F Needle thread tension: 2 to 6 NOTE: Stitch length of A, D and F is the same. A is right needle position, B~E is middle needle position, F is left needle position. Starting to sew Raise the presser foot and position the fabric on the needle plate. - Page 16 Turning a Square Corner Stop stitching at the corner of the fabric. Lower the needle by turning the handwheel counterclockwise. Raise the presser foot and turn the fabric counterclockwise 90 . Lower the presser foot and begin stitching in the new direction. Basic Zigzag Stitch selector: G,H,I...
-
Page 17: Blind Stitch
Multi-stitch zigzag Stitch selector dial: Upper thread tension dial: 1-4 Multi-stitch zigzag is good for overcasting stretch fabric. Multi-stitch zigzag stitch has stretch function which will flex with stretch fabric. Sew approximately 1.5cm from the fabric edge. Trim excess seam allowance when finished sewing. Blind stitch. -
Page 18: Section 4. Care Of Your Machine
SECTION 4. CARE OF YOUR MACHINE Cleaning the Bobbin Holder CAUTION: Disconnect the AC adapter jack before cleaning the machine. Do not dismantle the machine other than as explained in this section. Remove the bobbin cover plate by sliding it toward you. -
Page 19: Troubleshooting
Troubleshooting Condition Cause Reference The needle thread breaks. The bobbin thread breaks The needle breaks Skipped stitches Seam puckering The fabric is not The machine does not run The machine is noisy... - Page 20 Singer and the Cameo “S” Design are trademarks of The Singer Company Limited S.a.r.l. or its Affiliates. ©2019 The Singer Company Limited S.a.r.l. or its Affiliates. All rights reserved. 528960003-BS07 471006126 02-2020...
Need help?
Do you have a question about the M1000 and is the answer not in the manual?
Questions and answers