
Related Manuals for Oster EG034AL7


Summary of Contents for Oster EG034AL7
- Page 1 Model:EG034AL7 Read these instructions carefully before using your microwave oven, and keep it carefully. If you follow the instructions, your oven will provide you with many years of good service. SAVE THESE INSTRUCTIONS CAREFULLY...
-
Page 2: Precautions To Avoid Possible Exposure To Excessive Microwave Energy
(1) DOOR (bent) (2) HINGES AND LATCHES (broken or loosened) (3) DOOR SEALS AND SEALING SURFACE (d) The oven should not be adjusted or repaired by anyone except properly qualified service personnel. Specifications EG034AL7 Model: 120V~60Hz Rated Voltage: 1450W Rated Input Power(Microwave):... -
Page 3: Important Safety Instructions
IMPORTANT SAFETY INSTRUCTIONS When using electrical appliances basic safety precautions should be followed, including following: WARNING - To reduce the risk of burns, electric shock, fire, injury to persons or exposure to excessive microwave energy: 1. Read all instructions before using the appliance. 2. -
Page 4: Grounding Instructions
THIS COULD RESULT IN VERY HOT LIQUID SUDDENLY BOILING OVER WHEN THE CONTAINER IS DISTURBED OR A UTENSIL IS INSERTED INTO THE LIQUID. To reduce the risk of injury to persons: 1) Do not overheat the liquid. 2) Stir the liquid both before and halfway through heating it. 3) Do not use straight-sided containers with narrow necks. -
Page 5: Radio Interference
1. A short power supply cord is provided to reduce the risks resulting from becoming entangled in or tripping over a longer cord. 2. Longer cord sets or extension cords are available and may be used if care is exercised in their use. - Page 6 8. Do not heat baby bottles or baby food in the microwave oven. Uneven heating may occur and could cause physical injury. 9. Do not heat narrow-necked containers, such as syrup bottles. 10. Do not attempt to deep-fry in your microwave oven. 1 1.
-
Page 7: Materials You Can Use In Microwave Oven
Materials you can use in microwave oven Utensils Remarks Aluminum foil Shielding only. Small smooth pieces can be used to cover thin parts of meat or poultry to prevent overcooking. Arcing can occur if foil is too close to oven walls. The foil should be at least 1 inch (2.5cm) away from oven walls. -
Page 8: Setting Up Your Oven
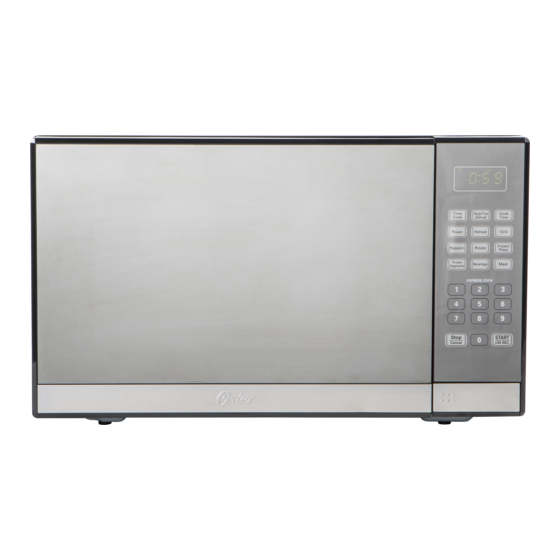
SETTING UP YOUR OVEN Names of Oven Parts and Accessories Remove the oven and all materials from the carton and oven cavity. Your oven comes with the following accessories: Glass tray Turntable ring assembly Instruction Manual A) Control panel B) Turntable shaft C) Turntable ring assembly D) Glass tray E) Observation window... -
Page 9: Countertop Installation
Countertop Installation Remove all packing material and accessories. Cabinet: Remove any protective film found Examine the oven for any damage such as on the microwave oven cabinet surface. dents or broken door. Do not install if oven is Do not remove the light brown Mica cover damaged. -
Page 10: Operation
OPERATION 1. Power Level 11 power levels are available. Level Power 100% Display PL10 2. Clock Setting (1) Press " CLOCK/ KITCHEN TIMER "once, "00:00" will display. (2) Press the number keys and enter the current time. For example, time is 12:10 now, please press "1,2,1,0" in turn. (3) Press "... - Page 11 Example: to cook the food with 50% microwave power for 15 minutes. a. Press "TIME COOK" once."00:00" displays. b.Press "1","5","0","0" in order. c.Press "POWER" once,then press "5" to select 50% microwave power. d.Press "START/+30SEC." to start cooking. Note:1) In the process of setting, if the " STOP/CANCEL" button is pressed or if there is no operation within 1 minute, the oven will go back to the former setting automatically.
- Page 12 7. Speedy Cooking (1) In waiting state, instant cooking at 100% power level can be started by select a cooking time from 1 to 6 minutes by pressing number pads1 to 6. Press " START/+30SEC." to increase the cooking time; the maximum cooking time is 99 minutes and 99 seconds. (2) In waiting state, instant cooking at 100% power level with 30 seconds' cooking time can be started by pressing "...
-
Page 13: Frozen Vegetable
POTATO a) Press " POTATO " repeatedly until the number you wish appears in the display, "1","2","3" will display in order. "1"SET : 1 potato (approximate 8.0 Oz) "2"SETS: 2 potatoes (approximate 16.0 Oz) "3"SETS: 3 potatoes (approximate 24.0 Oz) For example, press "POTATO"... -
Page 14: Dinner Plate
C. PORK menu a) Press " MEAT " three times to choose pork menu,"PO" displays. b) Press " START/+30 SEC. " to confirm the menu. "6.0" displays. c) Keep pressing " MEAT " to choose pork weight."11.0","16.0","21.0" or "26.0" Oz can be selected. - Page 15 19. MEMORY FUNCTION (1) Press "0/MEMORY" to choose memory 1-3 procedure. The LED will display 1,2,3. (2) If the procedure has been set, press " START/ +30 SEC." to use it. If not, continue to set the procedure. Only one or two stages can be set. (3) After finishing the setting, press "START/ +30 SEC."...
-
Page 16: Maintenance
MAINTENANCE Troubleshooting Check your problem by using the chart below and try the solutions for each problem. If the microwave oven still does not work properly, contact the nearest authorized service center. TROUBLE POSSIBLE CAUSE POSSIBLE REMEDY a. Electrical cord for oven is a.
Need help?
Do you have a question about the EG034AL7 and is the answer not in the manual?
Questions and answers
LIGHTBULB FOR EG034AL7
Panel prende . Se cambiaron los interruptores y todavía no se activa
The Oster EG034AL7 panel may not be turning on after replacing the switches due to several possible reasons:
1. Improper Switch Installation – The new switches may not be correctly connected or aligned with the safety interlock system.
2. Damaged Wiring or Loose Connections – Wires may have been accidentally disconnected or damaged during the replacement process.
3. Blown Fuse or Power Issue – A fuse inside the microwave may have blown, or there could be an issue with the power supply.
4. Faulty Door Interlock System – If the safety interlock system is not properly engaged, the microwave will not function.
5. Other Internal Component Failure – Issues with the control board or other electronic components may prevent the panel from turning on.
Check the wiring, ensure proper installation, and verify power flow to troubleshoot the issue.
This answer is automatically generated
HOW TO OPEN DOOR IF SWITCH IS DISABLED