Advertisement
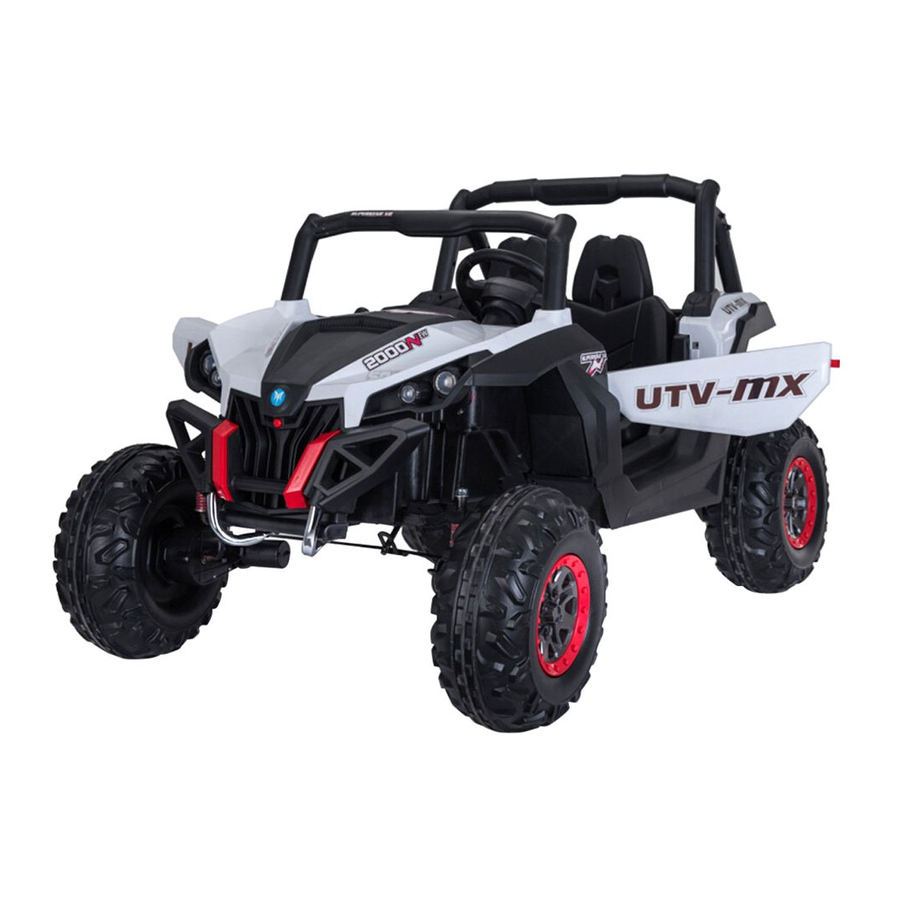
RIDE ON UTV-MX
OWNERS MANUAL
Read and understand this entire manual before using!
Please keep this manual for future reference as it contains important information.
Before first time use, charge the battery for at least 8-12 hours.
with Assembly Instructions
• Suitable for 3+ Years
• Maximum user weight: 50 kg
Advertisement
Table of Contents

Summary of Contents for Supercheap Auto RIDE ON UTV-MX
- Page 1 RIDE ON UTV-MX • Suitable for 3+ Years • Maximum user weight: 50 kg OWNERS MANUAL with Assembly Instructions Read and understand this entire manual before using! Please keep this manual for future reference as it contains important information. Before first time use, charge the battery for at least 8-12 hours.
-
Page 2: Specification
About Your New Vehicle Congratulations on the purchase of your ride on UTV-MX. This ride on should provide hours of entertainment for your child. To ensure rider safety please read this manual carefully and keep for future reference. Specification Battery:... -
Page 3: Parts List
Not shown in Parts Diagram Split pin Not shown in Parts Diagram Φ10 plastic wahser Not shown in Parts Diagram Φ8 plastic wahser Not shown in Parts Diagram Please contact your local Supercheap Auto store to request any required replacement parts. -
Page 4: Parts Diagram
Parts Diagram... -
Page 5: Rules For Safe Riding
Safety PREVENT INJURIES AND DEATHS: • NEVER LEAVE CHILD UNATTENDED. ADULT DIRECT SUPERVISION IS REQUIRED. Always keep child in view when child is in vehicle. • To avoid falls and collisions please ensure child is supervised at all times • Ensure use in safe environment, not to be used on roadways, steep inclines, steps, or near bodies of water •... - Page 6 Attach the Rear Shock Absorbers Rear bottom view Tools required: Hex wrench x2 Rear bottom view Rear axle frame Turn the vehicle body downside up. 1. Remove the screw, plastic washers and the nuts from the rear shock absorbers with two hex wrenches.
- Page 7 Attach the Driving Wheels Rear axle frame Rear axle frame Rear bottom view Cut off the plastic ties on the rear axle frames with a scissors. Release the gear boxes, but DO NOT disconnect the connectors of the gear boxes. 1.
- Page 8 Attach the Front Axle 1. Remove the Φ12 plastic washer from the front alxe. Fit the front axle to the vehicle. 2-4. Remove the screws, Φ8 plastic washer *2 and the nuts from the rear shock absorbers with two hex wrenches. Line up the holes on the front axle frame with the holes on the front shock absorber, and reinsert the screw, Φ8 plastic Front bottom view...
- Page 9 Attach the Front Wheel & Steering Wheel Front bottom view Front axle Front axle 1. Slide a wheel onto the front axle. If your vechiel was Four Wheels Driving type, ensure the wheel match up with the gear box on the front axle. 2.
- Page 10 Attach the Front bar & Rear Bar 1. Insert the tabs of the front bar into the holds on the vehicle body. Push until you hear it “snap” into place. 2. Insert two Φ4x16 screws through the vehicle wall and into the front bar and tighten. 3.
- Page 11 Attach the Seat & Connect the Power Supply 1,2. Aligned the slide strip under the seat with the slide way on the top of seat base, press the button located at the front of the seat base till the tabs on the back of seat inserted into the holes on the vehicle. HINT: The seat is adjustable and has three position.
- Page 12 Use Your New Vehicle IMPORTANT! Always stop vehicle when changing the speed or direction to avoid damage the gears and motor. 1. One button start: Turns the vehicle on and off. 2. Forward/Reverse lever: Changes the direction that vehicle moves from forward to reverse. ●...
- Page 13 Use the Remote Controller Speed indicators Speed select Status indicator Forward Turn right Reverse Turn left Brake Car select Attach the batteries of controller Lift the battery compartment door on the back of the controller and insert two AAA(LR03) batteries. HINT: Batteries not included.
- Page 14 Charging • The POWER SWITCH must be turned in OFF position when charging. • Before the first use, you should charge the battery for 4-6 hours. Do not recharge the battery for more than 10 hours to avoid overheating the charger. •...
-
Page 15: Troubleshooting Guide
Troubleshooting Guide Possible Cause Solution Problem Vehicle does not run Battery low on power Recharge battery. Thermal fuse has tripped Reset fuse, see <Fuse> Check that the battery connectors are firmly plugged Battery connector or wires into each other. If wires are loose around the motor are loose contact your distributor please. -
Page 16: Disposal Of Battery
Fuse The battery features a thermal fuse with a rest fuse that will automatically trip and cut all power to the vehicle if the motor, electric system or battery is overloaded. The fuse will reset and power will be restored after the unit is turned OFF for 20 seconds and then turned ON again.
Need help?
Do you have a question about the RIDE ON UTV-MX and is the answer not in the manual?
Questions and answers