Advertisement
OPERATING INSTRUCTIONS:
Approximate Working Pressures:
• 2 0 lbs. or Less: Stipple and granulated effects, pressure will vary with viscosity of fluid.
• 20 to 30 lbs.: Medium consistency water colors, inks & dyes.
• 30 lbs. or More: Heavy fluids, acrylics, reduced lacquers, varnishes, paints or ceramic glaze.
1. A ttach hose to air supply and allow air to blow a few seconds. Shut off before attaching to Airbrush. This procedure will
remove dirt from airline and hose.
Caution: Hold firmly and point away from face.
2. Attach hose coupling to the airbrush.
3. A ttach Color Cup or Bottle to #6 Needle by exerting a firm twisting motion to fit tapered tube securely into tapered Needle inlet.
4. Fill Bottle 1/2 to 3/4 full. Use eyedropper or brush for adding small amounts of color to metal color cup. Vent hole must be kept
open.
5. T o Spray, hold Airbrush like a pencil comfortably between thumb and forefinger using middle finger as a guide and support.
Like writing, hold forefinger easily on Button and Press to open air valve.
6. R egulate volume of color and size of spray by rotating #5 Tip clockwise to increase and counter clockwise to decrease flow
of color.
CARE AND CLEANING:
1. P our any remaining color back into its original container.
2. W ipe Bottle clean, using cloth moistened with proper solvent.
3. H old Airbrush at a downward angle and put a few drops of solvent through #6 Needle, or fill bottle with Paint Cleaner to spray.
To flush out the remaining color in the H Color Adjusting Part Assembly, apply pressure to the Button.
HOW TO OPEN CLOGGED FLUID PASSAGES:
1. A gitate color in Bottle Assembly by placing finger momentarily over #1 Aircap while air is passing through the Airbrush. This
will blow color back into bottle thus opening clogged fluid passages.
2. S hould Tip or Needle become clogged, pull #8 Clip, unscrew Tip from Needle, gently pull back through support and remove
Tip.
3. C lean Parts carefully, using nothing harder than a wooden toothpick & your paint cleaner.
4. To reassemble, reverse this procedure.
5. I f the needle and tip are completely clogged, Remove #7 "O"Ring (first) then soak in a closed bottle of proper solvent until
clean.
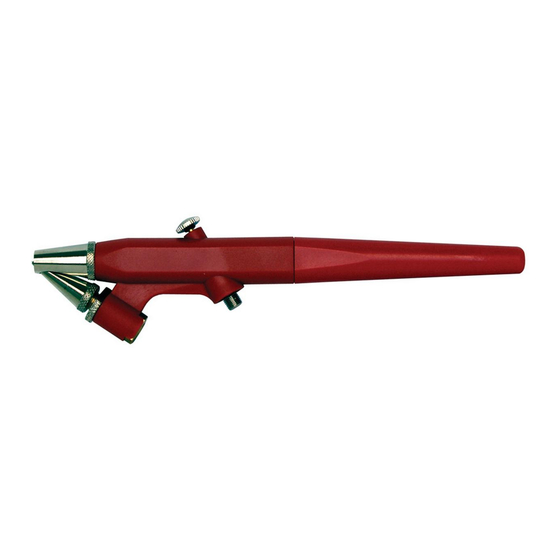
INSTRUCTIONS AND PARTS LIST EZ-STARTER AIRBRUSH 8/16/2019
EZ-STARTER
Single Action–External Mix–Siphon Feed
Instruction Manual & Replacment Parts
Advertisement
Table of Contents

Related Manuals for paasche EZ-STARTER


Summary of Contents for paasche EZ-STARTER
- Page 1 INSTRUCTIONS AND PARTS LIST EZ-STARTER AIRBRUSH 8/16/2019 EZ-STARTER Single Action–External Mix–Siphon Feed Instruction Manual & Replacment Parts OPERATING INSTRUCTIONS: Approximate Working Pressures: • 2 0 lbs. or Less: Stipple and granulated effects, pressure will vary with viscosity of fluid. • 20 to 30 lbs.: Medium consistency water colors, inks & dyes. • 30 lbs. or More: Heavy fluids, acrylics, reduced lacquers, varnishes, paints or ceramic glaze. 1. A ttach hose to air supply and allow air to blow a few seconds. Shut off before attaching to Airbrush. This procedure will remove dirt from airline and hose.
- Page 2 EZ-STARTER AIRBRUSH MODEL REPLACEMENT PARTS Part No. Description 1. Aircap O - Ring 3. Bushing 4. Body 5. Fluid Tip H-1/4-OZ H-1-OZ H-3-OZ Needle (1/4oz Metal) (1oz Glass) (3oz Glass) O -Ring 8. Clip Washer 9. Spray bottle 10. Storage Bottle 11. Air Hose 12.
Need help?
Do you have a question about the EZ-STARTER and is the answer not in the manual?
Questions and answers