Table of Contents
Advertisement
Brought to You by www.snapwhole.com
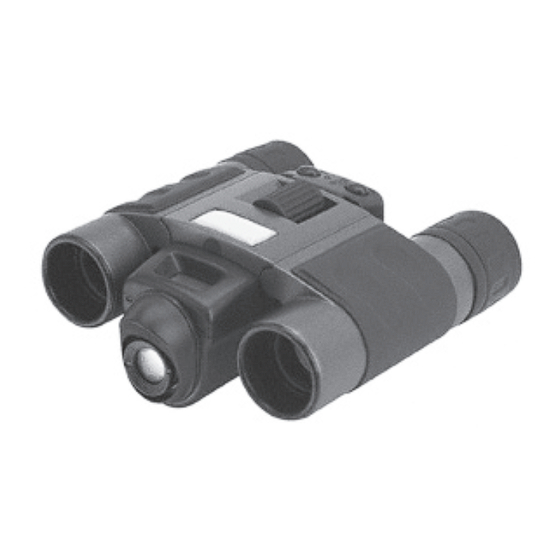
8 x 22 BINOCULAR
DIGITAL CAMERA
SET Up AND OpERATING INSTRUCTIONS
Distributed exclusively by Harbor Freight Tools
3491 Mission Oaks Blvd., Camarillo, CA 93011
Visit our website at: http://www.harborfreight.com
©
Copyright
2008 by Harbor Freight Tools
artwork contained herein may be reproduced in any shape or form without the express written
consent of Harbor Freight Tools. Diagrams within this manual may not be drawn proportionally.
Due to continuing improvements, actual product may differ slightly from the product described
herein. Tools required for assembly and service may not be included.
91956
®
. All rights reserved. No portion of this manual or any
®
.
Advertisement
Table of Contents

Related Manuals for Gordon 91956

Summary of Contents for Gordon 91956
- Page 1 Brought to You by www.snapwhole.com 8 x 22 BINOCULAR DIGITAL CAMERA 91956 SET Up AND OpERATING INSTRUCTIONS ® Distributed exclusively by Harbor Freight Tools 3491 Mission Oaks Blvd., Camarillo, CA 93011 Visit our website at: http://www.harborfreight.com © ® Copyright 2008 by Harbor Freight Tools .
-
Page 2: Table Of Contents
11. Download and Expansion to 1.3M * Connecting the Binoculars to the Computer’s USB port * Download the captured image * Expansion and change the settings 14. Specifications 15. Troubleshooting 16. Maintenance 16. Safety For technical questions please call 1-800-444-3353. SKU 91956 Page 2... -
Page 3: Introduction
Take photos and view them on your PC Transfer photos and video’s to your PC to edit, enhance and manipulate them. E-mail photos/video’s to your friends and family. Shoot up to 35 seconds of video. Use as a Web Cam. SKU 91956 Page 3... -
Page 4: Features
• 600 Mega Bytes of free hard drive space. • Video (VGA) card with 2 MB of RAM for minimum 16 bits (High color) display. have questions regarding your system specifications, please call your PC manufacturer. SKU 91956 Page 4... -
Page 5: Getting To Know Your Binoculars
Then close your left eye and open right eye, rotate the right eyepiece until the observed object is clear. Now, both left and right eye are in optimum focus, you just need to rotate center wheel to focus on different objects. SKU 91956 Page 5... -
Page 6: Lcd Display
Set up your shot using a camera tripod if necessary. Select Self-timer function by clicking MODE button then press SHUTTER button to confirm. Press the SHUTTER once. The buzzer keeps beeping about 10 seconds. The picture is captured and LCD counter will increase one. SKU 91956 Page 6... - Page 7 By clicking the MODE button till this icon show on the LCD display, then press SHUTTER to delete the last image from memory. Once the image has be deleted from memory, it cannot be find again. SKU 91956 Page 7...
- Page 8 MODE button till the 50 have show on display, then press SHUTTER to confirm. • 60H: 60 when this icon is appeared on the LCD display, it indicates indoor exposure 60H mode. By clicking the MODE button till the 60 have show on display, then press SHUTTER to confirm. SKU 91956 Page 8...
-
Page 9: Taking Photos/Video's
10 seconds. Taking photos / Videos Binoculars performs best under good lighting conditions. Please remember that to keep focus 10 meters to infinity to take picture. • Taking photos: Power on the camera by press the MODE. Center your subject in the binocular. SKU 91956 Page 9... -
Page 10: Taking Video
Installing the e-BinoCam software to your computer. Do not connect the USB cable to your computer before the application software and the driver is completely installed. Put the e-BinoCam CD into your CD-Rom drive. Your computer will automatically run the software. SKU 91956 Page 10... -
Page 11: Using As A Pc Camera
Power off the binoculars. Connect the USB cable (B type) to your computer’s USB port above drawing. Connect the USB cable (A type) to your binoculars as above drawing. Your computer will automatically recognize the new device. SKU 91956 Page 11... -
Page 12: Download The Captured Image
The PC’s screen will pop out a download window as below: Just clip the DOWNLOAD icon to download the image. Then select the downloaded images and then clip STORE icon to store the selected image. SKU 91956 Page 12... -
Page 13: Expansion And Change The Settings
VGA to 1.3M or QVGA to VGA. After setting, select the downloaded images and then clip disk icon to store the selected image. Now the stored images will be same as what you set. SKU 91956 Page 13... -
Page 14: Specifications
Power: AAA Alkaline Battery x 2. No power consumption when USB is connected. Battery Low detection: Auto. Interface Type: USB 1.1. Storage Conditions: 41 ~104 deg F (5 ~ 40 deg C). 20-85% relative humidity, non-condensing. SKU 91956 Page 14... -
Page 15: Troubleshooting
If you continue to loose images over and over, Change the Battery or make sure that the battery compartment is secure. • ExCESSIVE DRAINAGE of BATTERY pOWER: USE Alkaline Batteries to overcome this problem. And turn the Camera OFF while not being used. SKU 91956 Page 15... -
Page 16: Maintenance
This device may not cause harmful interference, and (2) This device must accept any interference received, including interference that my cause undesired operation. Warning: Changes or modification to this unit not expressly approved by the party responsible for compliance could void the user’s authority to operate the equipment. SKU 91956 Page 16... - Page 17 Increase the separation between the equipment and receiver. Connect the equipment into an outlet on a circuit different from that to which the receiver is connected. Consult the dealer or an experienced radio/TV technician for help. SKU 91956 Page 17...
- Page 18 Record product’s Serial Number Here: Note: If product has no serial number, record month and year of purchase instead. Note: Some parts are listed and shown for illustration purposes only, and are not available individually as replacement parts. SKU 91956 Page 18...
Need help?
Do you have a question about the 91956 and is the answer not in the manual?
Questions and answers