Table of Contents
Advertisement
Advertisement
Table of Contents

Related Manuals for Yashica MAT-124G


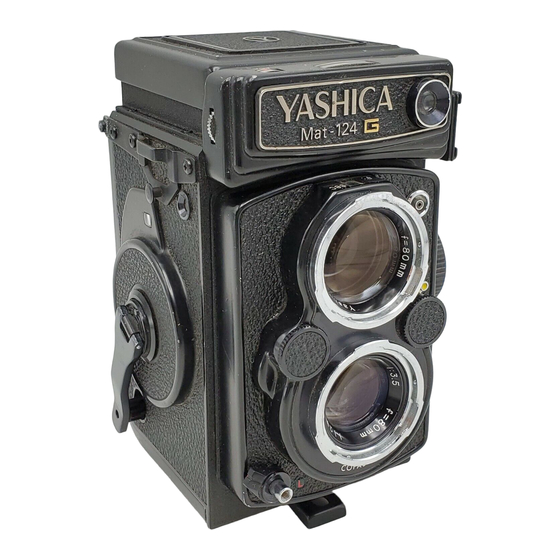
Summary of Contents for Yashica MAT-124G
- Page 2 DESCRIPTION OF PARTS (page 1) 1 - ASA Film Speed Indicator 11 - Sportsfinder Frame 2 - ASA Film Speed Setting 12 - Exposure Indicator Wheel Window 3 - Neckstrap Eyelet 13 - CdS Light Acceptor 4 - Exposure Counter 14 - Flash Contact 5 - Exposure Load Reminder 15 - Viewing Lens...
- Page 3 26 - Film Pressure 19 - Accessory Shoe 23 - Battery Plate (for both 28 - Spool Push 20 - Spool Holder Compartment 12 and 24 Spring Knob Cover exposures) 29 - "Start" Mark for 21 - Focusing Knob 24 - Spool Holder 27 - "Start"...
- Page 4 1 - Open the Battery Compartment Cover holding with finger and by turning it counter-clockwise. This camera uses a 1.3 V mercury battery to power its exposure meter. Use either Mallory PX-13B. Eveready EPX-13 or equivalent. 2 - Install a 1.3 V mercury battery to power the exposure meter, as illustrated.
- Page 5 CORRECT EXPOSURE SETTING (1) (page 11 & 13) 1 - Turn the ASA Film Speed Setting Wheel until the figure denoting the ASA rating of the film in use aligns with the red indicator in the ASA Film Speed Indicator Window. 2 - Center the desired shutter speed in the Shutter Speed Indicator Window by turning the Shutter Speed Control Dial.
- Page 6 * When the camera is to be left unused, fold the focusing hood. This will switch off the meter and prevent draining of battery power. CORRECT EXPOSURE SETTING (2) (page 15 & 17) 4 - Turn the Aperture Control Dial and coincide the yellow follower needle (coupled to the aperture mechanism) with the red meter pointer (coupled to the shutter mechanism), both visible in the Exposure Indicator Window.
- Page 7 * When the yellow follower needle (Y) perfectly coincides with the meter pointer (I), it signifies that THE CAMERA is set for correct exposure. The proper combination of the shutter speed and aperture is shown in the Shutter Speed and Aperture Indicator Windows.
- Page 8 ASA - EMPFINDLICHKEITSWERTE MAT124G Die ASA-Zahl gibt die Empfindlichkeit der verwendeten Filmemulsion an. Sie ist auf den Filmpackungen ASA 25 32 40 50 64 80 100 125 160 200 250 320 400 angegeben. Die nicht bezifferten Zwischenpunkte DIN 15 16 17 18 19 20 21 22 23 24 25 26 27 entsprechen den folgenden ASA - Werten :(Tabelle : ASA FILM SPEED SCALE) Man stelle zuerst die VerschluBzeit ein und justiere...
- Page 9 FOCUSING (page 21) The camera features a magnifying lens for critical focusing which springs up into position when the sportsfinder frame section of the Focusing Hood is pushed in slightly. To focus, turn the Focusing Knob while observing the image of your subject produced on the Focusing Screen.
- Page 10 In focus Out of focus THE CAMERA is in focus when the Your subject will appear blurred pn the image on the Focusing Screen appears Focusing Screen when it is out of focus. clear and crisp FILM LOADING (page 25)
- Page 11 1 - The Back Cover will spring open when the Back Cover Locking Ring is turned in the direction of the "O" (Open). Note - The exposure counter resets automatically to "S" (Start) wwhen the Back Cover is opened 2 - Pull out the Upper Spool Holder Knob and place the empty spool in the Take-Up Spool Chamber.
- Page 12 When loading a 120 film (12 exposures), hold the back cover with both hands and slide the Film Pressure Plate with your thumbs until it clicks into position and the sign 12 EX. (in green) appears in the window in the middle of the plate.
- Page 13 4 - Place the new roll of film in the lower film chamber while pulling out the Lower Spool Holder Knob. Also make sure that the Lower Spool Holder is returned to its original position after loading the film. 5 - Draw out the film leader gently and introduce its tip straight and amply into the slot on the spindleof the Take-up Spool.
- Page 14 OR - Continue winding the film until the "start" mark on the film leader paper lines up with the RED triangular "start" mark for 220 film. FILM LOADING continued (page 33) 8 - Then, close the Back Cover and turn the Back Cover Locking Ring toward "C"...
- Page 15 FILM WIND CRANK-HANDLE (page 35) 1 - First, turn the Crank-handle all the way in a clockwise motion (toward "1"). 2 - Then, wind it all the way in a counter-clockwise motion (toward "2") to charge the shutter. Caution : In case of slow shutter speeds ( 1 sec. to 1/50 sec.) make sure the shutter mechanism completes its function before winding the film.
- Page 16 After loading the film, turn the Film Type Indicator as illustrated, so that the letters equivalent to the film type in use are indicated in the window. ..Reversal type color film for daylight .Negative type color film for daylight ...Reversal type color film for tungsten lamp ...Black and White film ...When the film is not loaded in the camera, set the indicator to "EMPTY"...
- Page 17 OR - When the figure "24" appears in the exposure counter window, it signifies that the full length of the film has been exposed. Another wind of the crank-handle will bring out the (circle?) mark in the window, but continue winding until the crankhandle turns freely without tension.
- Page 18 * - To minimize the trouble in loading your next film, it is advisable to take out the empty spool from the lower film chamber and to set it in the upper chamber immediately after unloading the exposed film. SHUTTER LOCKING LEVER (page 45) The Shutter Locking Lever located on the base of the Shutter Release Button offers an effective provision against accidental...
- Page 19 TIPS ON BETTER PICTURE TAKING (page 47) Color Photography For best results in color photography, see that your subject receives the light directly from the front. The even distribution of light over the entire subject area will assure better color balance.
- Page 20 B (BULB) EXPOSURE CABLE RELEASE (page 57) At "B" (Bulb) setting, the shutter remains open over the duration the Shutter Release Button is depressed. This setting is used for long exposures under subdued light conditions or in shooting fireworks, etc. When shooting at 1/30 sec.
- Page 21 The depth of field for a given aperture and camera-to-subject distance can be read off the depth-of-field scale around the Focusing Knob. By checking this scale, you can easily determine before shooting the extent over which the objects will appear sharp and clear.
- Page 22 The Sportsfinder incorporated in the Focusing Hood comes in handy for snapshots or when shooting fast-moving subjects at eye-level. To set the Sportsfinder for action, press the Sportsfinder Frame Cover all the in until it clicks in place. To close the Cover, push the Release Button on the back of the Focusing Hood.
- Page 23 Lens hood This is used to stop extraneous light from entering the lens when taking pictures outdoors. As with the filters, it is mounted in front of the taking lens of the camera. It is recommended that this lens hood be used at all times in order to protect the lens.
Need help?
Do you have a question about the MAT-124G and is the answer not in the manual?
Questions and answers