
Related Manuals for Johnny Vac JV252 Supercharged


Summary of Contents for Johnny Vac JV252 Supercharged
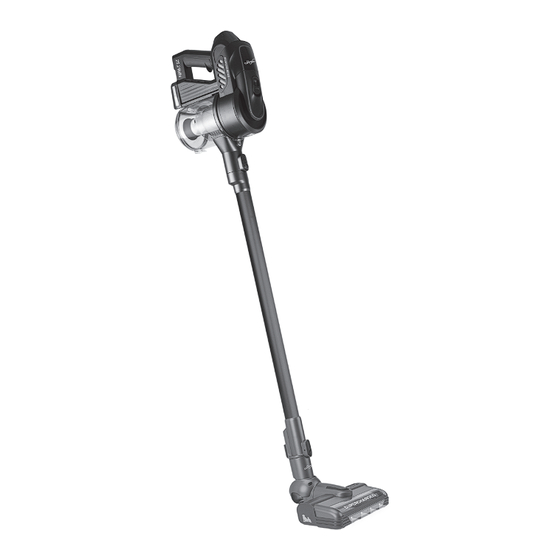
- Page 1 Model JV252 USER GUIDE 2-Speed Cordless & Bagless Stick Vacuum Cleaner Sturdy, lightweight and easily maneuverable stick vacuum with BLDC drive technology...
- Page 2 JV252 ASSEMBLY Read all safety precautions before use. Retain instructions for future reference. User Guide JV252 - 2 -...
-
Page 3: Table Of Contents
TABLE OF CONTENTS SAFETY PRECAUTIONS ............4 Lorem ipsum COMPONENTS ............... 5 UNPACKING AND ASSEMBLING........6 - 7 VACUUMING ................8 SWITCHING THE WORKING SPEED ........8 CHARGING THE UNIT ............9 EMPTYING & CLEANING ..........10 - 12 HOW TO CLEAN THE ROLLER BRUSH ....... 13 HOW TO CLEAN THE WHEEL AXLES ........ -
Page 4: Safety Precautions
SAFETY PRECAUTIONS 1. This appliance can be used by children aged from 8 years and above and persons with reduced physical, sensory or mental capabilities or lack of experience and knowledge if they have been given supervision or instruction concerning use of the appliance in a safe way and understand the hazards involved. -
Page 5: Components
COMPONENTS 1. Body 2. Dust cup assembly 3. HEPA filter cover 4. HEPA filter 5. Power roller floor brush 6. Charger 7. Battery 8. Wall Mount Bracket Hanger 9. 3-in-1 Tool 10. Carpet brush 11. Aluminum tube User Guide JV252 - 5 -... -
Page 6: Unpacking And Assembling
UNPACKING AND ASSEMBLING Check that all the parts are in the box. Parts breakdown index is on previous page. Step 1. Install the battery as shown in below picture Step 2. Install the electrical brush by inserting it into tube carefully. Step 3. - Page 7 Step 4. Install the 3-in-1 accessories to suction tube or tube of vacuum cleaner as shown in drawings. Simply push out the tip Push and slide 3-in-1 Tool Result Fibers & Hair Tool Crevice Tool Dusting Tool User Guide JV252 - 7 -...
-
Page 8: Vacuuming
VACUUMING Vacuuming oors and carpets You should regularly check that the nozzle cushions and the brush roller are clean in order to avoid scratching sensitive floors. Follow Step 1 to Step 3 to assemble the whole unit and then start the device by pushing the on/off button. -
Page 9: Charging The Unit
CHARGING THE UNIT Insert the adaptor into a main socket before connecting (Note: Always make sure that the device is turned OFF) and then connect the device. The indicator light will become bright gradually and then, extinguished gradually as well. This state will continue unit the battery is fully charged by 50 seconds period. -
Page 10: Emptying & Cleaning
Notice About Discharging When the battery is discharged, the four lights will turn off gradually. Until charge is above 8%, the last light will keep flashing, reminding the operator to stop using the vacuum cleaner and charge the battery. During discharging process, if the battery surface temperature exceeds 70°, the four lights will keep flashing for 5 seconds, the battery will then enter into self-protection mode, battery will stop working. - Page 11 Step 3. Remove the dust cup by pressing the release button, clean the cyclone part with a toothbrush Make sure that the parts are dry before they are assembled back for next use. Step 4. Press the button to open the HEPA cover, take out the HEPA lter to wash it under running water Dry it in air naturally before next usage or open the front cover of vacuum cleaner to replace with a new HEPA filter.
- Page 12 Re-install the components Firstly re-install the dust cup back to the unit following up the opposite procedures when detaching the dust cup, then install the HEPA filter, the tube set, brush or 3-in-1 tools for next use. User Guide JV252 - 12 -...
-
Page 13: How To Clean The Roller Brush
HOW TO CLEAN THE ROLLER BRUSH If the roller brush becomes blocked or jammed for any reason, the vacuum will be lowered down. The roller brush may then need to be cleaned. Switch off the device then carefully using a pair of scissors or a sharp knife remove any items such as threads that may have become entangled. -
Page 14: How To Store The Vacuum Cleaner
HOW TO STORE THE VACUUM CLEANER Install the wall-mounted tool on the wall, put the vacuum cleaner by inserting it into hook as shown in below picture. SERVICING OR REPAIRS In case of breakdown or faults, the device must be taken to an authorized service center for repair or replacement. -
Page 15: Basic Technical Data
BASIC TECHNICAL DATA Model: JV252 BLDC motor: • High speed - 300 W • Low speed - 120 W 25.2 V - 2200 mAh Li-ion battery Adapter: Input: 100~240 V - 50 Hz, Output: 30 V - 1 A Charge time: 2.5 H - 3 H DISPOSAL THE UNIT IF THE DEVICE IS TO BE DISPOSED OF, THE BATTERY SHOULD BE REMOVED. - Page 16 Residential and commercial vacuum cleaner specialist PARTS, ACCESSORIES & VACUUM BAGS VISIT OUR WEBSITE AT WWW.JOHNNYVAC.COM CONGRATULATIONS & THANK YOU for having chosen one of our product. Do not return the unit to the retailer before having spoken with us. Our most precious wish is that you really love your vacuum cleaner! In case of problems, contact our experts at 1 800 361-2043...
Need help?
Do you have a question about the JV252 Supercharged and is the answer not in the manual?
Questions and answers