Table of Contents

Subscribe to Our Youtube Channel
Related Manuals for DAYTEK MK2 MINI


Summary of Contents for DAYTEK MK2 MINI
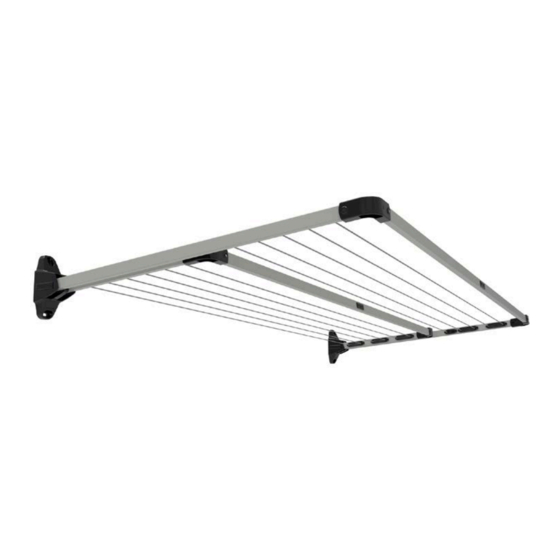
- Page 1 PRODUCT MANUAL Fold Down Clotheslines IMPORTANT – READ THESE INSTRUCTIONS Product Code BEFORE USING YOUR CLOTHESLINE Date of purchase Name & location Suitable for models of supplier MINI / SLIM / SINGLE / TWIN FD1219-V3 daytek.com.au 100% Australian Owned Since 1954...
-
Page 2: Before You Begin
D – Inner Front Bar x 1 I - Spanner x 1 E – Clothesline Cord 2. Free standing – use Daytek Ground Mount Kit Identify the type of installation required. *Sold separately (available in standard in ground 1. Wall mounting installation – follow Wall mounting installation or with base). -
Page 3: Wall Mounting Installation
• Socket set and adjustable wrench When mounting to concrete, brick or masonry walls we recommend • Hammer Daytek 8mm Marine Grade Anchor Bolts (Sold separately). • Scissors For wood or other specialised materials please consult your local • Hammer drill hardware store or professional for advice. -
Page 4: Installation Procedure
ENSURE DAYTEK 1.4 Fix the pre-assembled Side Arms to the wall. LOGO ON BRACKET Note the Left and Right hand assemblies (Daytek IS UPRIGHT AND LINE BRACKETS ARE logo should always be upright – refer to Fig. 1A) FACING INWARDS 2. - Page 5 3. STRINGING YOUR CLOTHESLINE 3.1 Begin threading (stringing) the clothesline with the cord, beginning at the inner line tensioner. To do this insert the line through the tensioner and press into the outer groove as shown. (See Fig. 3A – 3D) 3.2 Attach Line Locking Cap and tighten to secure the line end.
- Page 6 INSTALLATION PROCEDURE (CONTINUED) 3. STRINGING YOUR CLOTHESLINE (CONTINUED) MINI / SLIM START HERE FINISH HERE SINGLE START HERE FINISH HERE TWIN START HERE FINISH HERE START HERE FINISH HERE...
- Page 7 OPERATING YOUR FOLD DOWN CLOTHESLINE TO RAISE TO LOWER Grip the center of the Front Bar with one or two hands Grip the centre of the Front Bar and gently lift the as shown below. Gently raise the bar to the maximum clothesline upwards to the maximum point of travel.
- Page 8 This warranty is in addition to other rights and remedies of to a replacement or refund for a major failure and for the customer under law. Where it is deemed necessary, Daytek compensation for any loss or damage. You are also entitled Australia will arrange for the inspection of your product.
Need help?
Do you have a question about the MK2 MINI and is the answer not in the manual?
Questions and answers