Advertisement
HOW TO ORDER REPAIR PARTS
This manual will help you to obtain efficient, dependable service
from the heater, and enable you to order repair parts correctly.
Keep this manual in a safe place for future reference.
When writing, always give the full model number which is on the
nameplate attached to the inside of the cabinet door of the
heater.
When ordering repair parts or options, always
give the following information as shown in the list:
1. The PART NUMBER
2. The PART DESCRIPTION
3. The MODEL NUMBER: 2931
4. The SERIAL NUMBER:________________
Before installing your heater, fill in the serial number of your
heater in the space provided above.
United States Stove Company
227 Industrial Park Rd.
P.O.Box 151
South Pittsburg, TN 37380
(423) 837-2100
Owners Manual
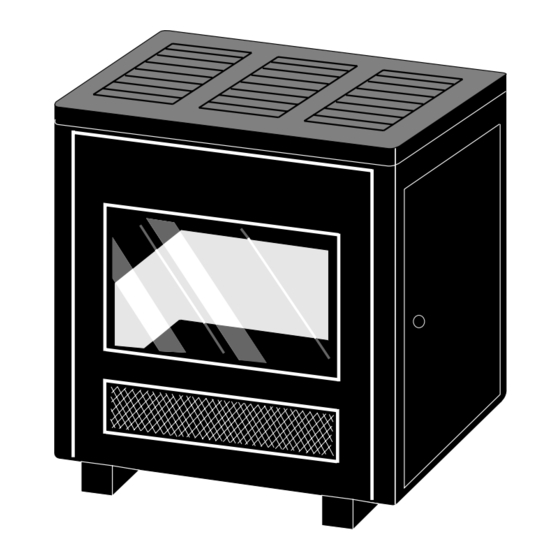
Model 2931
WONDERWOOD
THERMOSTAT CONTROLLED WOOD BURNING CIRCULATOR
*ASSEMBLY
*INSTALLATION
*OPERATION
*REPAIR PARTS
SAFETY NOTICE:
If this heater is not properly installed, a house fire may result.
For your safety, follow the installation directions.
Contact local building or fire officials about restrictions and
inspection requirements in your area.
CAUTION:
Read all instructions carefully before starting the installation
or operation of this heater.
Improper installation may void your warranty.
DO NOT USE THIS HEATER IN A MOBILE HOME OR TRAILER
United States Stove Company
227 Industrial Park Rd.
P.O.Box 151
S
C
U
S
South Pittsburg, TN 37380
(423) 837-2100
WARNOCK HERSEY
R
85009B 1/96
Advertisement
Table of Contents

Related Manuals for United States Stove WONDERWOOD 2931


Summary of Contents for United States Stove WONDERWOOD 2931
- Page 1 3. The MODEL NUMBER: 2931 4. The SERIAL NUMBER:________________ Before installing your heater, fill in the serial number of your heater in the space provided above. United States Stove Company 227 Industrial Park Rd. P.O.Box 151 South Pittsburg, TN 37380...
-
Page 2: Tools And Material Needed
TOOLS AND MATERIAL NEEDED TOOLS Pencil Chimney Connection- 6" Dia. Black 6 Foot Folding rule or tape Steel (24 Ga. minimum): Straight or Tin Snips Corrugated Elbow (as required)* Drill, hand or electric 1/2" Sheet Metal Screws Drill bit, 1/8" dia. 6"... - Page 3 N o t e s RULES FOR SAFE INSTALLATION AND OPERATION Read these rules and the instructions carefully. SAFETY NOTICE: If this heater is not properly installed, a house fire may result. For your safety, follow the installation directions. Contact local building or fire officials about restrictions and installation inspection requirements in your area.
-
Page 4: Locating The Heater
If this kit is not available where you have purchased this Wonderwood heater, you can purchase the F36 Blower Kit directly from the factory. To order contact the United States Stove Company at the address and telephone number given on the back page. -
Page 5: Safety Notice
Such installation will preclude any overfiring and/or any hazardous consequences of potential overfiring. Barometric draft regulators are generally available where you purchased your stove or may be ordered directly from United States Stove Company at a nominal charge. 1996 Consumer Price: $22.00 - Includes Shipping and Handling... - Page 6 SOLID FLUE DAMPER INSTALLATION This unit comes equipped with a solid flue damper which is intended to be installed into the flue collar. The following instructions will help guide you in installing the solid flue damper. Before you connect the 6" flue pipe to the flue collar, place the solid damper inside of the flue collar on an angle to permit the damper to slide between to two stops that are welded into the...
-
Page 7: Chimney Connection
Do not expect your stove or furnace to 1987, all heaters and furnaces create draft. Draft is not a function of the manufactured by United States Stove appliance. Draft is purely a function of Company should be installed using a the chimney. -
Page 8: Repair Parts List
FIG. 6A - Thru-The-Wall Installation NON-COMBUSTIBLE WALL THIMBLE COLLAR PIPE BAROMETRIC DRAFT CONTROL (OPTIONAL) CLASS A UL 103HT FLOOR PROTECTOR CHIMNEY KIT INCLUDING WALL THIMBLE. FIG. 6B - Typical Masonry Chimney Installation 2 FT MIN. 10 FT. MINIMUM APPROVED 6" MIN. THIMBLE 60"... - Page 9 VENTING INTO A FIREPLACE (Not recommended) Many people may wish to convert an Many prefabricated fireplaces fall into existing fireplace to heater use. Usually, the "zero-clearance fireplace" category. safe connection of stovepipe to a ma- This is a factory metal fireplace with sonry chimney requires more effort than multi-layered construction.
- Page 10 FIREPLACE INSTALLATION Connection of the stovepipe directly into Install the stovepipe as far as possible the existing masonry chimney over the into the thimble, but not past the inside fireplace opening is the only approved of the flue lining. There should be a method.
-
Page 11: Service Hints
SERVICE HINTS Do not expect a heater to draw. It is the 4. If the chimney is too cool, water will chimney that creates the draft. Smoke condense in the chimney and run back spillage into the house or excessive into the stove. - Page 12 RULES FOR CONNECTOR PIPE INSTALLATION 1. The crimped end of the stovepipe fits 5. Seal each connector pipe joint with inside the heater flue collar. Install ad- furnace cement. Also seal the pipe at ditional pipe and elbow with the the chimney.
Need help?
Do you have a question about the WONDERWOOD 2931 and is the answer not in the manual?
Questions and answers