
Related Manuals for Iget HOMEGUARD HGNVK-68002


Summary of Contents for Iget HOMEGUARD HGNVK-68002
- Page 1 Helpdesk / Technical Support www.iget.eu/cs/helpdesk-centrum-cs https://helpdesk.intelek.cz/ Made in China...
- Page 2 Setup SMART HD SECURITY SYSTEM Quick Installation Guide - EN Model: HGNVK-68002 / 68004 / 68006...
-
Page 3: Table Of Contents
Contents Package Contents STEP 1: Initial Setup STEP 2: Setting Up the NVR STEP 3: Connecting with Homeguardsafe STEP 4: Installing the Cameras Pairing the Camera Charging the Power Pack Troubleshooting... -
Page 4: Package Contents
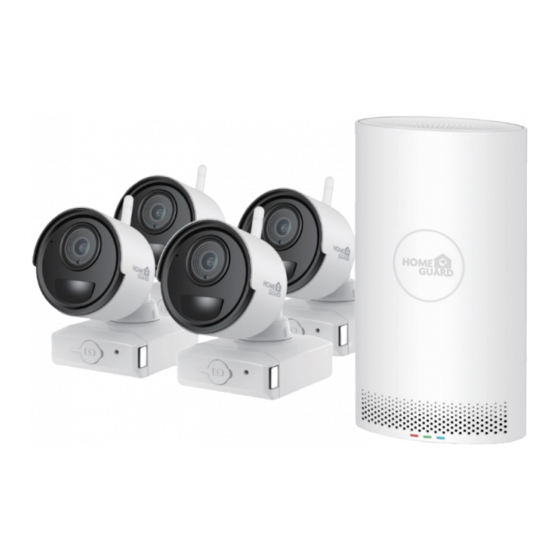
Package Contents 1080p Wireless NVR Wire-Free Cameras Rechargeable Power Packs Camera Antennas 12V 2A Adapter (Recorder) 5V 2A Adapter (Power Pack) USB Mouse Mounting Kit 1m Network Cable CD with Software User Manuals Warning Stickers... -
Page 5: Step 1 Initial Setup
STEP 1 Initial Setup Before you begin, you will need to prepare the wire-free cameras and power packs. Peel off the PLEASE REMOVE label covering the contacts on each Power Twist the adjustment ring near the camera base counterclockwise to loosen Pack. -
Page 6: Step 2: Setting Up The Nvr
STEP 2 Setting Up the NVR Next, you must set up the NVR and connect it to your network. Connect the NVR to your router using the included Connect the included power adapter to the NVR. Ethernet cable. Wait a few minutes for the system to start up. Optional: Full NVR Setup This guide describes basic setup of the NVR only. -
Page 7: Step 3 Connecting With Homeguardsafe
STEP 3 Connecting with Homeguardsafe For the best experience, download the Homeguardsafe app for Tap the Homeguardsafe icon to launch the app. Tap to open the menu. your smartphone by scanning the QR code below or searching Tap “Device List” “ ”... - Page 8 Enter your NVR’s user name (default: admin) and password (default: empty). Your system will appear on the homescreen of the app. Tap each channel Tap “Save”. with a camera connected then tap the play button to stream live video. Note: Please remember to change the password, refer to Quick Connection Guide for details. If you Note: If you do not see video from one or more cameras, ensure you have removed the PLEASE REMOVE label from the power pack.
-
Page 9: Step 4 Installing The Cameras
STEP 4 Installing the Cameras Installation Tips The wire-free cameras use a Passive InfraRed (PIR) sensor to ensure video is only recorded when motion is detected. Follow the tips below for more accurate motion detection and to optimize battery life: See images to the right for ideal setup. - Page 10 Follow the instructions below to secure the cameras. It is recommended that you refer to the “Installation Tips” section to help you select good mounting locations. To install your cameras: Set the mounting bracket in the desired mounting position. Mark holes through Secure the bracket to the mounting surface with the included mounting screws (×4).
- Page 11 Lower the camera base onto the mounting bracket so the 2 tabs in the Insert the security screw through the fasteners on the top of the camera mounting bracket lock into the 2 slots in the camera base. base and mounting bracket to secure the camera to the mounting bracket. Tighten using the included screwdriver.
- Page 12 OPTIONAL: Tighten the pre-installed locking screw on the base of the Twist the adjustment ring near the camera base counterclockwise to loosen Power Pack using the included screwdriver. and reposition the camera. Hold the camera in the desired angle and tighten the adjustment ring completely to secure the camera in place.
-
Page 13: Pairing The Camera
Pairing the Camera Your cameras should be paired to the recorder and ready to use out of the package. If a camera becomes unpaired, or if you have purchased a wire-free add-on camera (max. 6 cameras per system), follow the instructions below. From Live view, tap any free channel you would like to pair a camera to Press and hold the pair button on the back of the camera for 3 seconds. -
Page 14: Charging The Power Pack
Charging the Power Pack Use the included power adapter to charge the power pack. Connect the power adapter to the micro USB port on the power pack. The LED indicator on the power pack shows you the charging status (must be plugged in). Power Pack Charge Time 2-cell... -
Page 15: Troubleshooting
Troubleshooting Problem Solution Ensure the camera is connected to a compatible NVR. • Ensure the Power Pack is properly inserted into the camera base. • Ensure you have removed the PLEASE REMOVE label from the Power Pack. • Connect the power adapter to your Power Pack to ensure the Power Pack is charged. The LED indicator on the •... - Page 16 Problem Solution The picture may become choppy when experiencing a lower frame rate (e.g., 6 frames per second vs. a higher • 15 frames per second). This may be related to signal strength or the camera’s resolution. Ensure the camera resolution is set to 720p using the Homeguardsafe app or the NVR. Picture is or has become choppy •...
- Page 17 Warranty & Support All the products sold are covered by 24 months warranty from the date of invoice. Warranty instructions: 1. Please contact us when the product is caused by its own fault within 2 year warranty. 2. Please mail us your written warranty card as soon as possible after purchasing our products so that we can repair or replace this product to its original operation condition.
Need help?
Do you have a question about the HOMEGUARD HGNVK-68002 and is the answer not in the manual?
Questions and answers