
Related Manuals for TriStar Deluxe Jack LaLanne's Power Juicer SSMT1000


Summary of Contents for TriStar Deluxe Jack LaLanne's Power Juicer SSMT1000
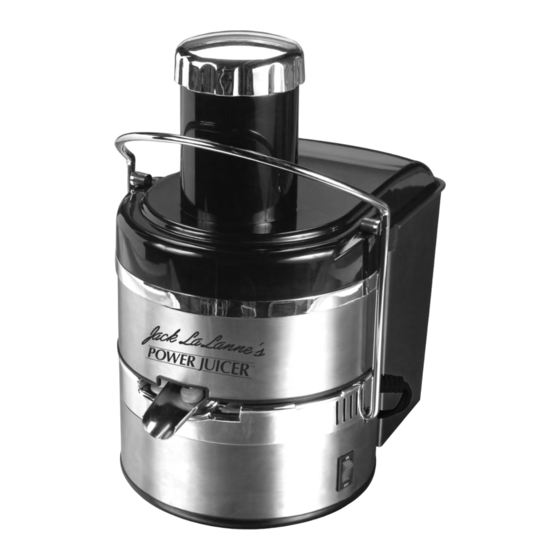
- Page 1 D E L U X E Model # SSMT1000 Item # 108709 © 2008 Tristar Products, Inc. All rights reserved. Distributed by: Tristar Products, Inc. Wallingford, CT 06494 OPERATING MANUAL PJ Deluxe V2 0508...
- Page 2 TABLE OF CONTENTS Important Safety Information Helpful Hints Parts List Assembly Disassembly Cleaning Your Power Juicer Troubleshooting Accessory Kit & Cookbook • "Recipes for Healthy Living" Cookbook • Power Juicer Platform • Filter Brush • Overflow Platform • Measuring Replacement Parts Kit #1 Replacement Parts Kit #2 Filter Blade...
-
Page 3: Troubleshooting
TROUBLESHOOTING Problem Possible Reasons and Solution The motor does not • Check to see if unit is plugged in. run after being • Locking bar is not locked in place properly. switched on. • Check if all parts are assembled properly. •... -
Page 4: Helpful Hints
ADDITIONAL SAFEGUARDS The Power Juicer has a thermal cut-off safety feature. If the unit accidentally overheats, it will stop working temporarily until the Power Juicer cools down. Afterwards, the unit will continue to work again normally. In the event the Power Juicer is jammed the motor may shut down. If this occurs the juicer should be shut off and unplugged. -
Page 5: Parts List
DISASSEMBLY IMPORTANT: Before disassembling the unit make sure you turn the power OFF and unplug the machine from the electrical outlet. Pusher Locking Bar Pulp Guard STEP 1: STEP 2: Remove pusher from the chute. Lower the locking bar (silver) into position as shown. - Page 6 ASSEMBLY Assemble as shown Base Locking Juice Spout Receptacle Base Front of Machine (Spout side) STEP 1: STEP 2: Place base on a dry flat surface with Place receptacle on the base, with locking bar in down position as shown. juicer spout facing direction of locking In front of the machine (spout side).
Need help?
Do you have a question about the Deluxe Jack LaLanne's Power Juicer SSMT1000 and is the answer not in the manual?
Questions and answers
Can I purchase a replacement stopper for my juicer . Mine broke after the first use