Advertisement
Quick Links
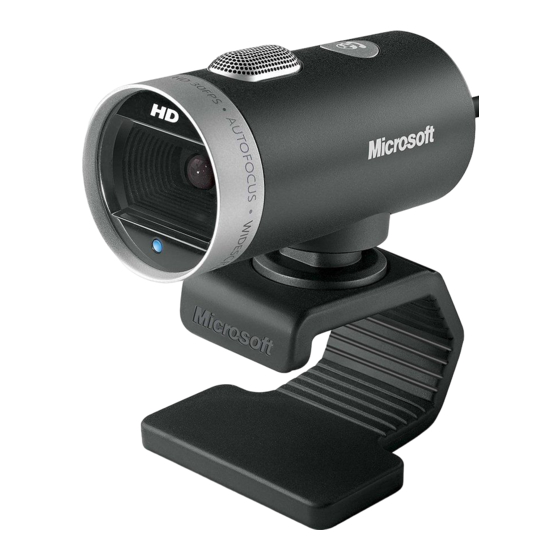
Microsoft LifeCam Setup and Usage
Table of Contents
Introduction ................................................................................................................................................... 2
Installation..................................................................................................................................................... 2
Configuring the Camera in The Edge ........................................................................................................... 2
Taking Pictures ............................................................................................................................................. 3
Troubleshooting ............................................................................................................................................ 3
2 May 2017
TIP-2014-044
1
©2017 Abbott Jewelry Systems, Inc.
Advertisement

Related Manuals for Microsoft LifeCam Cinema


Summary of Contents for Microsoft LifeCam Cinema
- Page 1 Microsoft LifeCam Setup and Usage Table of Contents Introduction ..............................2 Installation..............................2 Configuring the Camera in The Edge ......................2 Taking Pictures ............................. 3 Troubleshooting ............................3 2 May 2017 TIP-2014-044 ©2017 Abbott Jewelry Systems, Inc.
- Page 2 Installation 1. Connect the camera to your computer using the attached USB cable. 2. Microsoft Windows will automatically detect the camera and begin installing it. Follow the on-screen setup instructions to complete the installation. 3. Be sure to restart your computer after the setup. The camera requires this to complete the installation.
- Page 3 2. To take a picture, click the camera icon, then select Acquire. You may be prompted to select the device. If so, select LifeCam. 3. A live preview will appear in the Microsoft LifeCam Dashboard. 4. Manipulate the item, camera, or photo box to get a clean picture.
- Page 4 LifeCam Setup and Usage • Make sure camera is connected via Windows, SKIP ► SELECTING PHOTO DEVICE, and then go to POS Repair Intake. Select the photo icon then Acquire and check it. • Go to bottom left of screen and select the Windows icon, search “devices and printers”...
Need help?
Do you have a question about the LifeCam Cinema and is the answer not in the manual?
Questions and answers