
Subscribe to Our Youtube Channel
Related Manuals for Body Champ BRM3635


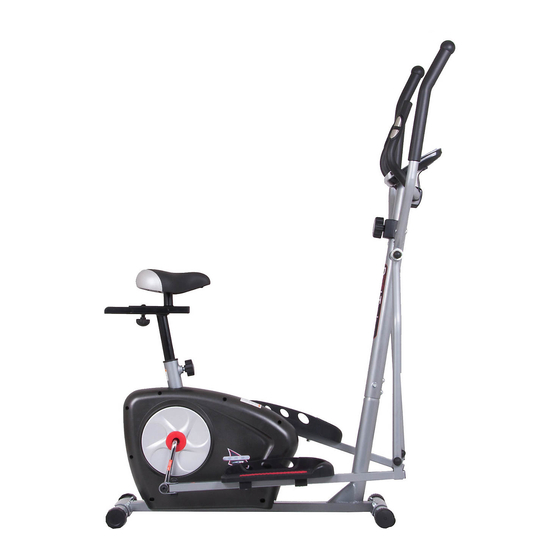
Summary of Contents for Body Champ BRM3635
- Page 1 BRM3635/BRM3810 DUAL TRAINER This product is intended for indoor, home use only and is not to be used in a commercial setting. OWNER’S MANUAL...
- Page 2 This page is left blank intentionally...
- Page 3 ARE NOT FOLLOWED. The diagram below highlights and reviews many of the important Safety and Warning labels also found on the unit. Please ensure any user of the unit familiarizes themselves with this Safety and Warning guidelines before use. BRM3635/BRM3810 Page 1...
-
Page 4: General Information
21717 Ferrero Parkway, Walnut, CA 91789 - 1 x Philips (”Crosshead”) Screw Driver Telephone: 1 (888) 266 - 6789 Fax: 1 (909) 598 - 6707 Weight Limit Email: info@hupa.net Your product is suitable for users weighing: 250 pounds or less BRM3635/BRM3810 Page 2... -
Page 5: Before Assembly
4. The Nylon Nut should thread onto the Hex Bolt until the end of the Hex Bolt has passed through the Nylon insert in- side the Nut. Please follow this guideline every time you see this Nylon Nut icon throughout the assembly steps. BRM3635/BRM3810 Page 3... -
Page 6: Hardware And Tool List
[2 pieces] Pre-assembled Pre-assembled [4 pieces] Washer (M8xφ26 mm) Washer (M8xφ16 mm) Arc Washer (M8) Wavy Washer (φ19 mm) Washer (M8) [2 pieces] [7 pieces] [8 pieces] [2 pieces] [3 pieces] Pre-assembled Pre-assembled Pre-assembled Pre-assembled [4 pieces] BRM3635/BRM3810 Page 4... - Page 7 Bolt Cap (S17) Bolt Cap (S17) [1 piece] [1 piece] [6 pieces] [4 pieces] [2 pieces] Pre-assembled Tools (Included) Tool (S17,19) [1 piece] Tool (S8) [1 piece] Tool (S-10,13,14,15,17,19) [1 piece] Tool (S5) Tool (S13,14,15) [1 piece] [1 piece] BRM3635/BRM3810 Page 5...
-
Page 8: Assembly Step
Make sure these two wires are accessible and exposed (as shown) before proceeding to the next step. If they have fallen inside the tube, use a bent wire to “fish” them out. Height Adjustable End Caps Front Roller BRM3635/BRM3810 Page 6... - Page 9 Spring Loaded Knob (#49). Tension Wire Assembly Insert the tip of the Tension Controller (#72) wire into the Tension Wire (#70) head at an angle. Tilt the Tension Controller (#72) wire into the crevice and then pull upward. BRM3635/BRM3810 Page 7...
- Page 10 Joint (#06L). Hex Bolt (M8x45 mm) Nylon Nut (M8) [2 pieces] [2 pieces] Attach four Bolt Caps (#27) on two Hex Bolts (#27) as illustrated in the drawing. Washer (M8xφ16 mm) Bolt Cap (S14) [2 pieces] [4 pieces] BRM3635/BRM3810 Page 8...
- Page 11 Repeat this process on the other side using the Right Pedal Tube (#03R). Secure the #18R by turning it CLOCKWISE. Turn CLOCKWISE Standing from Right side of the bike Turn COUNTER-CLOCKWISE Standing from Left side of the bike BRM3635/BRM3810 Page 9...
- Page 12 Insert a Knob Bolt (#26) through a Washer (#35),followed by the Seat [2 pieces] [3 pieces] [1 pieces] Post (#47) and Horizontal Seat Bar (#48), secure them together by tightening the Knob Bolt (#26) up through the bottom of the Horizontal Seat Bar (#48). BRM3635/BRM3810 Page 10...
- Page 13 Hex Bolts (#22), Two Washers (#35) and two Nylon Nuts (#38). Washer (M8xφ16 mm) Nylon Nut (M8) [4 pieces] [4 pieces] Repeat this process on the other side using Right Pedal (#45) onto the Right Pedal Tube (#03R). BRM3635/BRM3810 Page 11...
- Page 14 Manual which includes safety instructions and warnings, as well as any safety/ warning labels affixed to the product before use. For your safety , please visually and functionally inspect and test the unit after assembly is complete. BRM3635/BRM3810 Page 12...
-
Page 15: Computer Operation
OPERATING TEMP 32°F - 104°F or be used for medical purposes. Please consult a physician before beginning any STORAGE TEMP 32°F - 160°F workout program. BRM3635/BRM3810 Page 13... - Page 16 2. Use the same type of battery. Do not mix an alkaline battery with another type of battery. 3. Rechargeable batteries are not recommended. 4. Battery disposal should be handled according to all state and federal laws and regulations. 5. Do not dispose of batteries in fire. BRM3635/BRM3810 Page 14...
-
Page 17: Part Listing
Arc Washer (M5) Big Washer Screw (M5x20 mm) Wavy Washer (1/2") Tool (S8) Washer (M10) Tool (S17,19) Washer (M8xφ26 mm) Tool (S13-14-15) Washer (M8xφ16 mm) Tool (S-10,13,14,15,17,19) Arc Washer (M8) Tool (S5) Wavy Washer (φ19 mm) Nylon Nut (M8) BRM3635/BRM3810 Page 15... -
Page 18: Exploded View
: : Not all of the parts and hardware you see here will be used while you are assembling the machine because some of these items are already pre-installed. Please use this page only as a reference guide for parts and hardware. BRM3635/BRM3810 Page 16... -
Page 19: Safety And Maintenance
1 (888) 266-6789 or 1 (909) 598-9876, or mail in a written request to: Hupa International, Inc. 21717 Ferrero Parkway Walnut, CA 91789 More detailed information about how to reach our CUSTOMER SUPPORT may be found on Page 2 of the Owner’s Manual under the “CUSTOMER SUPPORT” section. BRM3635/BRM3810 Page 17... -
Page 20: Troubleshooting
4. Remove any rings or jewelry to prevent interference. 5. Check to ensure all pulse sensor wires are properly connected and are not dam-aged. 6. You may need to refer to installation/assembly directions for the pulse sensor wires in this manual. BRM3635/BRM3810 Page 18... - Page 21 Keep your left leg straight. 2. Return to the starting position slowly. 2. Gently pull your right leg toward your trunk without raising your upper body. Switch leg positions and repeat. BRM3635/BRM3810 Page 19...
- Page 22 Repeat on the other leg. muscles in your left calf stretch. other. Switch leg positions and repeat. Reverse arm positions and BRM3635/BRM3810 Page 20...
- Page 23 This page is left blank intentionally...
- Page 24 THANK YOU FOR YOUR PURCHASE MODEL NO.: BRM3635/BRM3810 along with your sales receipt as proof of purchase. Serial Number : Date of Purchase : Retailer : Hupa International, Inc. 21717 Ferrero Parkway Walnut, CA 91789 Phone : 1 (888) 266-6789 : 1 (909) 598-6707 Email : info@hupa.net...
Need help?
Do you have a question about the BRM3635 and is the answer not in the manual?
Questions and answers
how to use as bike
To use the Body Champ BRM3635 as a bike:
1. Mount the unit carefully.
2. Use the Left/Right Handlebars (#04L/#04R) to apply counter-momentum gently and safely.
3. Pedal normally during exercise.
4. When finished, wait for the pedals to come to a complete stop.
5. Safely dismount the unit.
Always follow safety instructions and warnings provided with the unit.
This answer is automatically generated