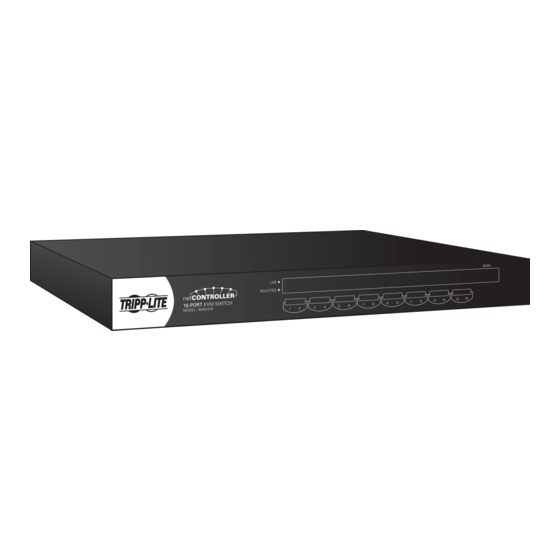
Tripp Lite NetController B042-004 Owner's Manual
Rackmount usb & ps/2 kvm switches
Hide thumbs
Also See for NetController B042-004:
- Specifications (3 pages) ,
- Owner's manual (36 pages) ,
- Quick start manual (32 pages)
Table of Contents
Advertisement
Owner's Manual
NetController
Rackmount
™
USB & PS/2 KVM Switches
Models: B042-004, B042-008 and B042-016
Tripp Lite World Headquarters
1111 W. 35th Street, Chicago, IL 60609 USA
(773) 869-1234 • www.tripplite.com
Note: Follow these instructions and operating procedures to ensure correct performance and to prevent damage to this unit or to its connected devices.
Copyright © 2008 Tripp Lite. All rights reserved. All trademarks are the property of their respective owners. The policy of Tripp Lite is one of continuous improvement.
Specifications are subject to change without notice.
1
Advertisement
Table of Contents

Summary of Contents for Tripp Lite NetController B042-004
-
Page 1: Figure
Note: Follow these instructions and operating procedures to ensure correct performance and to prevent damage to this unit or to its connected devices. Copyright © 2008 Tripp Lite. All rights reserved. All trademarks are the property of their respective owners. The policy of Tripp Lite is one of continuous improvement. -
Page 2: Table Of Contents
Table of Contents Table of Contents 1. Features 1.1 General Features 1.2 Package Contents 1.3 Hardware/Software Support 1.4 Cable Requirements 1.5 External Views 1.5.1 Front View 1.5.2 Rear View 2. Installation 2.1 Mounting the NetController KVM Switch 2.2 Connecting Your PCs and Peripherals to a Single NetController KVM Switch 2.3 Daisy-Chaining B042-Series KVM Switches 3. -
Page 3: Netcontroller Kvm Switch Figure
• Supports a monitor refresh rate of 75Hz depending on the resolution set 1.4 Cabling Requirements • Tripp Lite P780-Series USB PS/2 KVM Cable Kit—HD15 (M) to HD15 (M), MiniDIN6 (M), USB A (M) and USB A (F) to MiniDIN6 (M) Adapter. Available in 6-ft., 10-ft. and 15-ft. lengths. Not included. -
Page 4: Figure 1-1 B042-008 Front Panel
PC Port: The PC port is a HD15 (F) connector integrated with USB and PS/2 keyboard, mouse and video. To connect a computer to the PC port, you will need one of Tripp Lite’s P780-Series USB PS/2 KVM Cable Kits. Not included. -
Page 5: Figure 2 Daisy-Chain Diagram
Step 7: The KVM Switches are now ready to operate as soon as you turn on any of the attached computers. Note: When you are connecting a PS/2 computer, it is required that the B042-004,-008 or -016 KVM Switch is connected and powered on before starting your computer. The reason for this is because when your computer is booting up, the PS/2 interfaces on the connected computer have to communicate with your keyboard and mouse and get a response from them. -
Page 6: Operation
Menu is off. 4) The password has an 8-character limit. If you forget your password and can’t access your KVM, contact Tripp Lite Tech Support at (773) 869-1234 5) User-Definable Hotkey Preceding sequence. Choose between Scroll Lock, Caps Lock, Num Lock and F12... -
Page 7: On-Screen Display
3. Operation 3.1.3 On-Screen Display To activate the OSD Menu, use the hotkey sequence: ScrLk + ScrLk + (Space Bar) OSD (On-Screen Display) is a menu that is superimposed on your screen. In the OSD Menu, you will see a listing of the available banks and channels for selection and the currently online status of each channel. -
Page 8: Figure 3-3 Password Setup Prompts
KVM switch. Password defaults at ‘admin.’ To change the password configuration, you must provide the current password before making changes. If you forget your password and cannot access your KVM, contact Tripp Lite Tech Support at (773) 869-1234. -
Page 9: Load Default
4. Upgrade Firmware All firmware upgrades for the B042-004, -008 and -016 KVM Switches will be available in the Support Section of www.tripplite.com. (If there are no up- dates posted, there are none currently available.) Before downloading the firmware files, verify that the firmware version on the website is more current that that of your KVM switch. -
Page 10: Firmware Upgrade Troubleshooting
If you find that your keyboard and mouse are no longer working during a firmware upgrade failure, temporarily connect them to the host PC until you can finish the upgrade. Once completed, your KVM console should again be working properly. If you find you have continued problems, please contact Tripp Lite Technical Support at (773) 869-1234 for assistance. Figure 3-5: Firmware Comparison Window... -
Page 11: Technical Specifications
1-Year Limited Warranty TRIPP LITE warrants its products to be free from defects in materials and workmanship for a period of one (1) year from the date of initial purchase. TRIPP LITE’s obligation under this warranty is limited to repairing or replacing (at its sole option) any such defective products. To obtain service under this warranty, you must obtain a Returned Material Authorization (RMA) number from TRIPP LITE or an authorized TRIPP LITE service center.


Need help?
Do you have a question about the NetController B042-004 and is the answer not in the manual?
Questions and answers