Grandstream Networks GXP-2135 User Manual
Hide thumbs
Also See for GXP-2135:
- User manual ,
- Quick installation manual (24 pages) ,
- Quick reference manual (4 pages)

Related Manuals for Grandstream Networks GXP-2135


Summary of Contents for Grandstream Networks GXP-2135
-
Page 1: Table Of Contents
Home PBXware SERVERware TELCOware SIPmon SIPProt Desktop & Mobile UADs Appliances From Bicom Systems Wiki Contents 1 Introduction 2 Requirements 2.1 Identifying Phone Model 2.2 Phone Firmware 2.3 DHCP Server 2.4 PBXware Version 3 Installation 3.1 Power Adapter 3.2 Power over Ethernet (PoE) 3.3 Find the Phone's IP Address 3.4 Reset to Factory Settings 4 Registering Phone... -
Page 2: Requirements
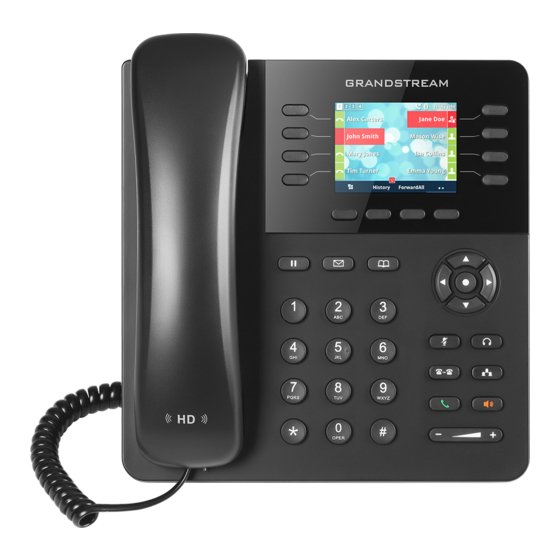
This User Guide is written as a general guide on how to set up the Grandstream phone model GXP-2135 to work with PBXware 5.3.6. Requirements Identifying Phone Model To start and successfully complete registration of your Grandstream phone you need to know which phone model to set up. -
Page 3: Dhcp Server
Click the System Info link in the left hand navigation menu. The firmware version is shown under the Software Version-Prog. DHCP Server Fully configured and operational DHCP server. PBXware Version PBXware version 5.3.6 In order to find out the PBXware version: Log in to PBXware Navigate to Settings: About. -
Page 4: Find The Phone's Ip Address
NOTE: If you are using Power over Ethernet (PoE), you don't need to connect the AC adapter. Make sure the Ethernet cable and router or switch is Power over Ethernet (PoE) compliant. Find the Phone's IP Address Find out your Grandstream phone IP Address. Press the Middle navigation key. - Page 5 UAD settings Log in to the PBXware's web administration interface Open a new browser window and enter the IP address in order to access the PBXware web administration login screen. Example: http://192.168.1.10. Log in to PBXware with your e-mail address and password. UAD Settings Navigate to Settings: UAD.
- Page 6 Name Enter a name for the Extension being created. Example: John Smith. E-mail Enter the e-mail address associated with this Extension. This e-mail address will receive all system notification messages. Example: john.smith@bicomsystems.com Click the Save button. Registering Phone This section describes how to register Grandstream phones using Hostname or IP Address, or DNS SRV.
-
Page 7: Auto Provisioning
to PBXware. Dial *123 to verify registration. Auto Provisioning This section describes how to set UAD settings, create the PBXware Extension, and register the phone using DHCP or Static IP address. The following topics are covered: UAD Settings Creating Extension Registering Phone UAD Settings UAD settings... - Page 8 The standard options window will be shown below. Select the Grandstream phone model from the UAD select box. Select Location: Local or Remote. Local is for all Extensions registered on the LAN and Remote is for all Extensions registered from remote networks, WAN, Internet etc. Click the Next step button.
- Page 9 Make sure that your DHCP router is configured to use option 66 to automatically instruct phones with the URL for Auto provisioning. For more information, please refer to your router documentation or contact your network administrator. Phone's first boot or user initiated reboot The Auto provisioning process will start during the phone's first boot or after the reboot process has been initiated by the user.
-
Page 10: Dns Srv
Example of an IP Address using HTTPS: 192.168.1.10/prov Enter Auto Provisioning username and password into the Config HTTP/HTTPS User Name and Config HTTP/HTTPS Password fields. Click the Save and Apply button. Click the Reboot button on the top navigation menu. You will have to wait a couple of seconds for the configuration to be updated. - Page 11 Go to Authentication and press the Select button. Press the Edit button to edit User ID and enter the PBXware Extension number. Example: 1003. Press the OK button. Go to Password and press the Edit button, enter the Secret of the Extension as received in the e-mail associated with this Extension.
Need help?
Do you have a question about the GXP-2135 and is the answer not in the manual?
Questions and answers