Table of Contents

Related Manuals for Nevro HF10 IMPLANT OMNIA SCS SYSTEM

Summary of Contents for Nevro HF10 IMPLANT OMNIA SCS SYSTEM
- Page 1 dance H F 1 0 I M P L A N T O M N I A S C S S Y S T E M take a trip garden ride a bike play catch hit the gym Free to explore shop go out on the town...
- Page 2 Congratulations HF10 has helped many people like you achieve freedom from debilitating chronic pain. Now you're ready to be free to do the things you once enjoyed. This is an exciting time and you can proceed confidently, knowing that your doctor and HF10 team are here to support you.
- Page 3 This booklet will help you prepare for your HF10 Implant procedure and know what to expect. • A minimally invasive procedure • What to expect after your procedure • Accessory guides for the Implant • MRI guidance • Frequently asked questions about the HF10 Implant...
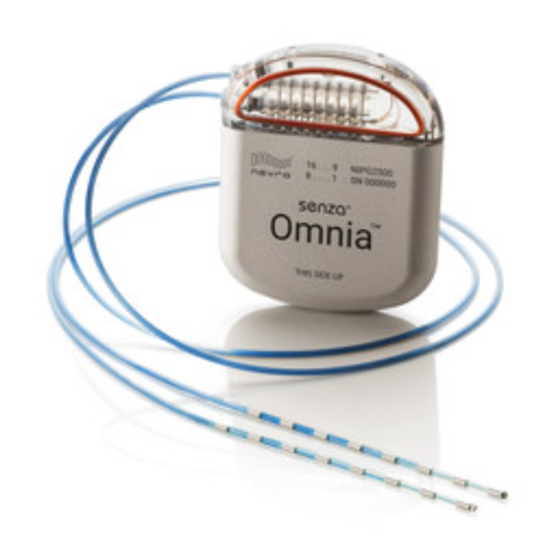
- Page 4 A minimally invasive procedure During this minor surgery, a small device is implanted under the skin. It’s connected to thin, flexible wires, like those used in the trial, that are placed near the spine. It's also possible your doctor may recommend a different type of approach associated with a "paddle lead,"...
- Page 5 What to expect after The weeks following your HF10 procedure can be an uplifting time. As with any surgical procedure, your body will need time to heal. It is important your procedure that you take part in your recovery by following your doctor’s instructions and caring for yourself.
- Page 6 Your Charger Guide 1. Charging Coil 2. Power Adapter Port 3. Charger Battery Level Indicator 4. Charge Start Button 5. Antenna Strength Indicator 6. Implant Battery Level Indicator...
- Page 7 Tips Important reminders Charging times may vary for each session, You can still get stimulation from your Implant even depending on factors such as recharging during charging. frequency and stimulation settings. Do not charge the Implant while the Charger is If the Charging Coil has an insufficient link plugged into the wall.
- Page 8 Charging preparation Place the center of the circular Charging Coil over the top of your Implant. • The figure below shows that the top of the Implant (in yellow box) is at the center of the Charging Coil. Initiate charging Press the Charge Start Button to turn on the Charger.
- Page 9 Charging Charging is in progress when you see the IPG Battery Level Indicator and the circles on the Antenna Strength Indicator are lit. As charging progresses, the number of lit dots on the IPG Battery Level Indicator will increase. • If the link is lost, the Charger will beep.
- Page 10 Your Remote Control Guide 1. Remote Control ON/OFF Button 2. Stimulation OFF Button 3. Battery Level Indicator (Charge Level of Implant) 4. Stimulation Level Indicator 5. Stimulation Start/Increase Button 6. Stimulation Decrease Button 7. Program Indicator 8. Program Selection Button 1 2 3 4 5...
- Page 11 Tips Replace the batteries in the Remote Control if any of the following situations arise: • The Remote Control beeps 6 times when turned on. • The Remote Control will not turn on. • It has been 3 months since the last battery change. To achieve optimal relief, make sure you work closely with your HF10 care team to identify which programs work best for you.
- Page 12 Turning the Remote Control ON Press and hold side button until you hear a long beep. • You may need to press for up to 5 seconds. • If the Remote Control syncs with the Implant, at least one LED light on the Remote Control will light up.
- Page 13 To change the program, press the Program Selection Button • Press repeatedly until the light is at the desired program number. • Once desired program is selected, do not press any buttons until the light stops blinking. The Remote Control will sound 1 beep, confirming the new program setting. Verify that the light above the desired program number is steadily illuminated.
- Page 14 “ HF10 is relief. It relieves me of the pain, it relieves me of the burden that I put my family through. — HF10 user...
- Page 16 OFF. You can turn stimulation OFF the following information: with your Remote Control. • You have a Nevro spinal cord stimulator. 7. After the MRI scan, turn your HF10 back ON with • A detailed description of your devices, including the...
- Page 18 Frequently asked questions about the HF10 Implant...
- Page 19 Currently, HF10 permits MRI scanning under certain doctor before performing strenuous activity. conditions. Before any scan, consult your doctor or refer to the Patient Manual available at www.nevro.com/manuals. What should I do about my medication? Always discuss medications with your doctor prior to Can I fly with my system, and what happens when I go making adjustments.
- Page 20 All superiority and paresthesia-free claims are supported by the Senza Summary of Safety and Effectiveness Data (SSED). Published May 8, 2015. ©2020 Nevro Corp. All rights reserved. Nevro and the Nevro logo, and HF10 and the HF10 logo are trademarks of Nevro Corp.
Need help?
Do you have a question about the HF10 IMPLANT OMNIA SCS SYSTEM and is the answer not in the manual?
Questions and answers